Desert Online General Trading LLC
Dubai, United Arab Emirates
Desert Online General Trading LLC
Dubai, United Arab Emirates


Bake your way to the top! 🎂
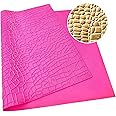
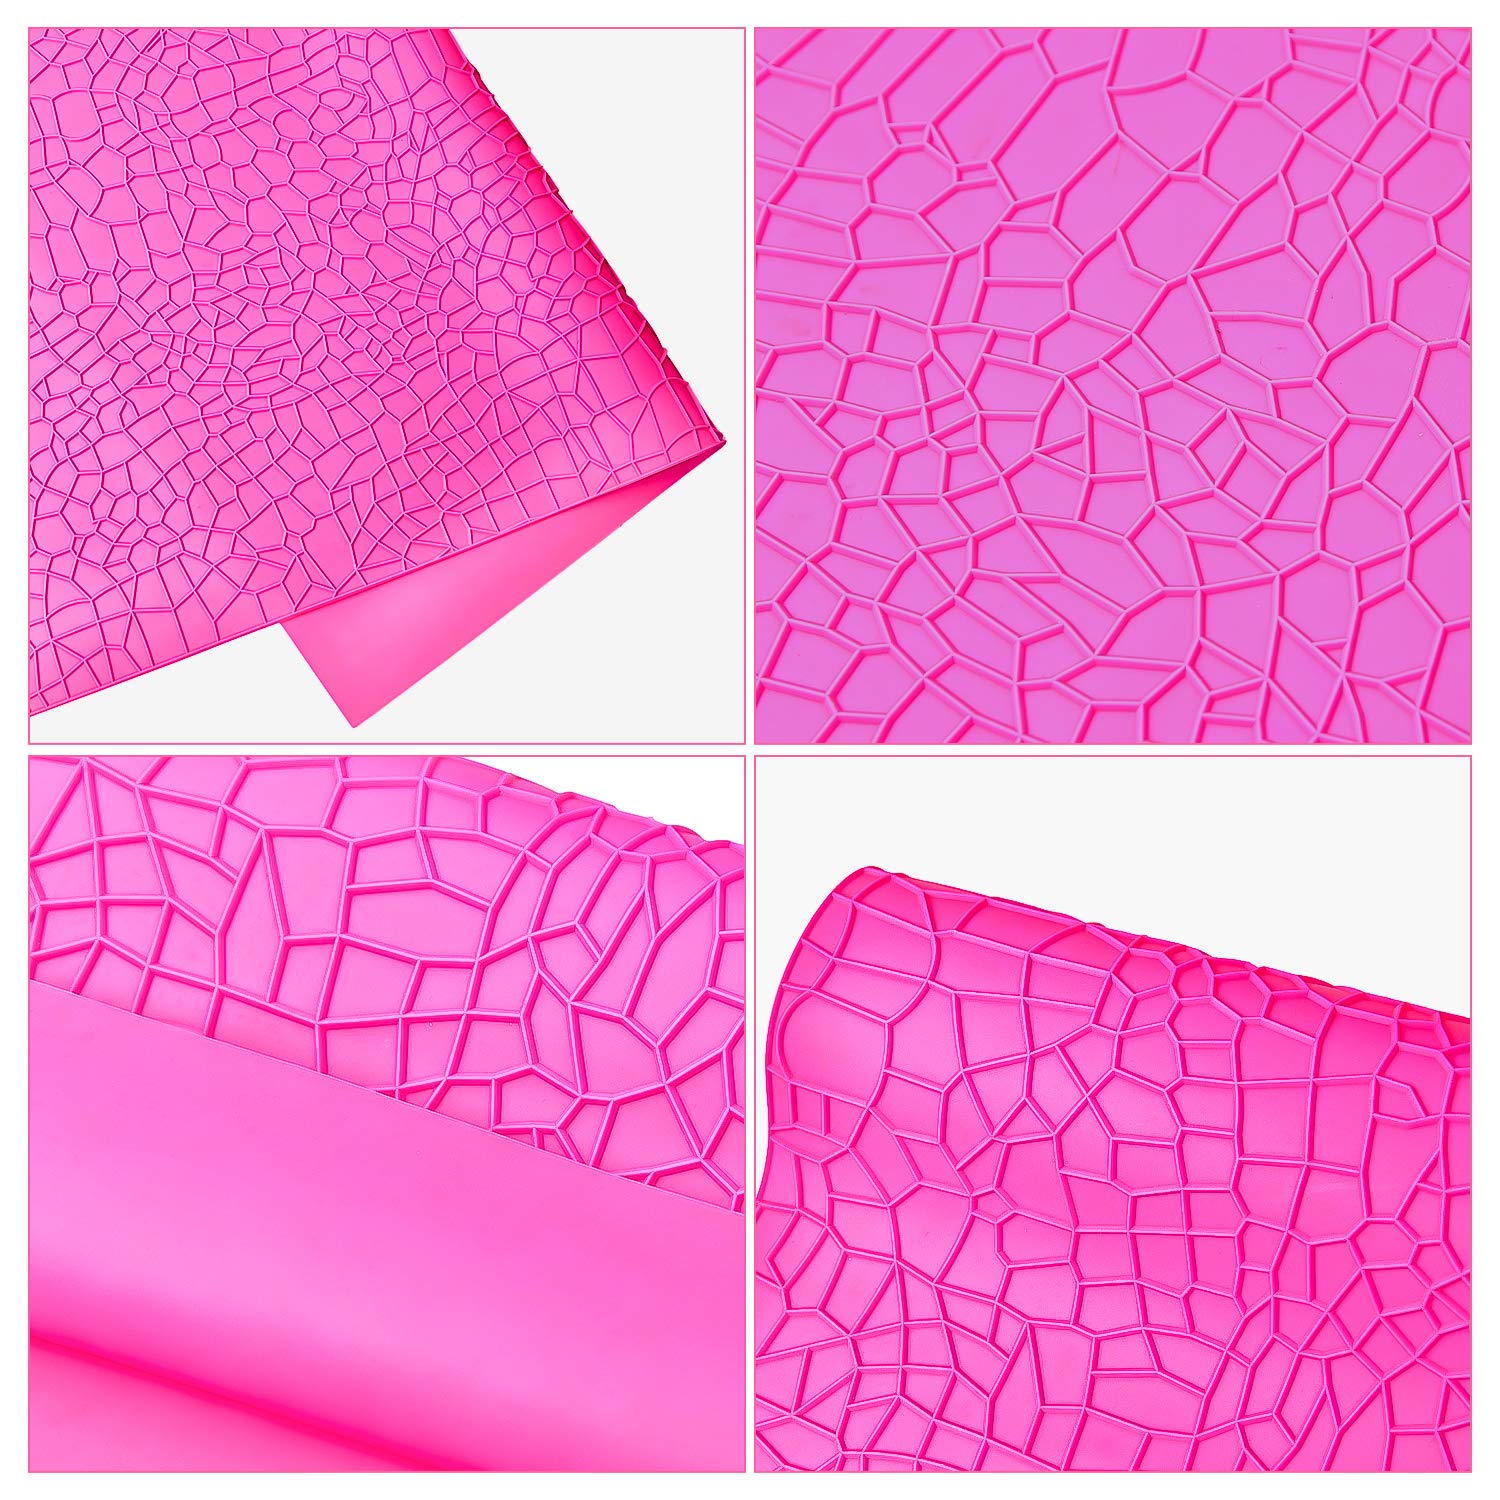
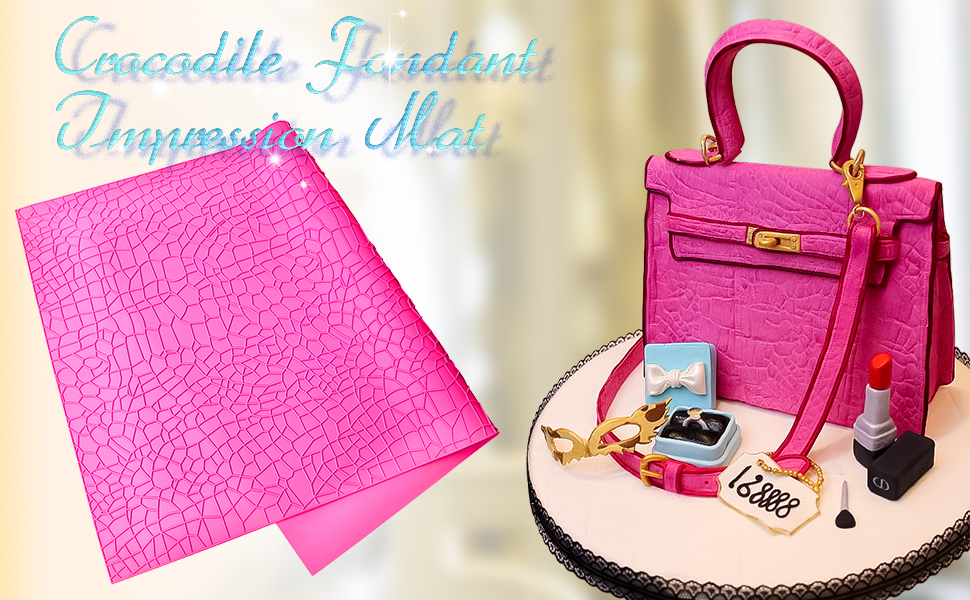
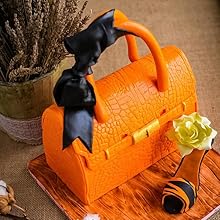
This 22 x 14 inches Silicone Cake Fondant Mat features a unique crocodile alligator pattern, made from 100% FDA-approved silicone. It's durable, eco-friendly, and designed for a wide range of culinary creations, from cakes to chocolates. With a temperature range of -76℉ to +500℉, it offers a non-stick surface for easy release and cleaning, while its foldable design ensures convenient storage.


D**J
Beautiful detail
I used this with rolled buttercream on cookies. The pattern is very beautiful and detailed.
A**T
You'll love it!!!
This is one of my favorite effect-to-effort-ratio tools for fondant! It's my go-to for covering cake boards, because it looks SO realistic. I'm regularly asked if the base is real wood when I use it.And it's a great size - I don't know why more companies don't make this size, so we're not trying to piece together all the time. If they made other natural textures (grass, fur, leathers, stone, brick... pretty please, Warmoor?), I'd buy in a heartbeat!It's easy to make the impression by laying it on my fondant, and rolling over with a rolling pin. I like to use a ruler to make lines for a wood-floor design. I usually airbrush for a more realistic finish, but petal dust would work, too: just darken lines (if you're making them) and knots to create depth - super easy! I also like to darken the edges to create a vignette effect.
S**S
Muy bien
Exactamente como esperaba
N**.
Very nice stamp
The media could not be loaded. It was tricky at first. I was rolling a rolling pin on it, but the mold would shift, which lead to stamping over the first attempt when you would roll back and forth. Took me a while to figure it out, but once I got the hang of it, came out perfect. I used a big wooden butcher block/ cutting board to keep it still, and then I'd firmly press on it or bang on it with my fist repeatedly. Finally take off the block and reveal the stamp. Make sure the fondant is thick enough.
S**S
Just a home baker!
I only make cakes for family birthdays and this was my first experience with a silicone mold mat. There weren't any instructions included and I really didn't know what I was supposed to do with the mat which is why I gave it four stars instead of five.Now, I know it seems kind of self-explanatory, press the mat into the fondant and that's it, but it's a little bit more complicated than that depending on the size and shape of your cake. You have to match up the edges if your fondant is larger than the mat and there is about a quarter-inch gap along the edges so it's really hard to get those lines to look seamless.Also, yhe mat moves easily so you have some places that took the impression really well and some places that didn't or where it double imprinted just slightly to the right or left.Additionally, I had to roll, press, and cover my cake twice because the first time I rolled the fondant too thin and when I moved it to the cake many of the impression lines split and tore the fondant all along the lines. So I had to roll the fondant a lot thicker than I normally would.While I am aware my mistakes come from a lack of experience I felt some basic instructions would have helped. Other than that the mat seems great it's good-sized, durable, and it made the imprint I wanted it to.
M**N
matt
cnn This matt worked so well with my clay projects.
M**R
Great for use with concrete molds!
Overall really happy with this silicon mold. It's high quality silicon, so even though it's thin, it is strong and tear-resistant. I used it to line my concrete molds and I love the effect it creates on my planters!This silicon mat is one of the bigger ones I've been able to find out there, which is fantastic. I wish they were all this size! I do like the vertical look of it better so I had to cut it up, but that's fine. I'm so pleased and I've been able to use it over and over. Please make more mats in this size!
S**E
Works on buttercream too!
I was really worried about using this on buttercream instead of fondant. However, I took advice from someone else’s review and it worked perfectly! I used American Buttercream, chilled it to the point of crusting, then brought it out of the fridge. I wet the mold with water, shook off all the excess water I could, and firmly pressed it to the buttercream. I rinsed and repeated for all sides. What was even better was the water made the inside wood “grooves” darker so I didn’t have to shade afterwards. So happy with this purchase!
Trustpilot
3 weeks ago
1 month ago
1 month ago
2 weeks ago