Description
🏡 Secure your space, elevate your outdoors!
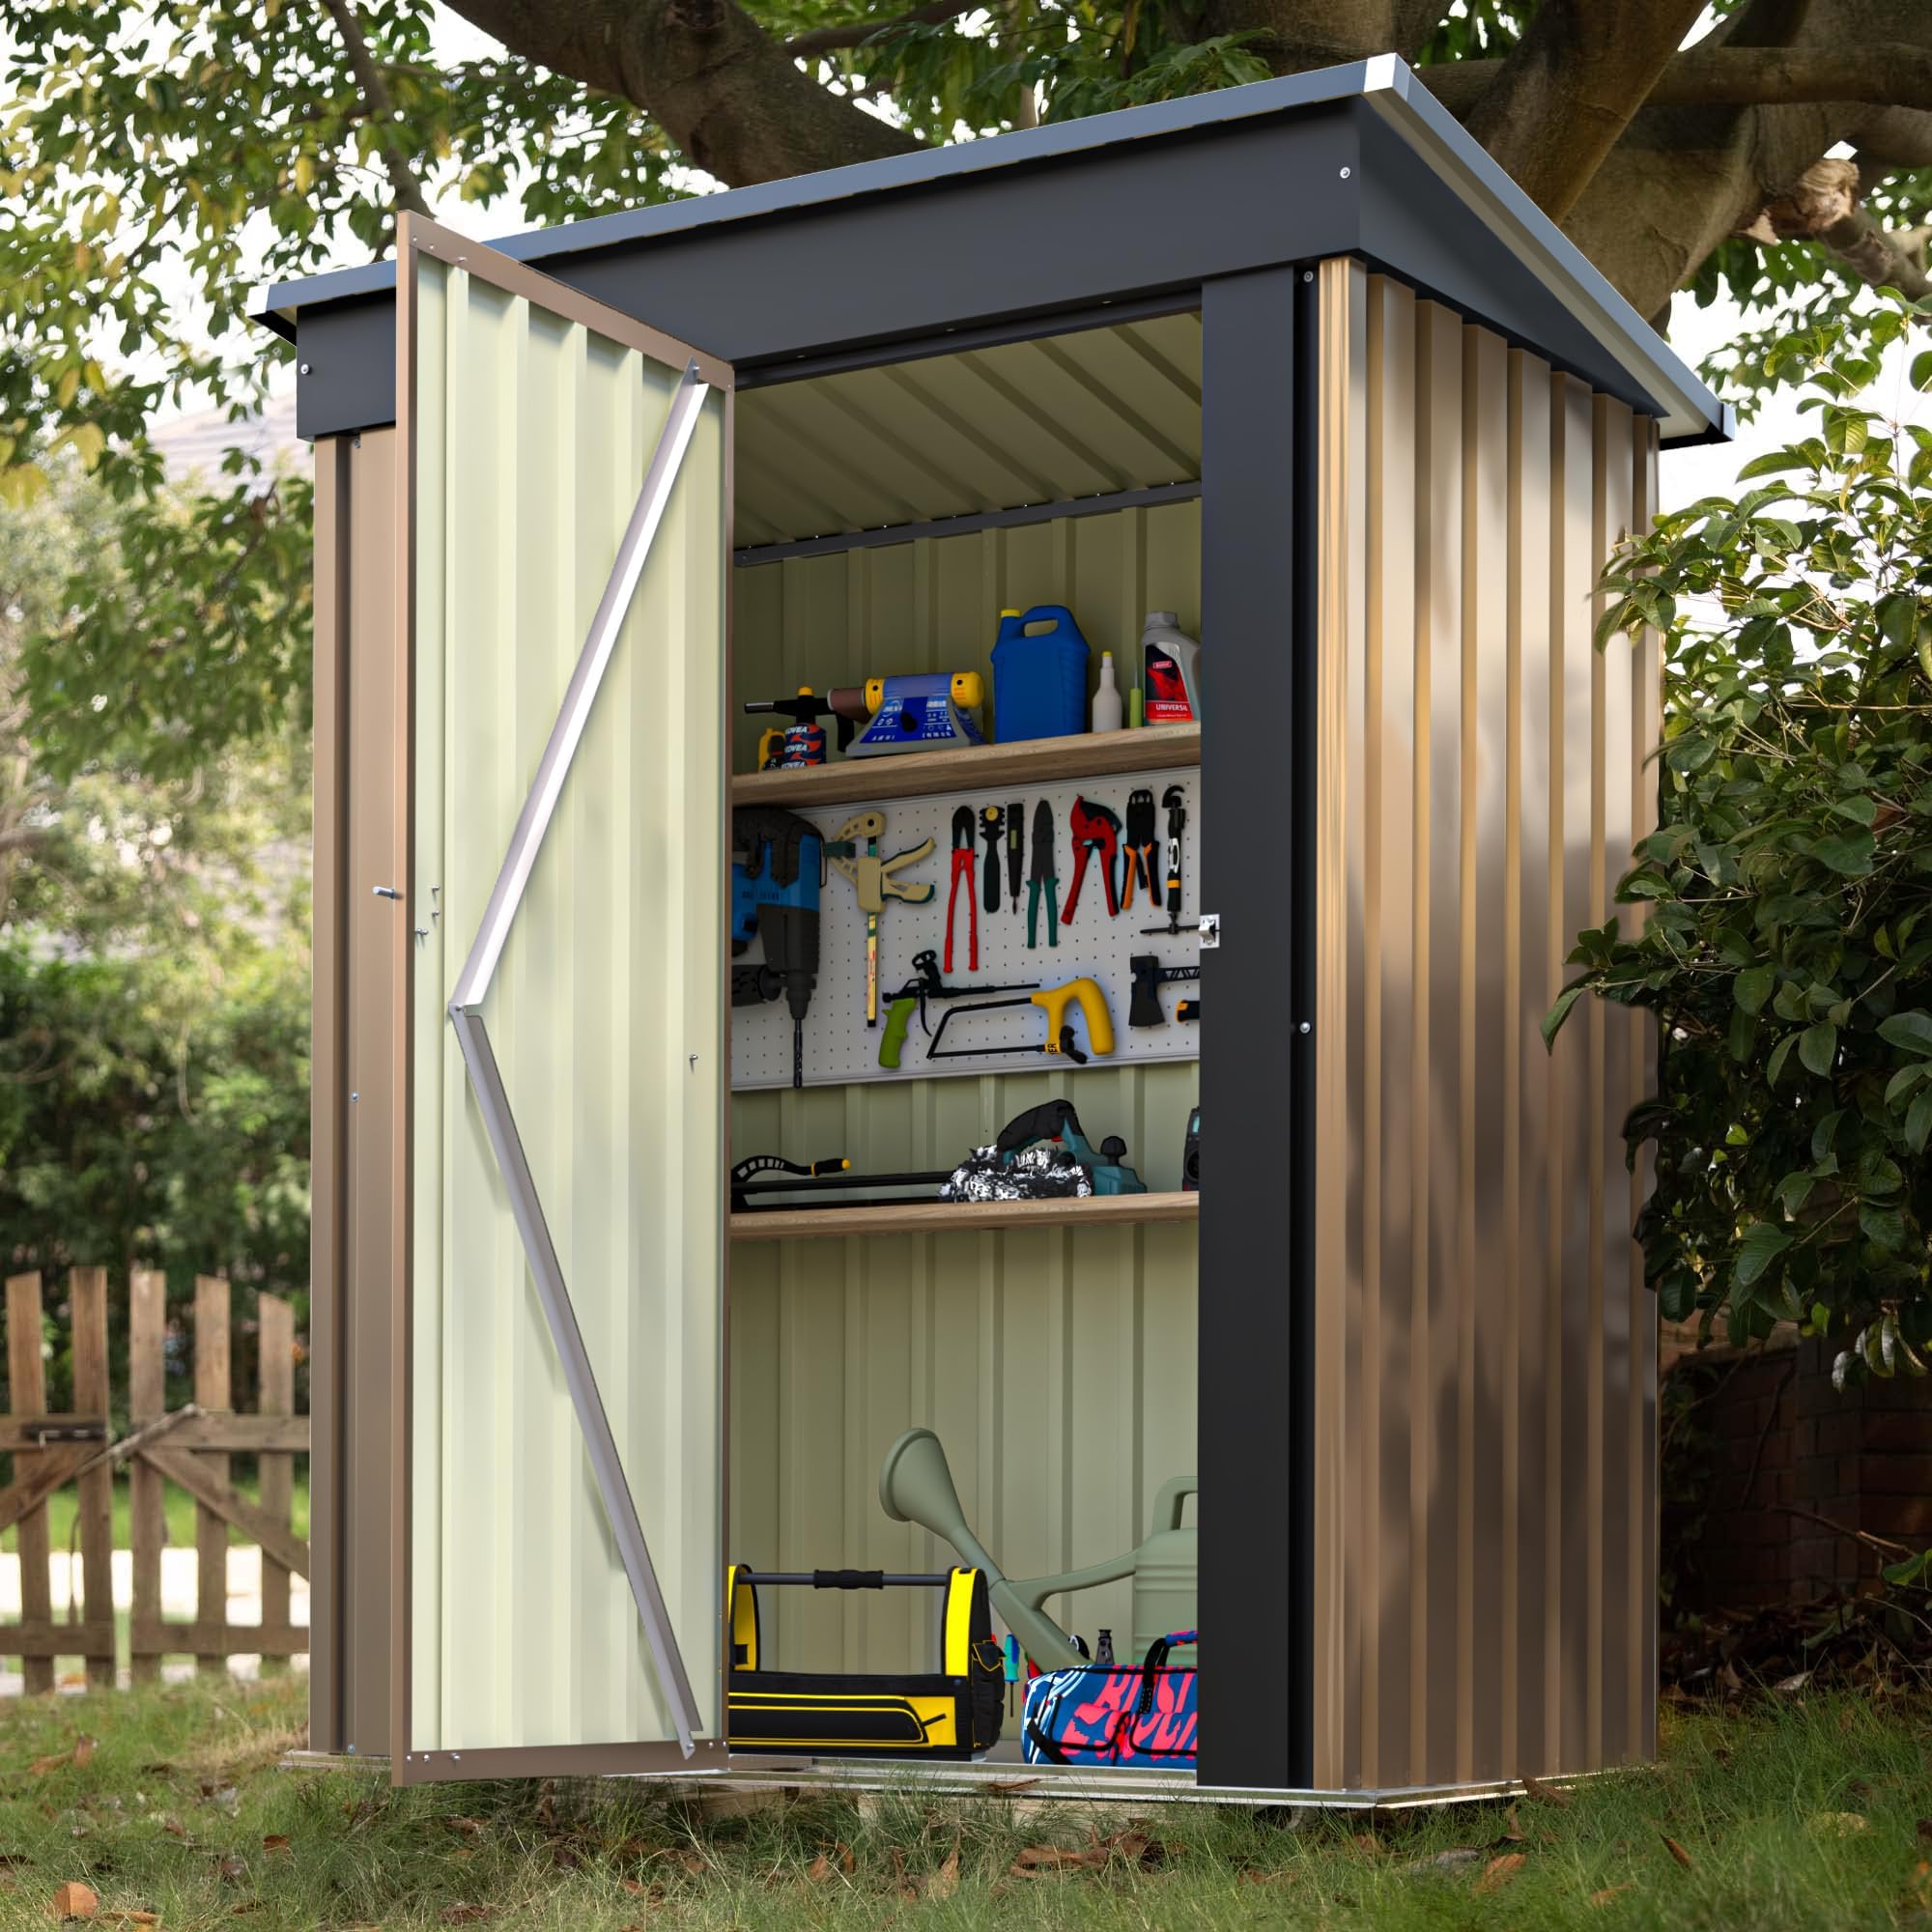
- ULTIMATE SECURITY - Keep your garden gear safe with a robust lockable door designed to deter theft and protect your valuables.
- SLEEK SUBTLE DESIGN - Modern brown finish blends seamlessly with your garden’s natural palette, elevating your outdoor aesthetic without overpowering it.
- SPACE SMART ORGANIZER - Maximize your backyard with 67 cubic feet of storage—perfect for tools, bikes, and outdoor essentials, transforming clutter into calm.
- WEATHERPROOF DURABILITY - Crafted from electro-galvanized alloy steel, this shed stands strong against rust, moisture, and sun damage—built to last through all seasons.
- EFFORTLESS ASSEMBLY SUPPORT - Clear instructions and dedicated customer service ensure a smooth setup experience, so you can enjoy your organized space sooner.
The Devoko Outdoor Storage Shed is a compact, lockable metal garden shed measuring 5 x 3 ft, constructed from electro-galvanized alloy steel for superior rust and corrosion resistance. Featuring a spacious 67 cubic feet interior, it offers secure, weatherproof storage for garden tools and outdoor equipment. Its modern brown design complements any backyard or patio, while easy assembly and dedicated customer support make it a reliable choice for organized outdoor living.