Description
🇺🇸 Elevate Your Patriotism with Timeless Durability and Effortless Style!
- ICONIC HERITAGE BRAND - Valley Forge, family-run since 1882, trusted by generations of patriots for quality and tradition.
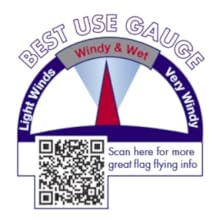
- ALL WEATHER RESILIENCE - Perma-Nyl nylon dries fast, resists fading, and flies in the slightest breeze—perfect for year-round outdoor display.
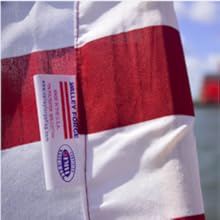
- CERTIFIED AMERICAN CRAFTSMANSHIP - FMAA Certified 100% Made in USA with domestic materials and labor—show your patriotism with pride.
- EFFORTLESS ASSEMBLY ADJUSTABILITY - Five-section aluminum pole with nylon pulley and halyard rope makes setup and flag height adjustment a breeze.
- DURABLE HARDWARE FOR LASTING DISPLAY - Includes gold aluminum ball top, die-cast cleat, snap hooks, and PVC ground sleeve for a sturdy, elegant installation.
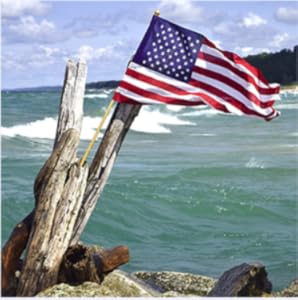
The American Flag Kit by Valley Forge features a 3'x5' Perma-Nyl nylon flag with sewn stripes and embroidered stars, designed to withstand all weather while flying beautifully in any breeze. Paired with a 20-foot, 16-gauge aluminum pole and premium hardware, this FMAA Certified Made in USA kit offers easy installation and enduring quality. Perfect for professionals who want to showcase their patriotic spirit with a trusted, heritage brand that blends durability, craftsmanship, and classic American pride.