Some deliveries may take a little longer than usual due to regional shipping conditions.

DOWNLOAD THE APP


Customer Services
Copyright © 2025 Desertcart Holdings Limited
DOWNLOAD THE APP

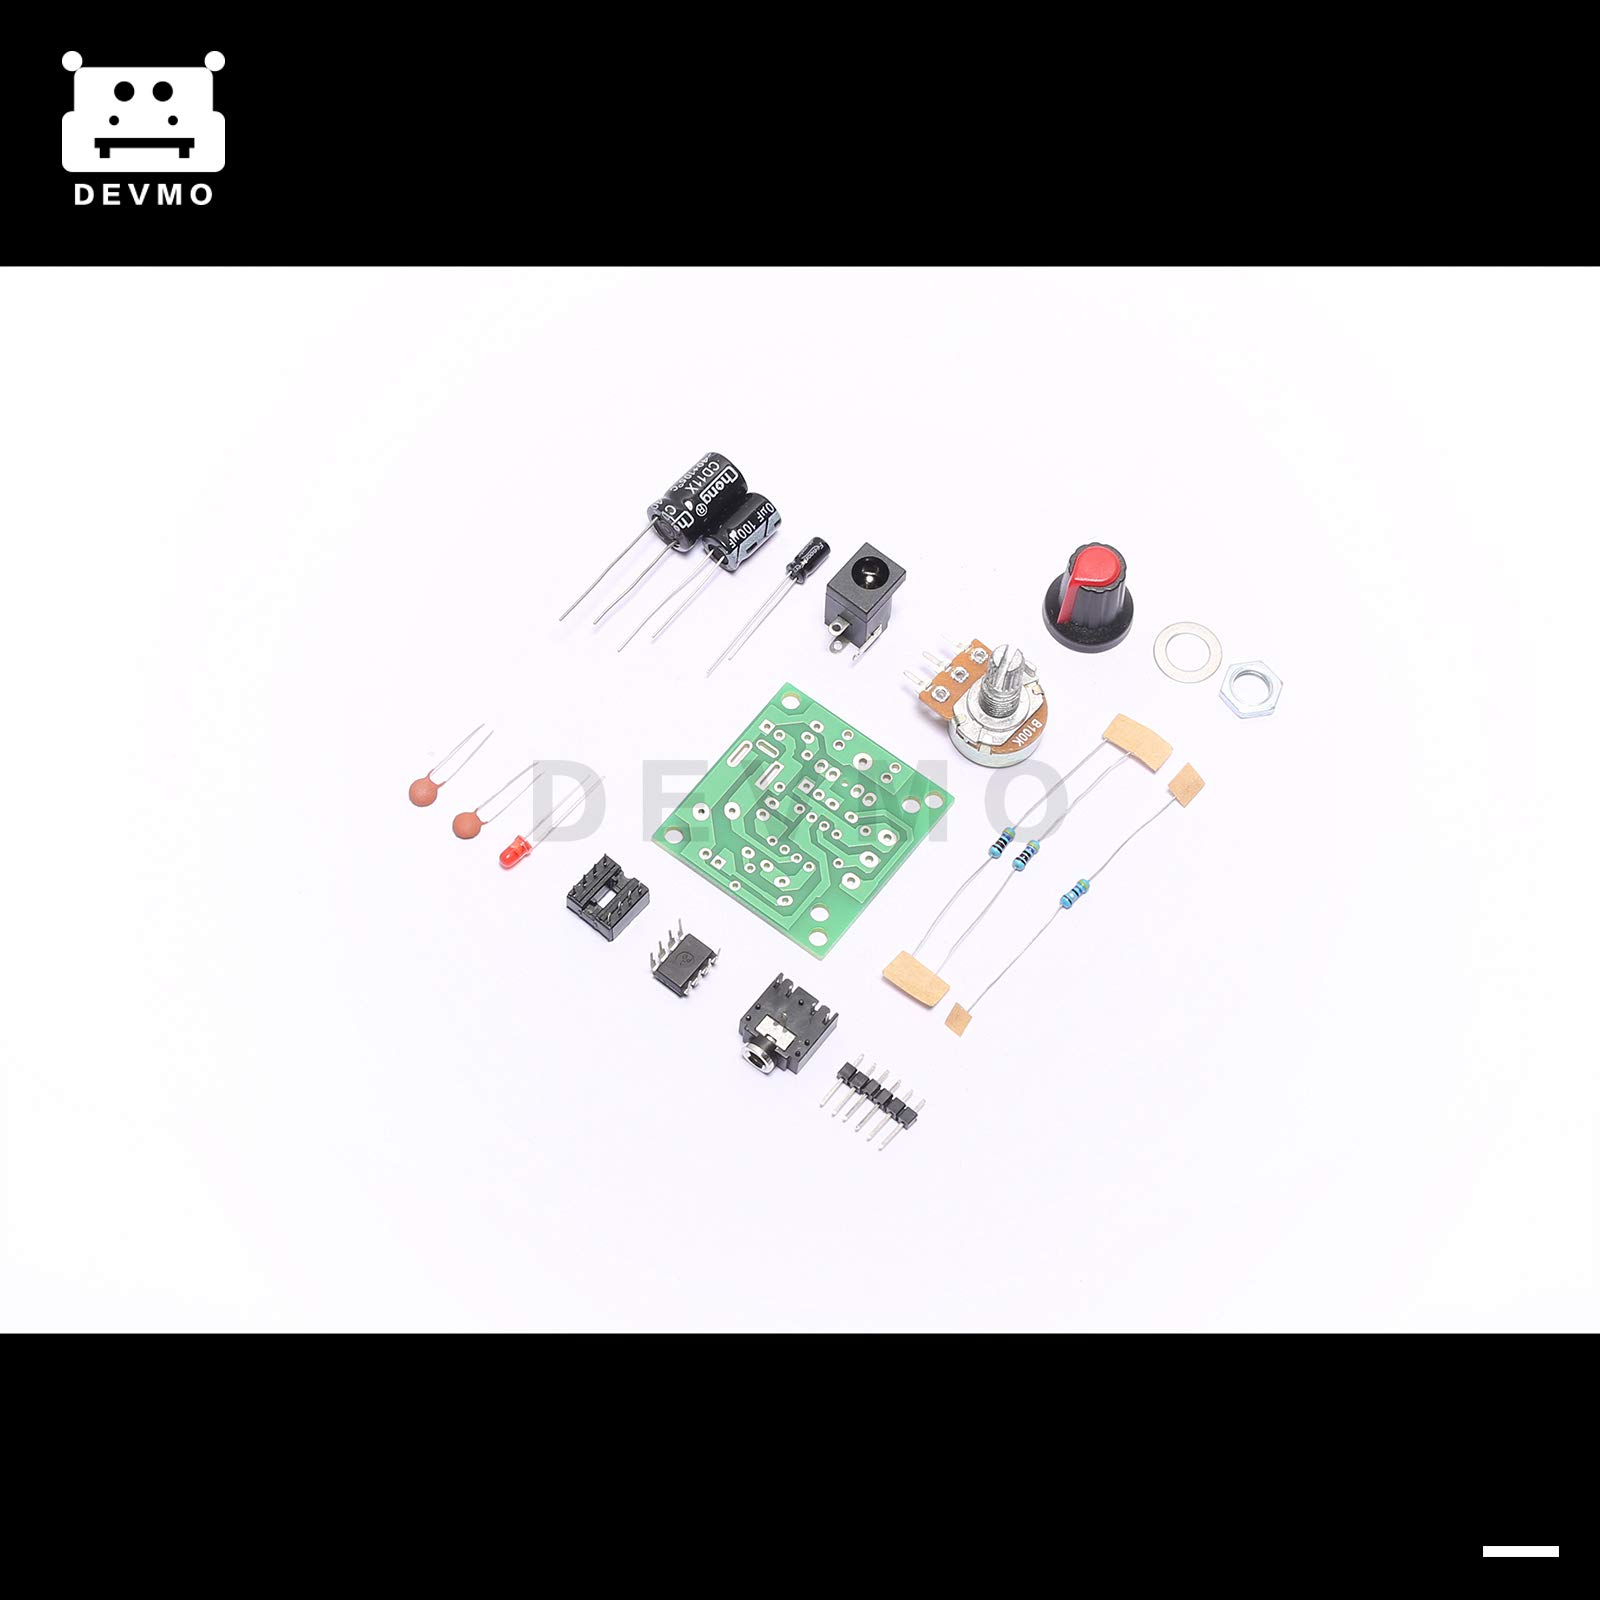
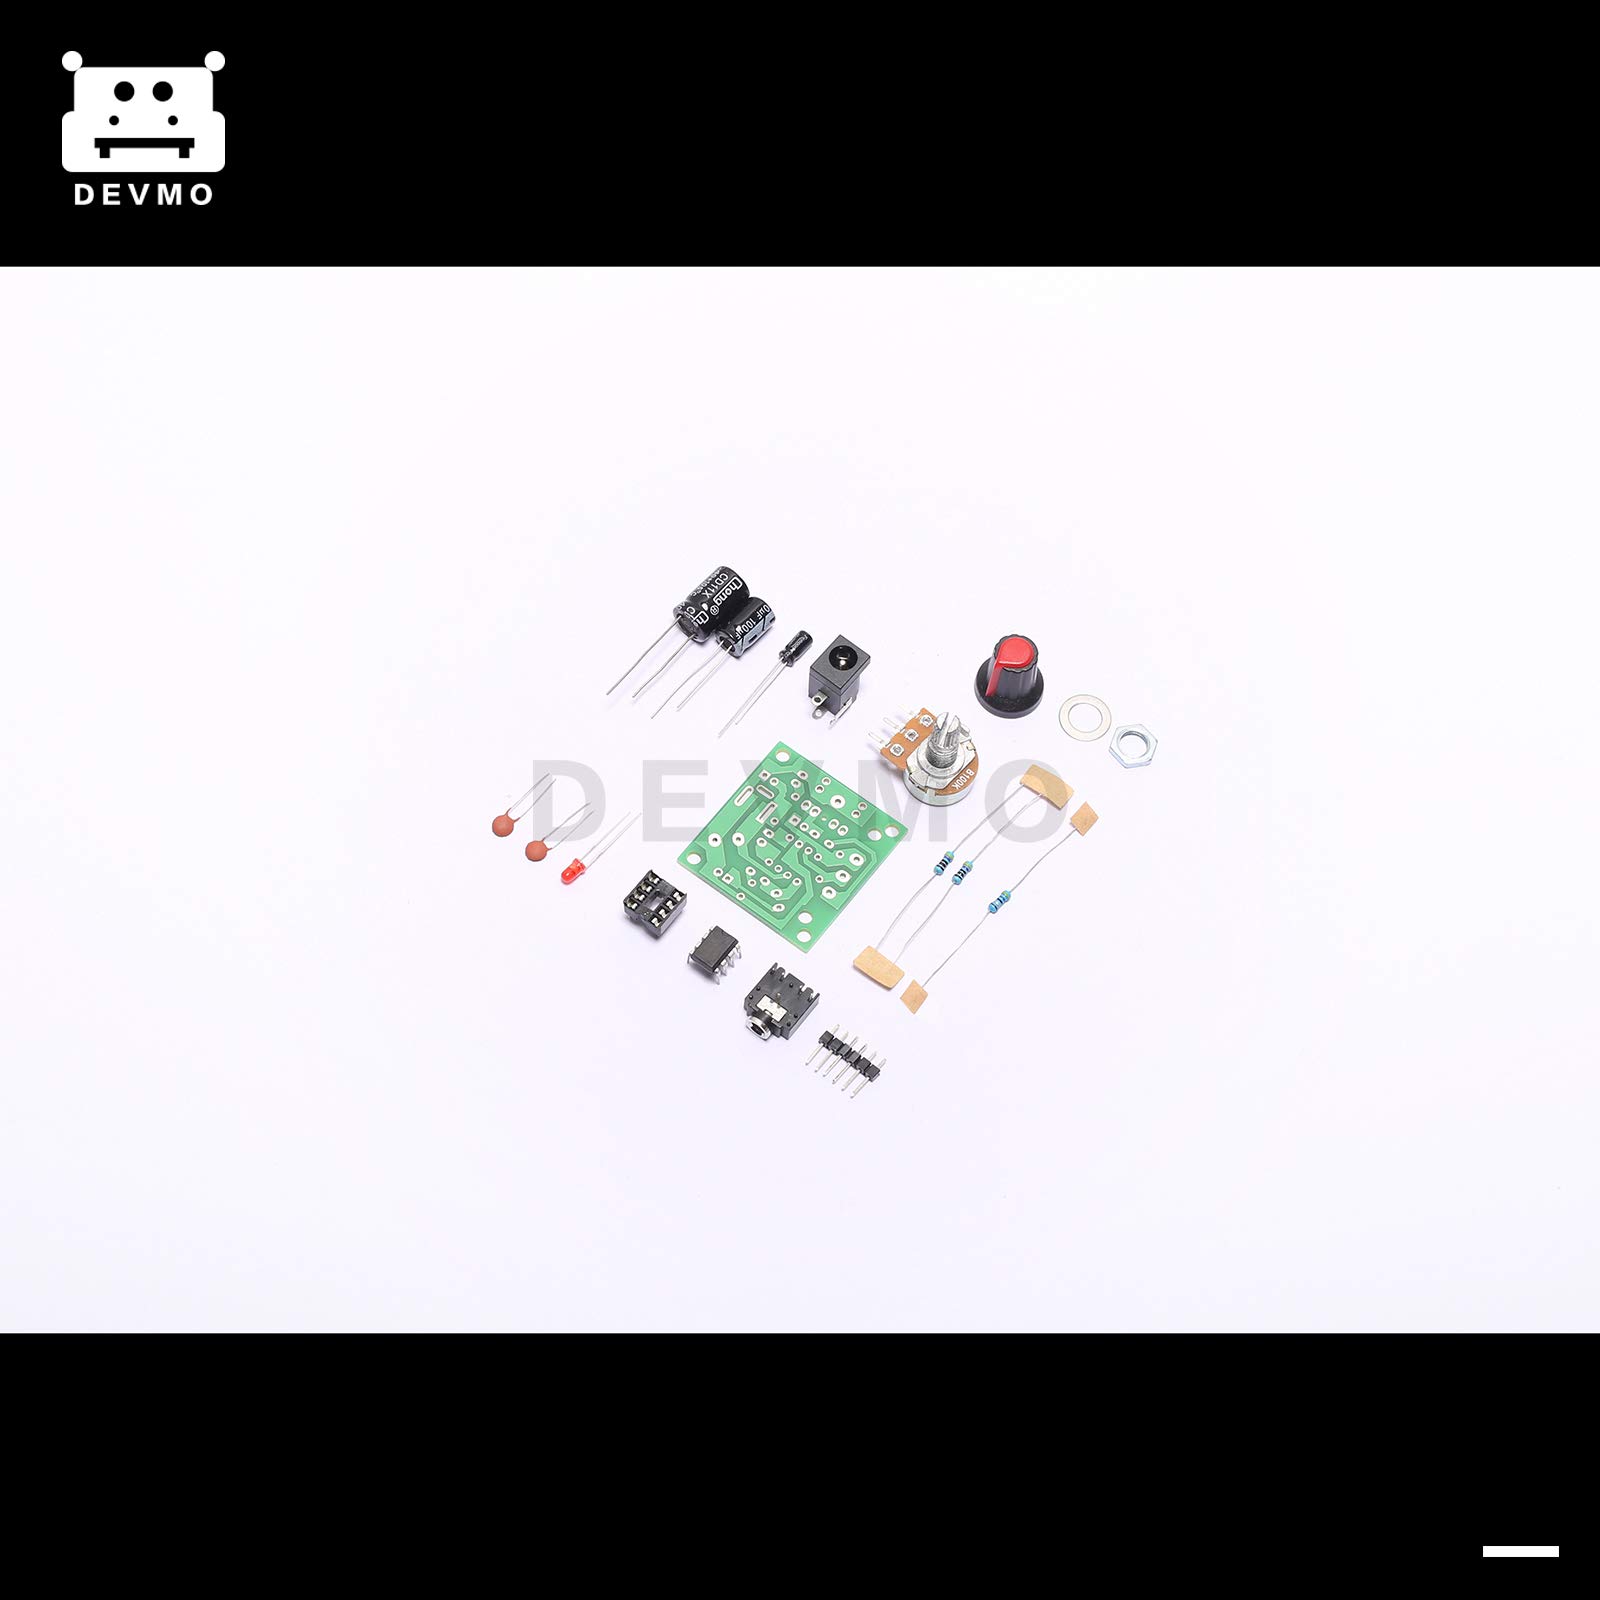
🎛️ Amplify your DIY game with compact power and full control!
The DEVMO LM386 Super Mini Audio Amplifier DIY Kit is a compact 35x37mm board powered by a versatile 3.5-12V range. Featuring the classic LM386 chip, this kit includes all necessary electronic components for assembly, requiring basic soldering skills. Ideal for audio enthusiasts seeking a customizable, hands-on amplifier solution.
Trustpilot
1 month ago
1 day ago
3 days ago
1 month ago