🚗 Upgrade your ride’s breathability with confidence!
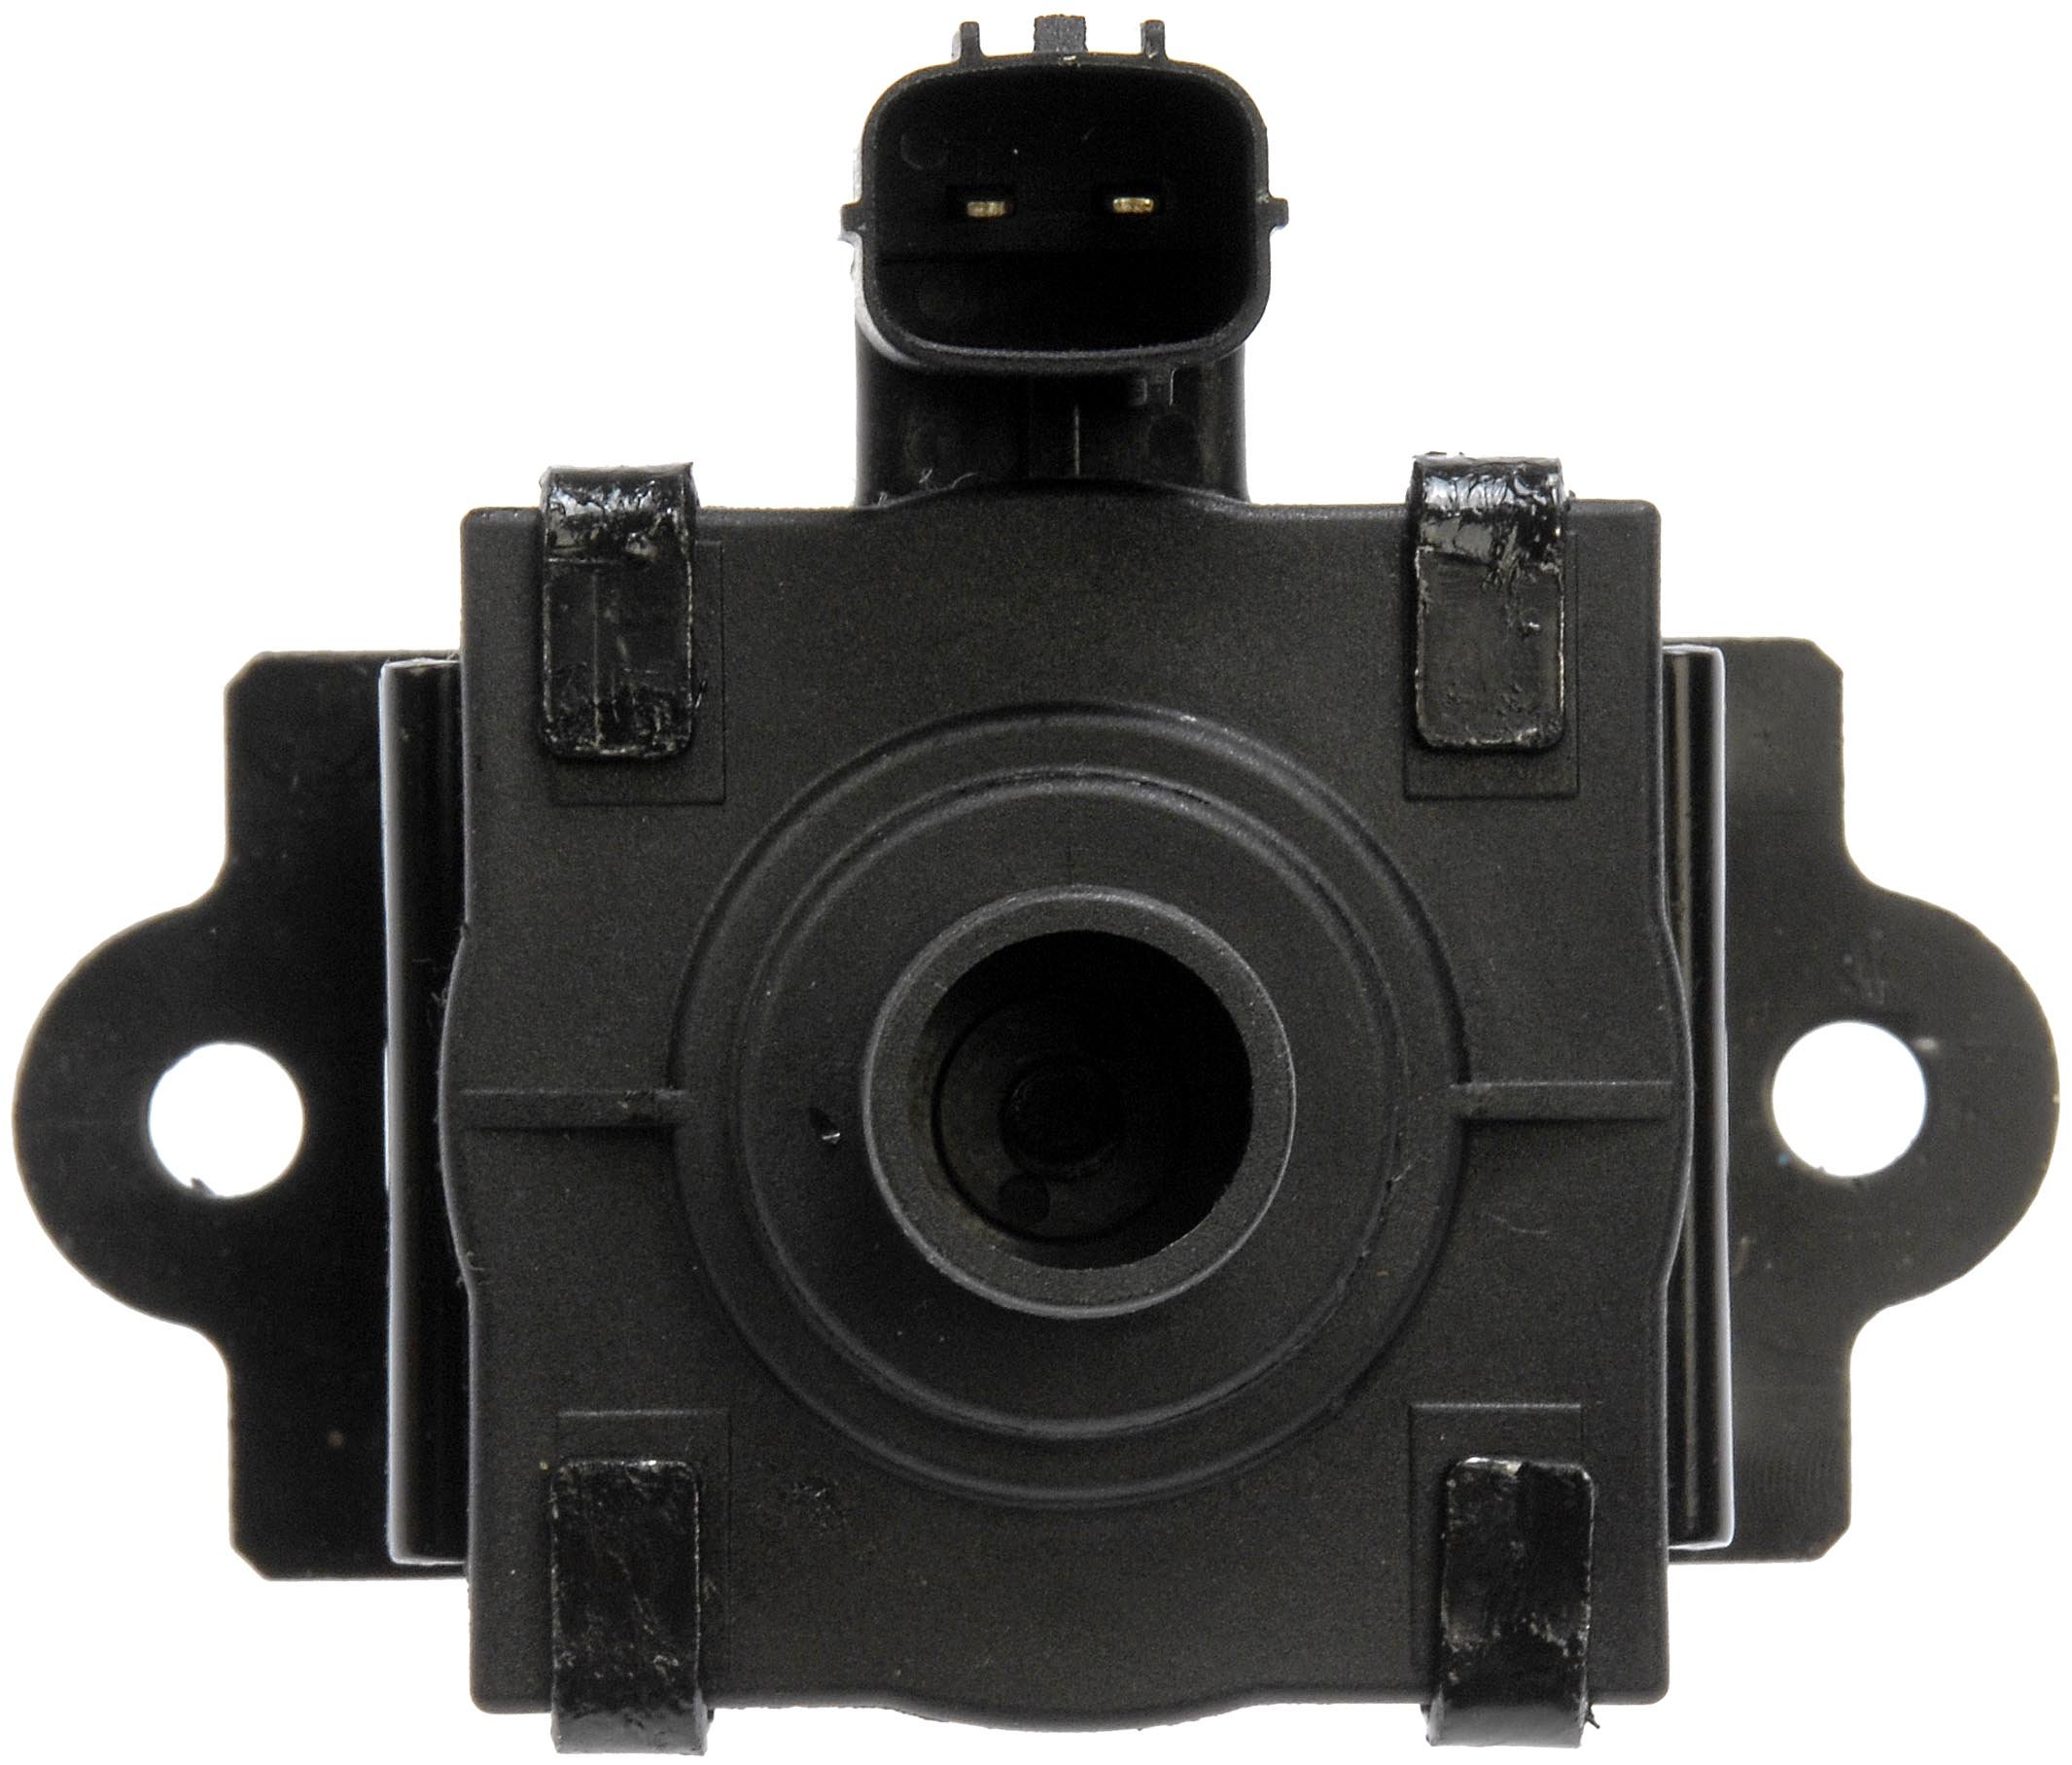
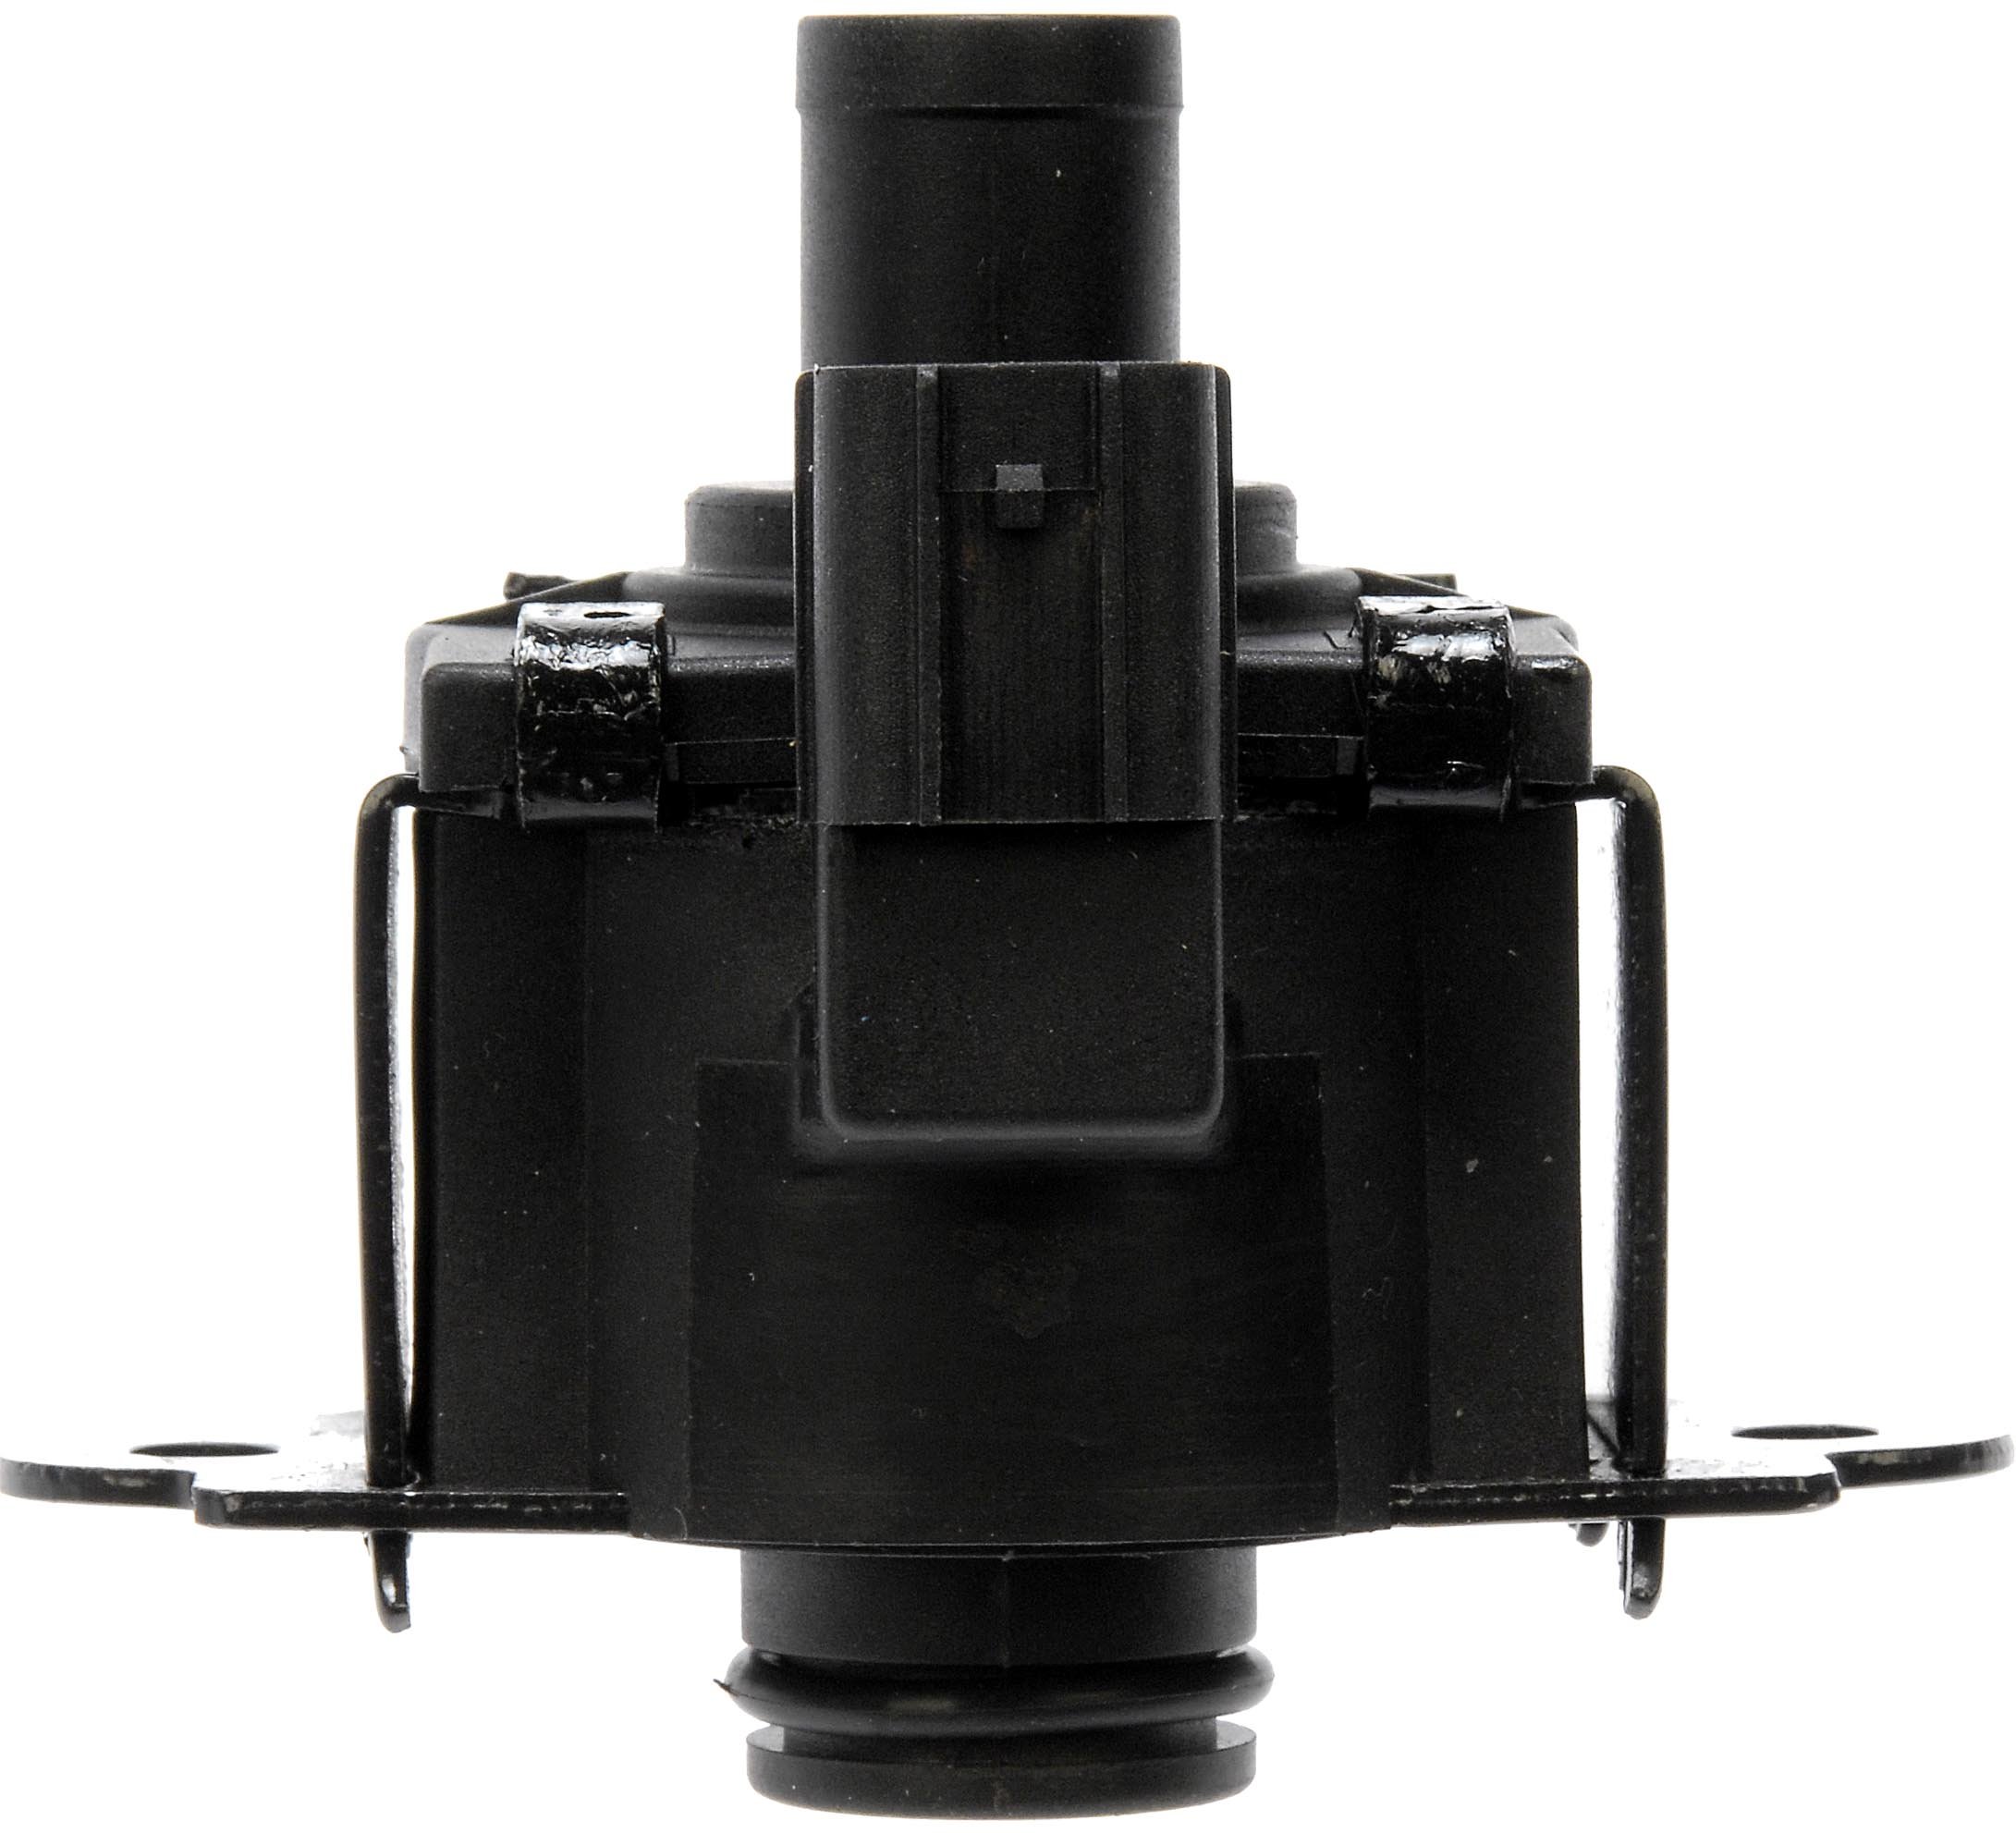
The Dorman 911-762 Vapor Canister Vent Solenoid is a direct-fit replacement part engineered for select Acura and Honda vehicles. Manufactured with premium materials and rigorously tested for durability and performance, it ensures your evaporative emissions system operates flawlessly. Backed by Dorman’s century-long legacy, this solenoid offers plug-and-play installation and verified fitment for a worry-free upgrade.


| Manufacturer | Dorman Products |
| Brand | Dorman |
| Model | 911-762 |
| Item Weight | 10.4 ounces |
| Product Dimensions | 3.5 x 3.7 x 3.1 inches |
| Item model number | 911-762 |
| Is Discontinued By Manufacturer | No |
| Exterior | Machined |
| Manufacturer Part Number | 911-762 |
| OEM Part Number | CP216; CP413; PV337; 17310S5AL31 |
| Position | Center |
M**F
screw size is metric M5x0.8
Works for 2004 Honda CR-V.The screw size is metric M5x0.8. I got mine from a home improvement store. Get the shortest they have. On my canister, it appears there is nothing for the screw to bottom out on. So it didn't matter that it was a little long. I couldn't get one of the old screws out so I cut it off with angle grinder. Used RTV high tack sealant to hold it down on that side. Even with that, after I reset code, the check engine light stayed off. So this appears to have fixed the problem.
-**-
Yet another evap solenoid replaced!
Anyone who owns an older Honda/Acura knows the story--at some point, the OBD2 evap code will appear and it will need troubleshooting to find the specific problem, then replace what is needed.This particular sensor attaches to the charcoal canister underneath the car, in front of the gas tank. So you'll need some sturdy jack stands to get that far underneath. While I got the canister removed without a problem, the screws holding this solenoid to the canister were pretty much "rust welded" into place. The plastic mounting flange on the vapor canister holds two brass threaded inserts and unfortunately, both of mine spun out of the housing, leaving me with two larger holes.Many mechanics at this point would order a new canister. Instead, I filled both holes with epoxy and let them cure overnight. Once hardened, I drilled a very small pilot hole in each one. From my stash of spare parts, I found two self-tapping screws that fit perfectly. Once I reattached the solenoid, I lightly tightened the screws (they do not need to be very tight--the solenoid is mostly held in place with its o-ring) and reinstalled the canister. Problem solved!And, no issues with this sensor either. Some aftermarket parts do fail to work, but this one I have had no issues with thus far.
C**Z
Good
Solved my vacuum leak code
P**S
Seems to be a match. UPDATE*
I didn't get to install it yet, but it seems to be an exact match. My code actually dropped...which is strange so if it pops back up I will put the new part on. If its good or bad I'll edit the review. Overall looks like an exact match. I'm in a 2005 Honda Civic DX (D17A1).UPDATE** I ended up having to get a whole new vapor canister. This part was perfect and would have fit but I wasn't able to get that old one off the canister. Stuff was rusted to hell and looked like a previous owner was trying to get in there so things were cracked or almost broke off. If you are able to get this part off your canister then this will be the replacement you're looking for.
F**9
Easy to install
Hi, if you are unsure how to do this watch youtube video by piercedasian Honda evap solenoid p1457 repair. I followed his steps exactly and good thing his tips make it easy took me about an hour. I have an 2.0L 05 ep3 si hatchback. I was able to pass Md. emissions test:) Your time may shorter for the repair I’m still learning how to work on my car. This skill level 2 out 5 if you attempt. Hope this helps. This is cheaper than having to replace the whole canister.
A**R
Easy fix
Part fit well and price was responable
R**L
Great
Good quality
M**O
easy is relative
If you have the right tools, and equipment! yes. Buy the screws that this unit will need. the old ones will be very rusted and probably junk. The old one had the sleeve the screw needed, it extracted with the old screw from the canister. Could have been an issue. I was able to separate the screw from the sleeve and with some heat, replace it back into the canister. All said and done, it was good in the end. GET NEW SCREWS
Trustpilot
3 weeks ago
1 week ago