Description
🚪 Upgrade your entryway game—wood look, zero wait!
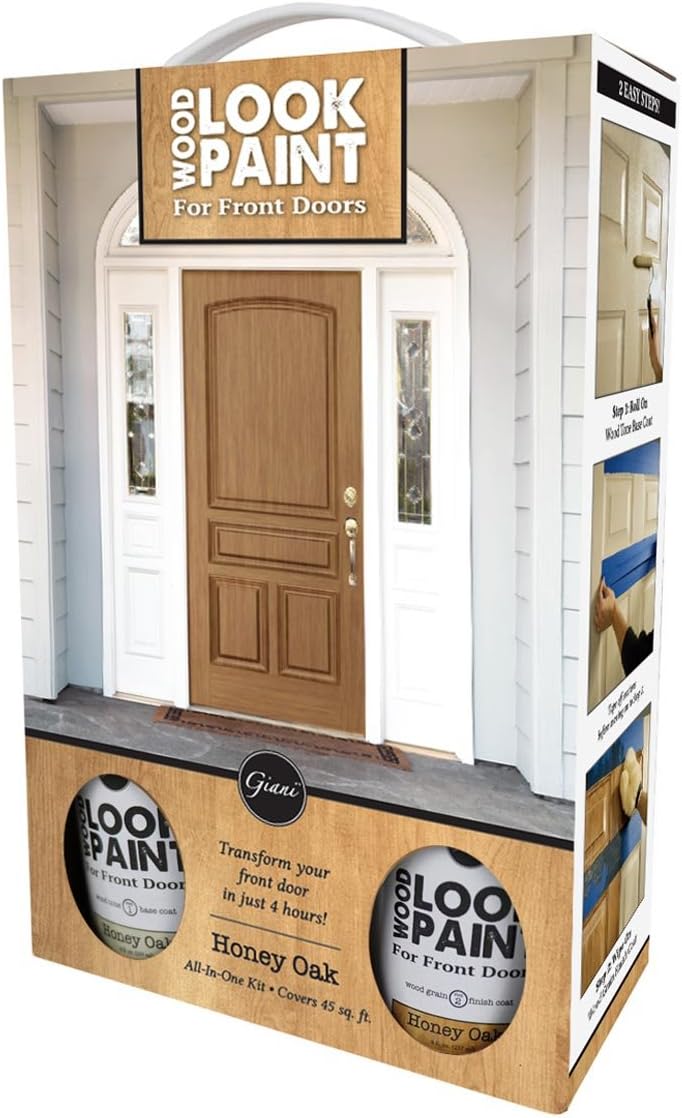
- RICH HONEY OAK FINISH - Authentic European Golden Oak tones that elevate your home’s exterior style instantly.
- UNIVERSAL COMPATIBILITY - Works flawlessly on steel, aluminum, and wood doors—no priming needed.
- EFFORTLESS 3 STEP APPLICATION - Simple, foolproof process designed for busy professionals who value efficiency.
- FADE RESISTANT WATER RESISTANT - Durable acrylic formula keeps your door looking fresh and vibrant season after season.
- TRANSFORM YOUR DOOR IN A MORNING - Achieve stunning wood-look curb appeal in just 4 hours—no waiting, no hassle.
Giani’s Wood Look Paint Kit in Honey Oak delivers a realistic European Golden Oak finish for front and interior doors. Designed for steel, aluminum, and wood surfaces, this fade-resistant acrylic kit covers 40 sq ft and fully cures in 4 hours with a simple 3-step process—no priming required. Perfect for professionals seeking a quick, stylish home upgrade that pairs beautifully with modern hardware finishes.