


ESP32 Terminal 3.5 inch Touchscreen Monitor Parallel TFT LCD capacitive touch display (RGB by chip ILI9488) ESP32 Development Board for LVGL
Product ID: 539544853
⚡240MHz Dual-Core
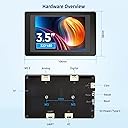
📦SD Card Slot
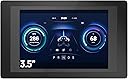
📱3.5" Touchscreen
🚀 Elevate Your Projects with the Ultimate Touchscreen Experience!
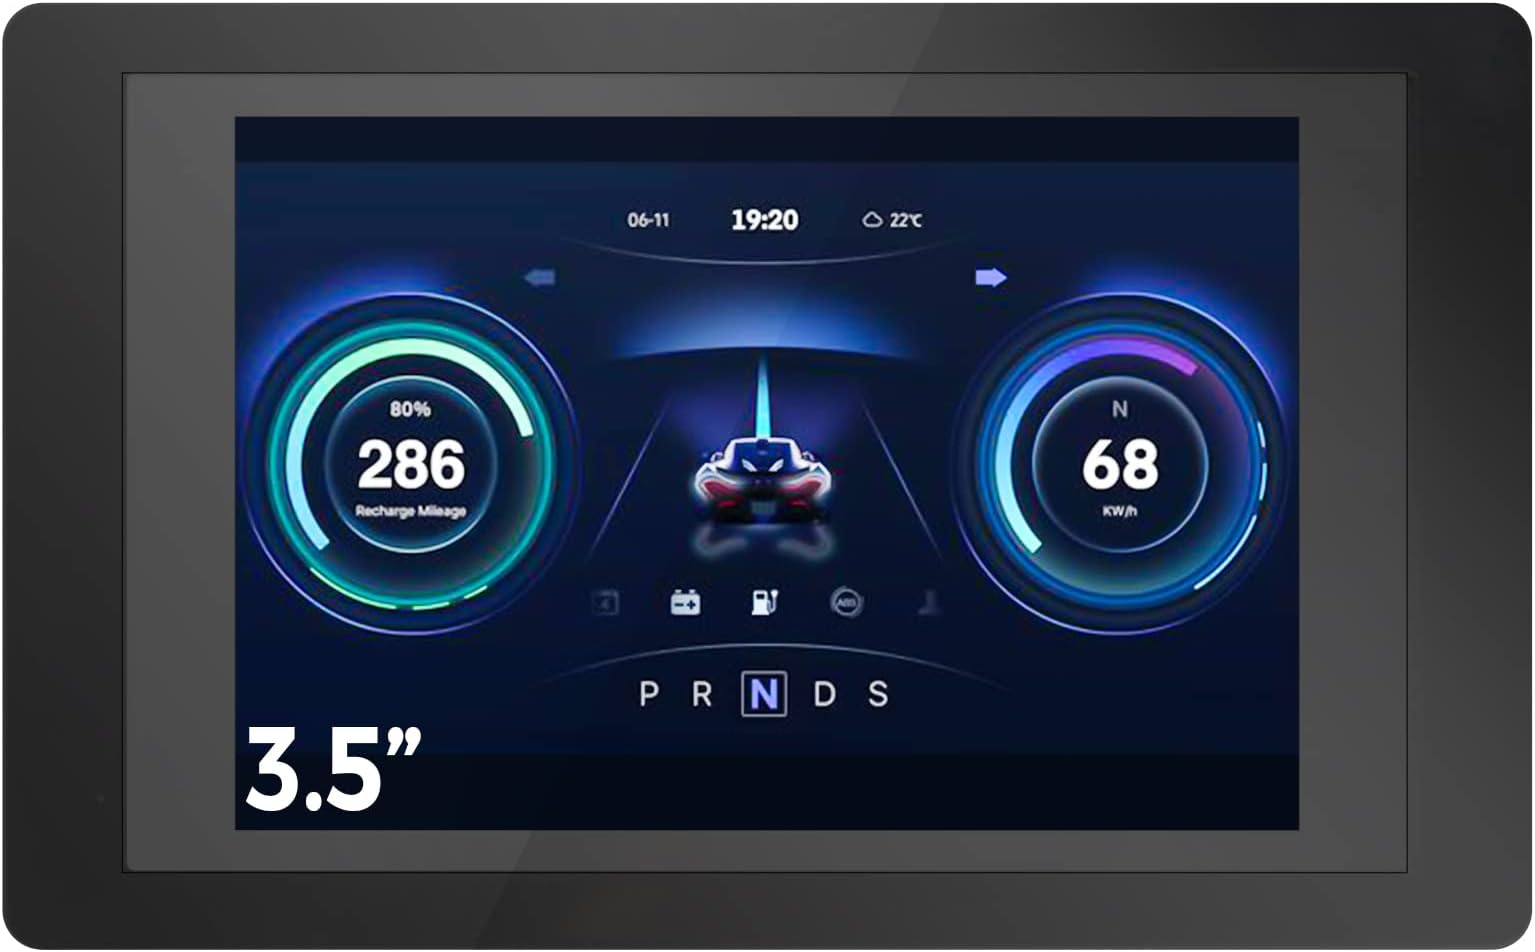
The ELECROW ESP32 Terminal features a 3.5-inch capacitive touchscreen with a resolution of 320x480, powered by a dual-core 240MHz processor. It supports various programming environments and includes an SD card slot for expanded storage, making it ideal for diverse applications from industrial control to smart home solutions.
| Wireless Compability | 2.4 GHz Radio Frequency |
| Processor Count | 2 |
| Connectivity Technology | USB |
N**.
Complex to get going but works pretty well
I used this to in the build of a touchscreen remote for a lighting system. When it comes to ESP32 projects, I tend to work directly with the ESP-IDF. This board took some work to get going in the IDF. I used ESP-IDF 4.4.3, LVGL 8.3.3, a helper library called LovyanGFX to configure the screen, and FT6X36-IDF to interface with the touch-panel. Now that it's working, I'm mostly-pleased with the board.Have a look at the schematics available on the manufacturer's website. You'll note that the interrupt from the touch controller isn't connected to the ESP32-S3. You could solder a bridge to fix it, but I submitted an update to FT6X36-IDF to support polling the touch panel. The polling mode is working well for me.Backlight and buzzer are drive-able from GPIO46 and GPIO20, respectively.I paired this to a generic LiPo battery. The charging seems to work fine and the battery voltage can be read via ADC on GPIO17. However, the power LED is hard-wired, so it will always drain battery. Additionally, unlike some other systems using PMICs, there seems to be no way to toggle a GPIO to cut power to the device. Instead, I'm using the ESP32-S3's deep sleep and configured GPIO0 to wake it so I can use the "BOOT" button to wake it from sleep.
R**R
Great package however arduino graphic examples do not compile for me.
First off, the supplied cable worked for power, but it did not work for programing. I had to supply another cable from another kit to program the exp32s3. Secondly the examples would not compile. It seems to me that this device was ported to Arduino and its native platform is something else. All kinds of issues with the Arduino code such as files not found etc.. these are easy enough to fix but I never did get the code working. I was looking for an easy project not something I have to spend an enormous amount of time figuring out. so far I have spent 2 days trying to get some graphic examples working and I got one to work where the screen flashes different colors. Nothing working other than that and the buzzer so far.
C**E
Great display, but needs some effort to get working
I make displays as a fun part of my homebrewing hobby, and I have mostly designed on Lilygo boards. I wanted something bigger and better self-contained for a mini-keg scale project to take to and show off at club meetings, so I bought this board (non-camera version).It is not as easy to setup as others, but it is doable. If going the Arduino route, it does require familiarity with Squareline, LVGL, and how Arduino looks for files.To get this working, I downloaded the example provided on Elecrow's wiki for this page after Googling "Elecrow 3.5 rgb touch" (bottom of page, "ESP Terminal 3.5 RGB code"; download zip file and find LVGL_RGB_).From there, I opened the .ino files and removed references to the LVGL example files.Now, you have two options. Put every Squareline-exported UI files in the same folder level as the .ino file, or follow Squareline's structure of putting the .ino file in its own [project name]/ui folder and putting the supporting UI files in [project name]/library/ui.With the former, you have to change "../ui.h" to just "ui.h." not a big deal unless you have a lot of asset and font files...then it is tedious.If you go with Squareline's folder structure, then all is fine. Just put that revised example .ino file in [project name]/ui and set Arduino's library path to the project folder (one level above its library and ui folders). All should then work (minus some bugs to adjuat along the way).Overall, I like this module/display and plan other projects with it.
Z**K
Not fit for puspose as a dev board
There are two versions of this board, with camera and without (they also differ in how the screen is accessed).The version without camera has examples that are a complete mess and do not work. Those examples seem to have been cleaned up a little bit in the camera version. The specific example I was looking for (to display an image from the SD card) did work on the camera version.On both versions the screen is rather dim. It's acceptable at night, not so much in a sunlit room. Totally unusable outdoor.And both versions have an enormous problem: they do not respond to upload and reset commands from the Arduino IDE like a good dev board should. To upload a sketch, you need to first fiddle with two small and difficult to access buttons on the back. Then, after uploading the sketch, you need to hit the reset button to run it, again small and difficult to access in the back. It's a royal pain in the neck that gets old very fast.In my case, I had most of my code already written on another dev board so all I need to add was code to display an image from the SD card... so I endured the silly buttons. But if I had to write a lot of code, I would have simply thrown this thing in the trash, it's unusable for serious software development.
O**A
Funciona bien, sin embargo...
Aunque el sistema funciona bien, la documentación es muy poca, en la página del fabricante se basa en una librería de ejemplos pero si se desea desarrollar más es muy dificil
M**N
Great terminal with display
The ELECROW ESP32 terminal is an impressive microcontroller featuring the powerful ESP32-S3 chip. I really like its 3.5-inch capacitive touch screen and 320*480 resolution, it delivers stunning image output at a smooth 60 FPS frame rate. Development on this board is versatile and user-friendly choice for creating innovative projects. Programming or reprogramming can easily be done via Visual Studio Code.
Trustpilot
2 weeks ago
1 week ago