Desertcart purchases this item on your behalf and handles shipping, customs, and support to Senegal.
🌿 Elevate your aquarium’s green game with precision CO2 power!
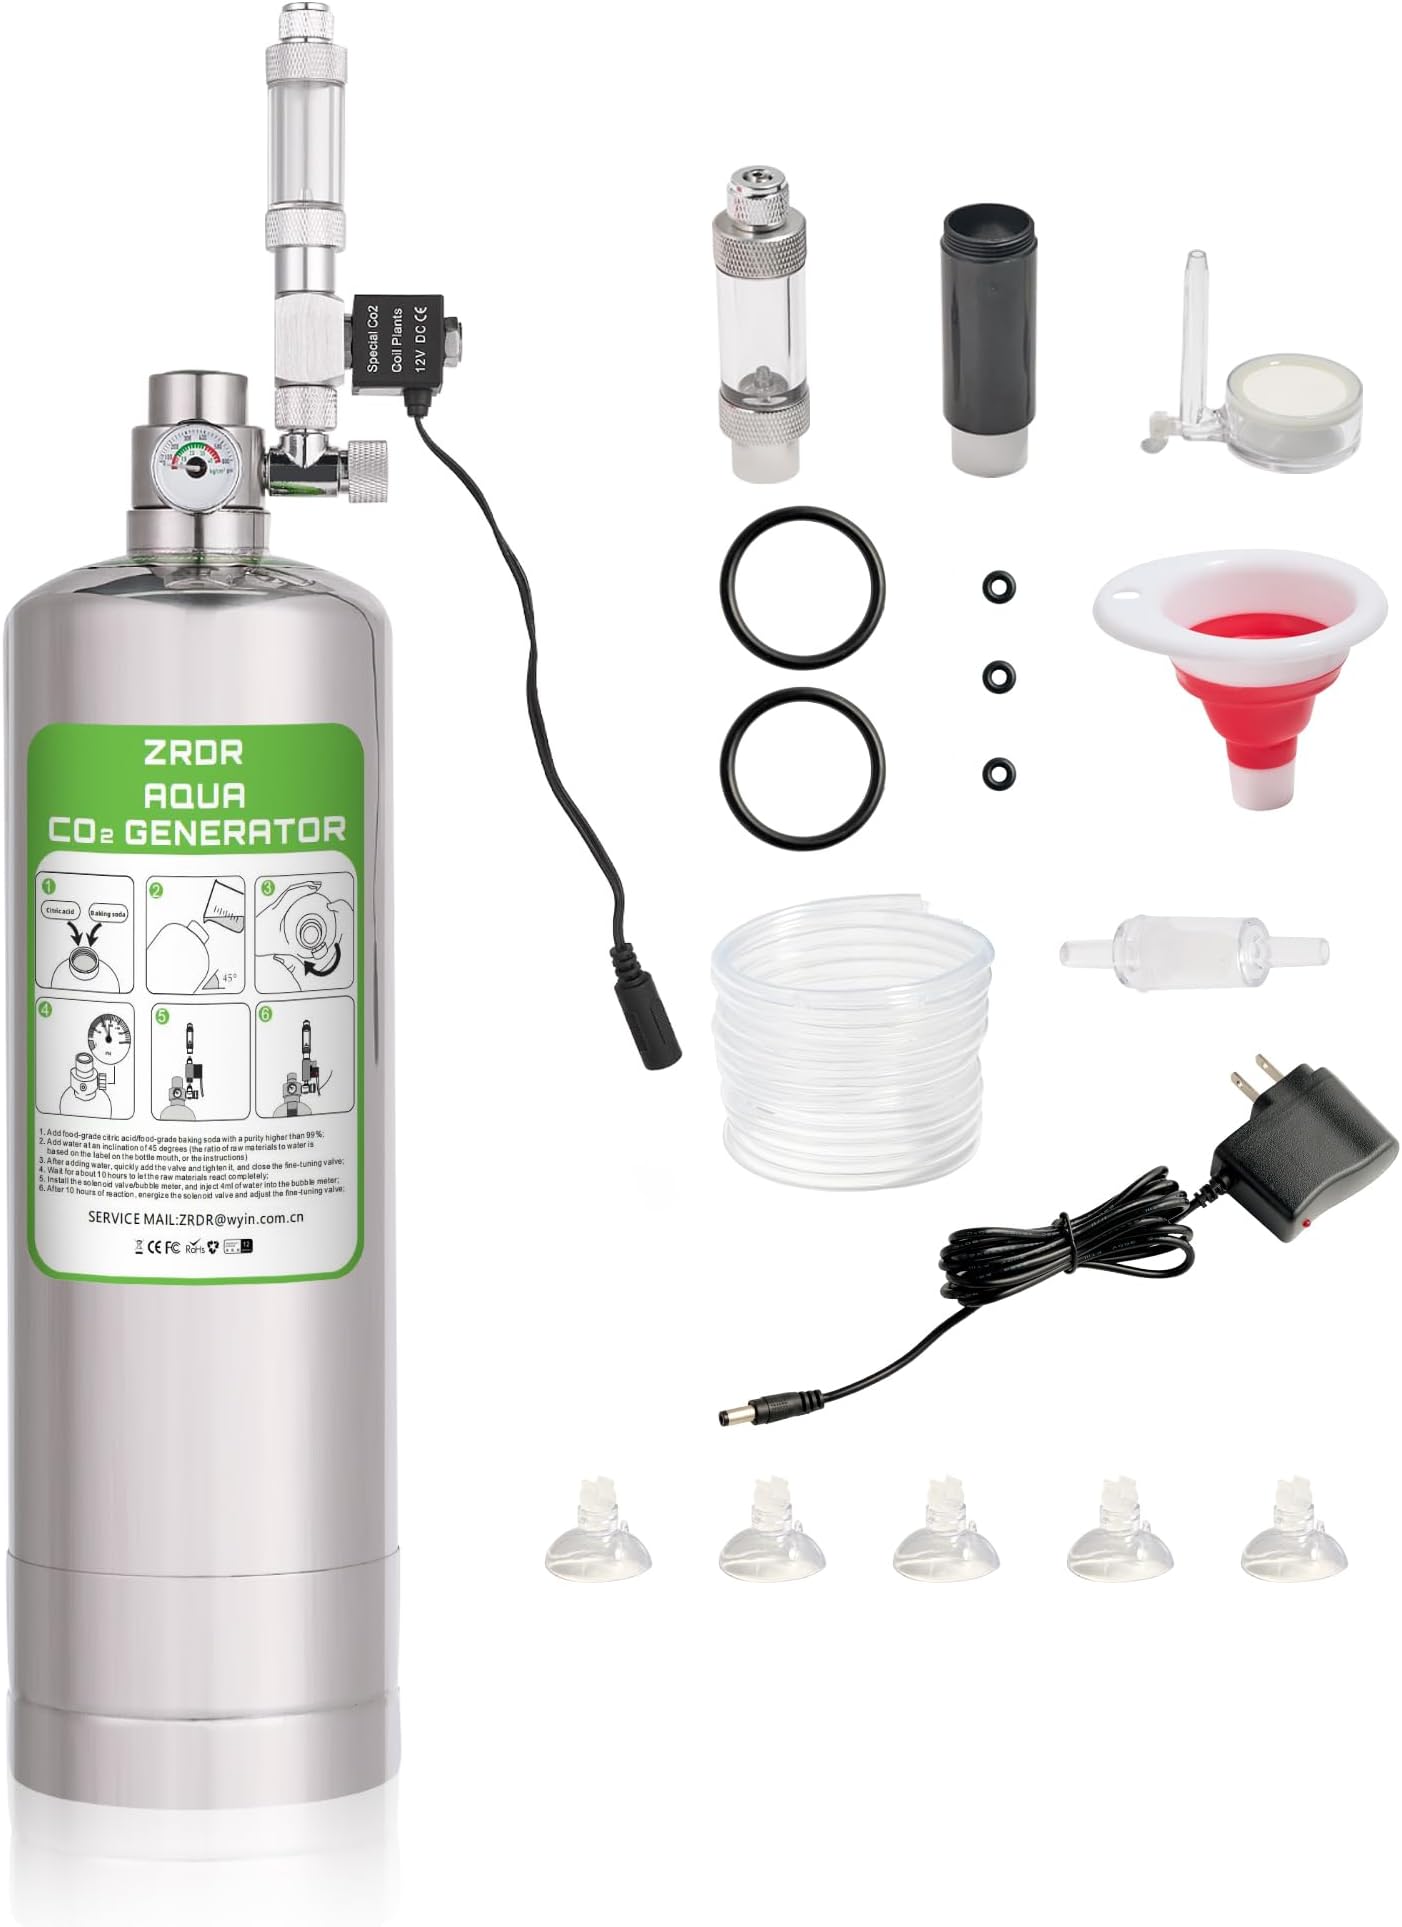
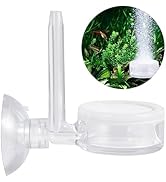
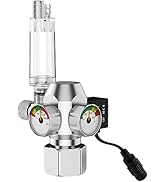
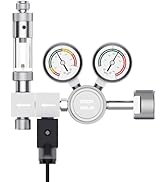
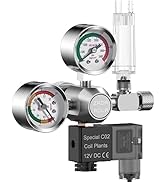
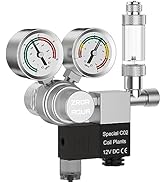
The ZRDR Aquarium CO2 System features a robust 2L 304 stainless steel tank with an integrated pressure gauge and automatic pressure relief valve for safe, consistent CO2 output. Its upgraded bubble counter allows easy water refills via syringe without interrupting operation. Equipped with an atomizer to optimize bubble solubility, this system promotes lush aquatic plant growth. Designed for durability and cost-efficiency, it uses common household reactants, making it an eco-friendly choice for professional aquarium enthusiasts.


| ASIN | B0B9XZMX8L |
| Best Sellers Rank | #92,311 in Pet Supplies ( See Top 100 in Pet Supplies ) #372 in Aquarium Air Pump Accessories |
| Brand | ZRDR |
| Brand Name | ZRDR |
| Customer Reviews | 3.9 out of 5 stars 88 Reviews |
| Included Components | Accessories |
| Item Form | composite |
| Item Weight | 10.58 Ounces |
| Liquid Volume | 2 Liters |
| Manufacturer | ZRDR |
| Manufacturer Part Number | FSQ-Single-zsq |
| Model Number | 2L-Single Gauge-Upgraded |
| Target Species | Aquatic Plants |
| Unit Count | 1.0 Count |
3**O
Using this to make SODA
ZRDR Aquarium Co2 System 2L with Pressure Gauge Automatic Pressure Relief Valve Bubble Counter Purchased 20 May 2024 from ZRDR for $77.99 WARNING: SERIOUS INJURY OR DEATH CAN OCCUR, DON'T DO THIS This is a nonstandard use of the ZRDR CO2 system. This is more of a product suggestion than a review. For the price, this kit is outstanding for the original intended purpose (aquarium) IMHO. This modification is not for the risk adverse, feint of heart, uneducated, nor unskilled. I am merely illuminating what I have done in the hopes that ZRDR will make a professional system for the masses (product suggestion). In the beginning...there was the SodaStream Art by Pepsico. Then I converted this thing to replace the Art and gave the Art away. I just didn't want to fool around with their reasonable $15 60L CO2 canister exchange program, preferring to make my own CO2 from reactants (baking soda and citric acid). I mean come on, making CO2 is cheap and easy. Upfront investment cost is about the same. Recurring costs can be less, providing local access to low cost reactants. At 200g per charge, 5lbs is 2268 grams yielding 11 charges. For convenience, the reactants are sold right here on Amazon: https://www.amazon.com/gp/product/B000OZFECU/ref=ppx_yo_dt_b_search_asin_title?ie=UTF8&th=1 https://www.amazon.com/gp/product/B0774M73SF/ref=ppx_yo_dt_b_search_asin_title?ie=UTF8&psc=1 This project does require know how and mechanikin' skillz. There are two basic options, modify this canisters OEM top cap permanently destroying the built in regulator and removing everything past and including the bubbler (port in cap for bubbler is 1/8" BSPP), or drill and tap an M30x1.5mm plug using a ~34x28mm O-ring: https://www.amazon.com/gp/product/B0BCFB7PBV/ref=ppx_yo_dt_b_search_asin_title?ie=UTF8&th=1 Then it's basic plumbing parts until the bottle. I clear Epoxy all plumbing joints. I used two ball valves and a pressure gauge so I could check the canister and bottle pressure, all 1/4" NPT. Then a pressure washer quick disconnect: https://www.amazon.com/gp/product/B07RHK7HK2/ref=ppx_yo_dt_b_search_asin_title?ie=UTF8&th=1 https://www.amazon.com/gp/product/B08F2X5L24/ref=ppx_yo_dt_b_search_asin_title?ie=UTF8&th=1 Then drilled a replacement SodaStream bottle cap with 3/8" brad point drill bit then 13/32" and thread with 1/4" NPT tap, appropriate washer threaded 1/4" NPT, epoxy and a 1/4" compression fitting: https://www.amazon.com/gp/product/B0CZ32LWCC/ref=ppx_yo_dt_b_search_asin_title?ie=UTF8&th=1 And a check valve between pressure washer QD and 1/4 compression fitting: https://www.amazon.com/gp/product/B0BN6HL5B3/ref=ppx_yo_dt_b_search_asin_title?ie=UTF8&psc=1 Then there are two options for the 1/4" stainless tube. From the underside of the bottle cap to the end of tube assembly should be 3+1/2 to 3+5/8 inches long. Easiest was to use a piece of this tube and crimp end in vise for small holes ~1mm: https://www.amazon.com/gp/product/B0006NAUQK/ref=ppx_yo_dt_b_search_asin_title?ie=UTF8&th=1 Fill Sodastream bottle with water to line, chill in fridgedator, screw on and three *quick bursts. NOTE: releasing Sodastream bottle pressure between each burst (I just unscrew bottle from cap). At the end of each burst the bottle pressure should read ~55psi. I should have added a 55psi regulator. This is INHERENTLY DANGEROUS as the Sodastream bottle can be pressurized to way more than 55psi. The second method for the tube assembly that I preferred was to use heavy wall (0.065" wall) stainless 1/4" tube, drill and tap for 3/16-24, then use a vented socket head stainless screw (0.046" hole = 1.1684mm). Both purchased elsewhere. Sodastream bottles and caps here: https://www.amazon.com/gp/product/B01AHGDQ3Y/ref=ppx_yo_dt_b_search_asin_title?ie=UTF8&psc=1 https://www.amazon.com/gp/product/B004OYMOK2/ref=ppx_yo_dt_b_search_asin_title?ie=UTF8&th=1 Amount of CO2 in soda is amazing. I get 6 to 10 1L carbonized Sodastream bottles out of a single baking soda and citric acid charge. At 11 charges that is at least 60 1L bottles carbonized, up to 110. When ZRDR canister pressure drops to below 100psi, I pressurize the Sodastream bottle assembly, then QD and shake vigorously for 10-45 seconds, let sit in fridge for a bit to get more 1L carbonized bottles out of a single charge. This is the reason for the QD and check valve on bottle cap assembly. I like this method for many reasons, the added bonus is it doesn't leak so CO2 waste is minimized. But it lacks a safety release and regulator making it INHERENTLY DANGEROUS. Some notes: I did some research and lots of R&D on this project. What I show here is what I ended up with that IMHO works best. DO NOT use more than 200g of baking soda, 200g of citric acid, and 300g of water in this canister. Pressure will build to 270psi (room temperature) after a couple days unless you use some of the CO2. The canister safety release built into the OEM top cap is advertised for 30Kg/cm2 which is 426psi. My method shown here eliminates that safety release which is DANGEROUS and NOT recommended. I should have added a 300psi 1/4" NPT safety release sold right here on Amazon. Ordinary soda bottles have a burst pressure of 12bar which is 174psi, though there is yielding way before burst, I do not use ordinary bottles. Sodastream bottles are heavy wall and burst has been tested (one unit) at 25bar or 362psi, though there is yielding way before ultimate. Pepsico says this: "To successfully carbonate water with a CO2 tank, the gas regulator valve should be set at 55 PSI, to enable the serving pressure to remain at around 12 PSI." I should add a 55psi regulator, this method is dangerous as the Sodastream bottle could be pressurized way above 55psi. Pepsico advertises 4 years per Sodastream 1L bottle, not cycle dependent. The modification I made to the Sodastream bottle cap invalidates all of this. It would be best if a cap was specially made for this application (product suggestion). edit 23 July 2024 I ended up replacing the vented screw with a 0.8mm misting nozzle. Taking the misting nozzle apart and removing the spring and rubber check valve. This works much better. FYI 0.6mm is too small. https://www.amazon.com/gp/product/B093L385FF/ref=ppx_yo_dt_b_search_asin_title?ie=UTF8&th=1 Also, I purchased a used 5.5L tank elsewhere and added an oxygen regulator, but that bottle needed a smaller o-ring stretched on the M30x1.5mm top cap, 1"ID by 1/8" thick. https://www.amazon.com/gp/product/B073P1C18S/ref=ppx_yo_dt_b_search_asin_title?ie=UTF8&psc=1 Notes: Helps to put glycerin on the o-rings. Helps to put a small 5" balloon in the tank and fill with water (ye old brass hose nozzle) then drop in tank and screw on top cap. Then shake. Balloon comes later for reuse. https://www.amazon.com/gp/product/B07SR1P15T/ref=ppx_yo_dt_b_search_asin_title?ie=UTF8&th=1
M**O
Easy to install - Use the video on Amazon and you can literally put this together
So far, I like this device and it is super sturdy and looks seriously tech. It really turned out well and was very easy to install. I used the instructions for the dose of chemicals needed, but used the video here on Amazon to get everything connected right. I don't know how many CO2 bubbles I need, but I got it running. You may need a short extension cord which I did as I didn't have it close to a plug outlet. It's a two prong for those of you who want to know. I got it up to the psi that it said and then started putting everything on it like the video showed. I was a little paranoid about cutting the plastic hose air cord but then finally just chose my location which was at the back and figured out where I'd put the in between piece. FYI - the steal curve to hang the plastic didn't work on my tank as it's a black rim 120 gallon and too thick. Luckily, the bubbler piece is heavy so I didn't need it. Oh, make sure the bubbler piece is screwed on snug unless you want a giant bubble which I corrected.. Note - do not put it near an intake as it will fill up your filter with air! I have it on the end with my out take of my canister filter. Fish aren't disturbed by it. I needed CO2 for my plants as I'm getting a lot of algae and my plants needed a kick to grow better. I didn't want to fuss with gas. I admit that my first try sorta failed. I don't know if I mounted the top part with the gasket wrong but it [the gasket] popped out. I lost all of my gas from the first batch and tried again [so buy yourself some big bags of the chemicals or you'll hate yourself and get frustrated], but I used one of the spare gaskets in case the other one was a little odd to try the second time. It's now working perfectly! I am running a serious bubbler with air so that when my lights turn off I don't accidentally hurt my fish. I read that can happen. So far, so good. Once my plants are seriously growing I'll try posting a picture here to show the end results.
T**N
Nice economic CO2 system for small tanks.
This review is just after 2 days of use, I will update it later. Where I live, I did not find a way to get CO2 bottle refills so I opted for an economic way of producing CO2 while keeping a minimum of control over the diffusion. When I was younger, I used the sugar, yeast and water bottles but it was both unreliable and dirty, now this system is very simple to put together even though the instruction manual do have contradictory illustrations and very bad english translation. Example of issue with the illustration is with the check valve which is shown attached outside the tank on the main page of the user manual but is shown to be installed inside the tank right before the atomizer in a tinny tiny picture next page.. I first installed it outside the tank and everything was working fine with the atomizer making a beautiful mix of tiny and medium bubbles but on second day, the solenoid had shoot water in the line and the atomizer was only shooting medium bubbles from one side only. So I dismounted the line, put it back together with the check valve inside the tank as per instructions but the atomizer is still bubbling from one side only. I will see if it improves over the next 4 days, if not, I will try to use the spare one. Picture are from second day of use. Now, I don't know if anyone at ZRDR ever try the products they provide in the box but the guy who decided to ship a collapsible funnel should be slapped in the back of the head as it is almost impossible to get backing soda powder down the funnel because it sticks to the collapsible part where the silicon like material is. I think I will have to purchase a smooth funnel somewhere else as it makes refilling a tedious task otherwise. Update May, 20th 2024: Since the atomizer would not improve its flow, I switched it with the spare one in the box and it did the same: 1st day almost normal bubbling for a CO2 atomizer except for some big bubbles but even after 4 days, the atomizer is only bubbling big bubbles from only one point. To get it to bubble normally, I must push the CO2 flow to continuous instead of 1 bubble per second. This is ridiculous. The atomizer stones are clearly designed for a higher pressure system. The pressure of my CO2 tank is actually at the top of its capacity and yet... almost no fuzzing bubbles, dropping one more star just for that.
K**S
A cheap alternative to buying CO2 tanks
The plastic syringe was received broken and unusable. The directions don't really tell you how to put it together. You just kind figure it out. I am not sure how the solenoid works yet "with a timer". I guess I provide my own timer to the power source. This kit did not include a starter packet of citric acid/baking soda. That wasn't clear in the description. I have baking soda but now I am waiting for an order of citric acid. Update: I received the citric acid and carefully measured each part with a food scale. I was surprised how much media this uses per dose. 200 grams each is nearly half a box of baking soda. Also uses 300ml of water. The soda/acid/water reaction causes the bottom of the tank to become cold. I waited 2 days before connecting the rest of the system. The pressure gauge indicated about 390 psi. This is about 100 more than it said to expect. I have now realized that I was supposed to install the filter to the bottom of the valve assembly that goes inside the tank. Maybe next time. The power supply for the solenoid should be used with a timer. Ideally I have learned the CO2 should be scheduled on and off an hour ahead your lights. It should not be running all the time. This is when you use the broken syringe. I was able to acquire a different syringe and load water into the bubble meter. It requires some pressure to squeeze the water into the bubble chamber. Flow is controlled by rotating the needle valve. It takes a minute before you see the bubbles rising from the atomizer. Everything seems to be working now. Waiting to see how the plants react.
S**.
Great Co2 system
This Co2 generator is honestly fantastic. It produces a long lasting amount of co2 and holds a steady rate of bubbles into the tank. I have one of these bottles on my 20 gallon long aquarium, I had it set at a bubble every 2 seconds for 10 hours a day, the bottle lasted for 1 week shy of 3 months. I fill mine with a ratio of 3/4 cup of citric acid to 3/4 cup of baking soda to 1 cup of cold water. My 2nd bottle that I purchased had a leak coming out of the solenoid, upon taking it apart I found that there is a little screw that goes into the bottom of the solenoid block that had a bad gasket, I added some Teflon tape to that screw and screwed it back into the solenoid and now it has no leaks. You cannot beat the price for this co2 generator, it lasts a long time and has a reliable and steady stream of bubbles once set. The only time you need to adjust the bubble rate is when you set it up after filling it or when the co2 pressure gets really low.
J**L
Good. Not professional, but an affordable choice. Know its faults.
First impressions: it works. Follow directions or videos of same, and you'll be fine. The check valve is junk. Toss it and replace with a brass one for CO2 lines: safer, better, and you'll be less likely to have water siphoned all over the place some morning ;-) My initial setup got the pressure over 200 lbs and working perfectly well. Use COLD water when starting out the mix so as not to end up wearing the foam. They do supply extra parts: o-rings and another diffuser. I have learned that the diffuser rusts over time from others who tried these. Some DIY solutions exists, so check those out. OR... you could get a glass diffuser and not worry. This is an affordable alternative to the more expensive units that use CO2 canisters from gas supply houses. CO2 got to be very challenging to find during and post-COVID, so this is a good choice. It has been working for me for one week. We shall see how long it lasts.
C**N
Regular pressure , no fuss CO2 system.
I have a DIY CO2 that I had to mess with on the daily. Caused me to be frustrated and take up time not to mention I might kill the fish of I keep it on to long. Advantges to this kit. Properly labeled so you can always remember you needed materials Wide opening so it's easy to put ingredients IN and clear out the giant crystals when you do a change (byproduct from the CO2). Stainless construction and you won't worry about it blowing up. Hassel free CO2 and for me it was 4 weeks before I had to put in more. Didn't once have to mess with the co2 flow. First fill I got pressure to the top of the guage (green part). Disadvantage: None that I am aware of other then once you get those mixes kn the tank cover it as fast as you can. This is what you graduate to from DIY and your plants will flourish! I mean grow crazy that you will have to trim and cut to keep it down, or be like me and have enough to plant an entire second 8gallon nano tank. Bad part is now I need another CO2. I think I'll try the 2.5l or larger next maybe with the second pressure guage to see if that helps but it's already mainence free. I will update as I do changes to see the durability of the product. I hope the video helps.
B**N
Great option instead of going to the gas company for co2
It’s very sturdy and works perfectly. I’ve seen the old method using the plastic soda bottles and didn’t want to attempt making my own co2. But, with this I’m perfectly fine making my own. It’s great except the screw top is a little troublesome at times to screw back on but, not a deal breaker and I think they updated this model with an easier screw top. If you’re new to making your own co2 like I am I would suggest you buy this.
J**R
Perfect CO2 supply when refills are not available
If you don’t have a local canister refill supplier then this is an excellent way to get a consistent bubble count. It looks good, is easier to use than a DIY system, and the materials (citric acid powder and bicarbonate soda powder) can be ordered in bulk online and are quite cheap. Well made and reliable.
Trustpilot
2 days ago
1 month ago