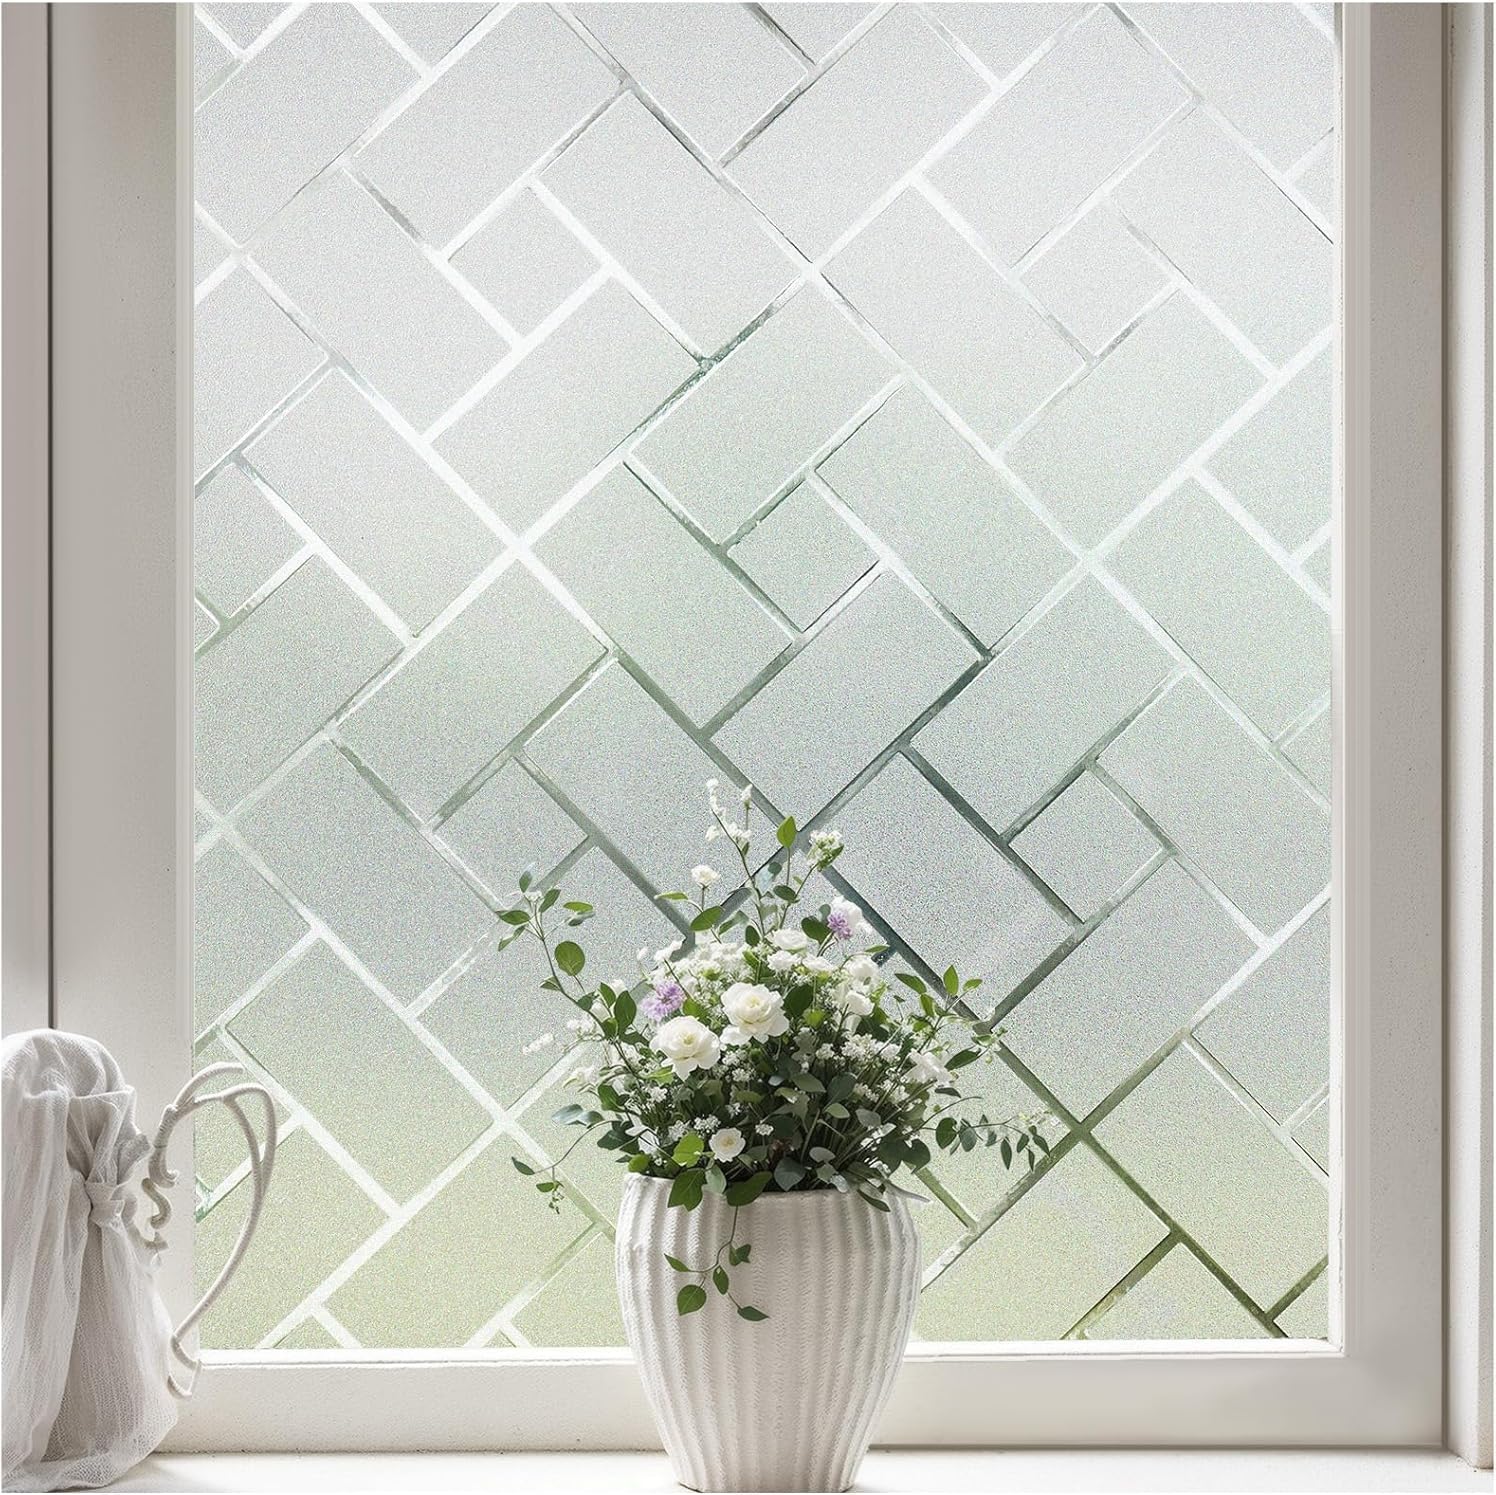
I used this product on one side of a sliding door. This product is thicker, much like a tarp, which may translate into better insulation and ray deflection. I had recently worked with two competing products, one thinner and one thicker, and this is superior to the competing thicker product and on par with the thinner product. Both thicker products darkened the incoming light, it's a matter of your preference (I had not thought about that ahead of time, but would recommend doing so). Surprisingly, this product had no problem with curling (pic 1), making it easy to work with, no wrestling or having to roll it the opposite way and using office clips to keep it that way, at least overnight, like its competitor! There are no tools included in this one as the thinner option offers, but it helped for me to have done three pairs of windows before this one in terms of the amount of time it took. My modified instructions are: (1) Decide a large smooth surface where you’re going to measure the material, and sweep its dirt off first. I used a laminated wood living room floor near the target window. (2) Measure the window, ideally with a long straight edge (pic 2, I forgot about that straight edge before!) that's as long as one of your dimensions; (3) Clean the window(s) you’re using this product on; (4) Gently lay out the product. You will only need one or two heavy things to weigh down the edges due to this product's minimal curling. A floor lamp or overhead light will help you see your marker marks. Using an erasable marker, with measurements a marker width wider than what you came up with in step 2, mark the product for the shorter length cut (typically to the length of the slider in my case). It's easier and thus a good morale builder. Cut that side, I used scissors. (5) For the longer edge, assuming that your window is narrower than this product, pick which side (left or right) you're going to remove the excess off of based on which has the most defects (pic 3). You may need a soft sofa, chair, or person to help you do the longer cut, for laying the product on as you cut your way through it. (6) Optional: wipe off your marker marks. (7) Hold what you cut on the window (dry) that you’ll be putting it on for checking your accuracy. If it’s slightly off, use that on the top of the window (have the “off” part where it would be least noticed). With this product, due to its thickness, it's best to cut the extra, it's best to use scissors. (8) Clear out the area in front of the window. Fill a spray bottle with water and lotion (not detergent), mix well so that it’s relatively clear. Place a towel in front of the receiving window, and generously spray the receiving window. (9) Peel off the back of the product- they include tape, fingernails worked fine for me, whatever works! This will be challenging for a sliding door window due to its length. (10) Hold the film over the towel that’s near the window and generously spray the side you just exposed. (11) Apply the product to the top of a sliding window and let it hang down. (12) Wrap a squeegee with a washcloth/hand towel to avoid scratching the product and work your way down to first remove the bubbles and water and second to apply the product. Don't let striving for perfection get in the way of very good, there's usually no significant difference (pic 4, after I tried it a second time). With this type of product, as long as you cover 99% of the window, you're good! (13) Press around the edges to force the curl away from the window. (14) Due to this product's thickness, getting as close to size is preferable. Scissors worked better for me than a utility knife, for you can easily make a mistake with the latter, including on the frame if it's made of vinyl. (15) Relax, you did it! Okay, one! Darkness: noticeable difference. That was my primary motivation for doing this work. Heat gain: the thicker material seems to make a difference. I put this product on the westernmost sliding door window due to it getting the stronger afternoon rays. Big suggestion: don't order more than one of these products, especially if they're the same width, at the same time OR label them when they come in. I did not, and this product ended up on a different window than it was intended, but on the other hand was much, much easier to work with and install than the other one, which ended up in, fortunately, a more obscure location.