Description
✨ Wake Up to Your Dream Brows Every Day!
- 6 WEEKS OF FLAWLESS BROWS - Enjoy fuller, thicker, and perfectly shaped brows that last up to 6 weeks without daily makeup hassle.
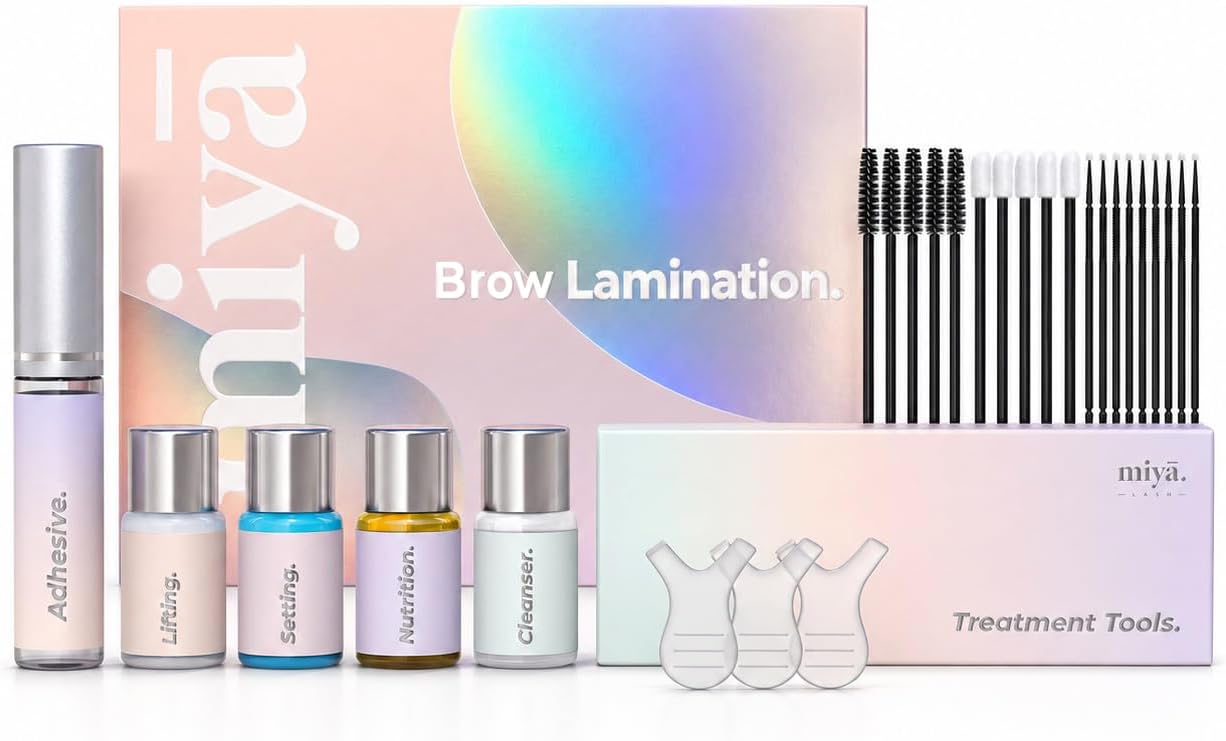
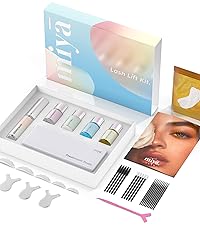
- EFFORTLESS GLAMOUR AT HOME - DIY brow lift kit with easy-to-follow instructions and all tools included for salon-quality results.
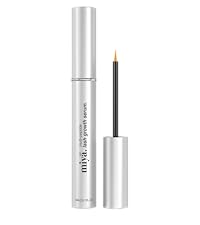
- NOURISHING GENTLE FORMULA - Infused with keratin and chamomile extracts to strengthen, brighten, and promote healthy brow hair growth.
- COST EFFECTIVE BEAUTY UPGRADE - Save hundreds by skipping salon appointments—one kit treats up to 6 sets of brows with professional results.
- TREND SETTING BROW PERFECTION - Achieve the coveted supermodel feathery brow look that instantly lifts and frames your face with natural shine.
The MIYA LASH Brow Lamination Kit is a professional-grade DIY brow lift solution enriched with keratin and chamomile, designed to deliver fuller, thicker, and perfectly shaped eyebrows lasting up to 6 weeks. This all-in-one kit includes treatment lotions, brushes, and easy instructions, offering a cost-effective alternative to salon treatments while promoting healthy brow hair growth with a gentle, nourishing formula.