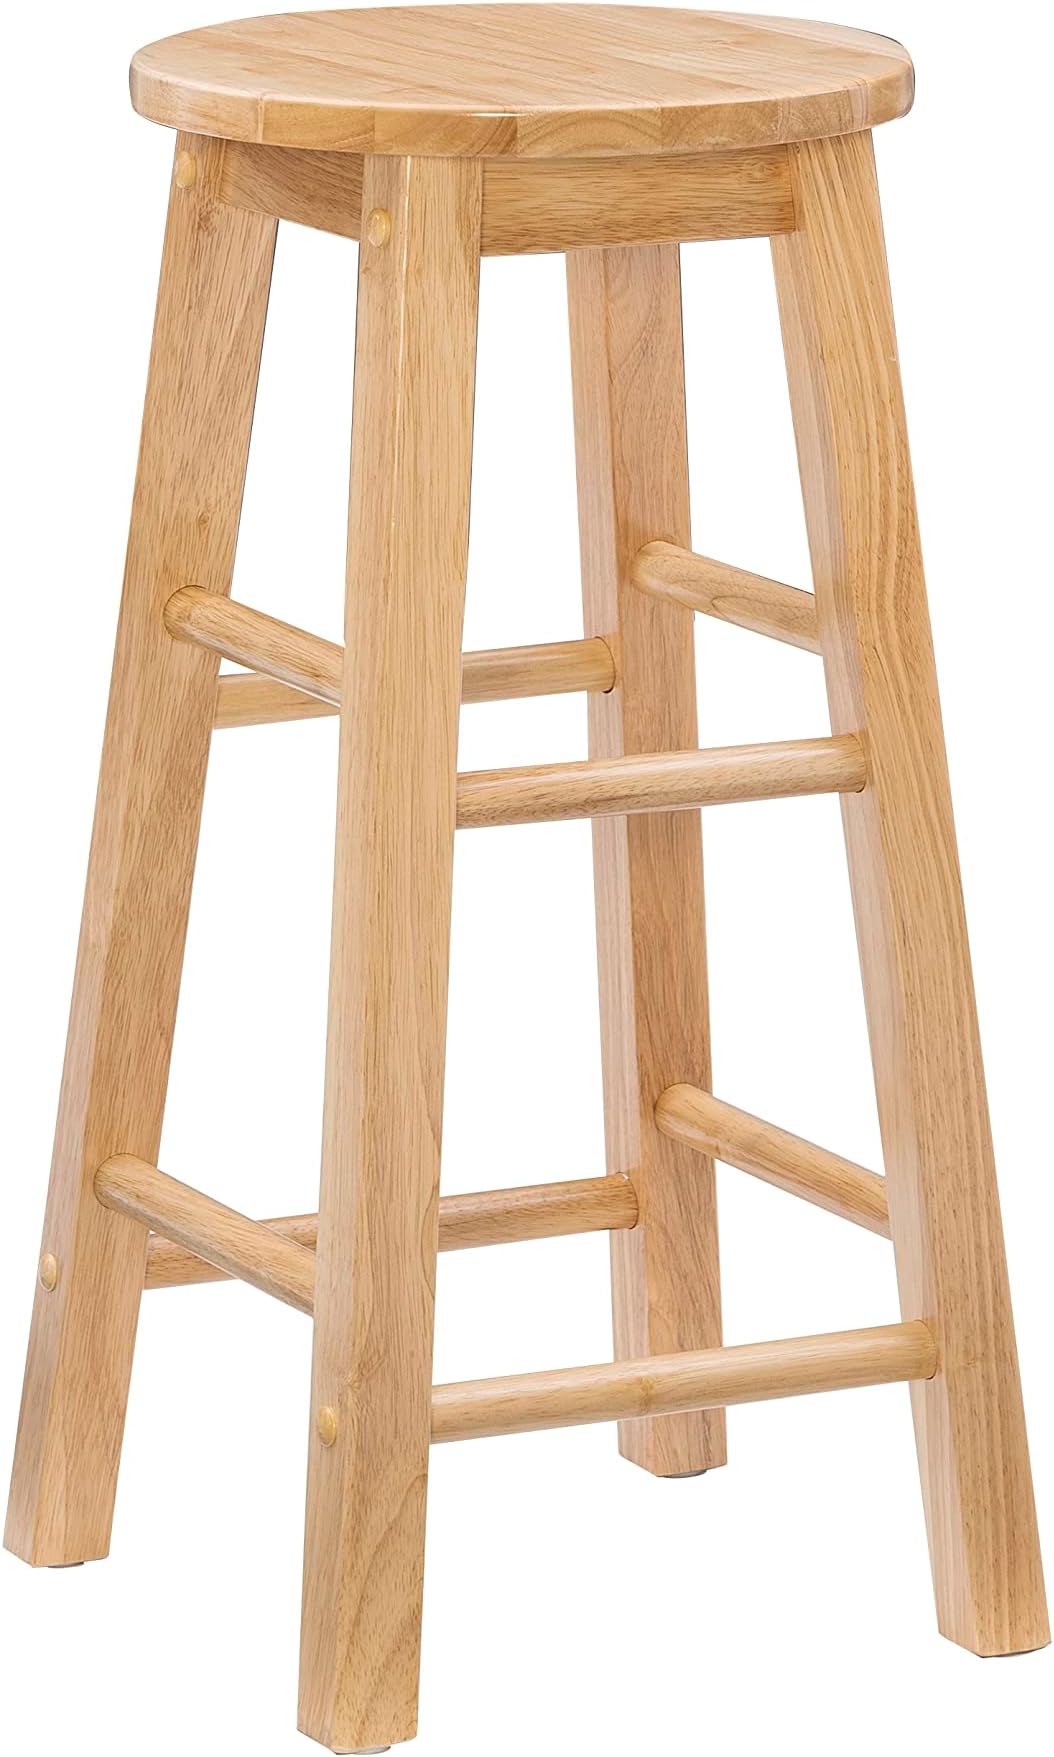
98101NAT-01-KD Barstool with Round Seat, 24-Inch
Product ID: 355268964
Details
- Product Dimensions30.5D x 30.5W
- Frame MaterialWood
- Seat Material TypeWood
- BrandLinon
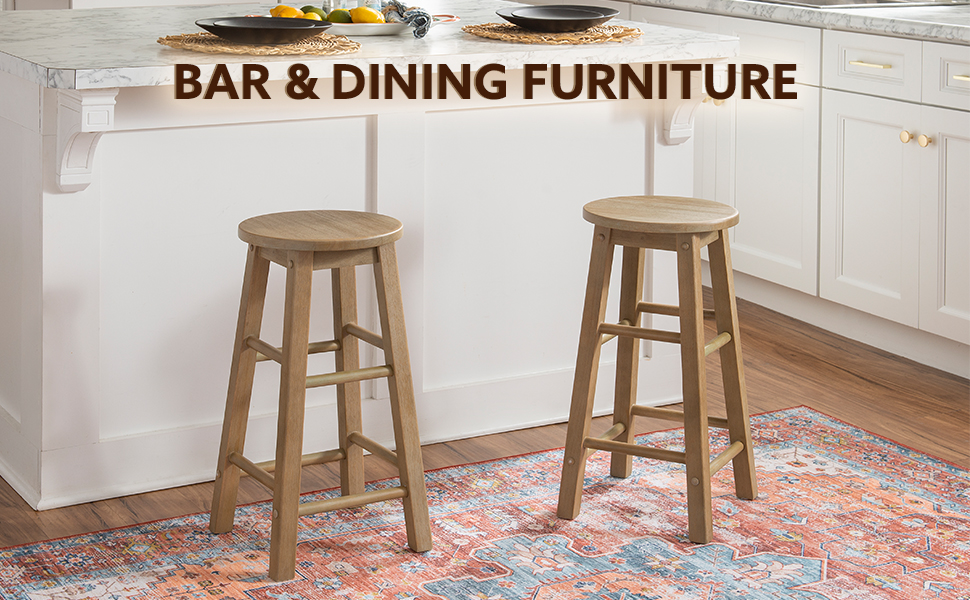
- StyleModern
- Furniture FinishWood
Desertcart purchases this item on your behalf and handles shipping, customs, and support to Senegal.
Review: beau produit - utile pour les comptoirs lunch Review: screws dont align properly - doesn't come with good material and predrills. Wood was great quality, worth the price. The alignment is medicore. The screws it came with didn't align properly and wasn't pre-drilled, required ALOT of effort to fit properly. 1 of the screws kept stripping and i had to come back with wood glue to ensure it stuck together. Sturdy, and my family needed it so didn't return, pretty sure it will last awhile, but expected much more for a $80 stool


| ASIN | B0048VGMEU |
| Assembly Instructions Description | Assembly required. Attach seat to base. |
| Bed Size | 24" H x 12" W x 12" D |
| Brand | Linon |
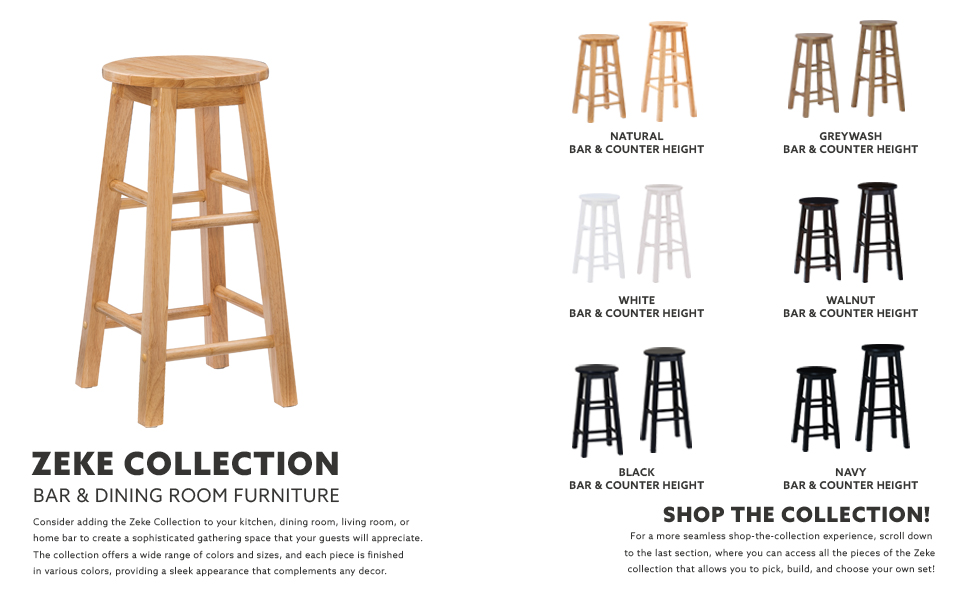
| Colour | Neutral/Beige (Wood Tone) |
| Country of Origin | USA |
| Customer Reviews | 4.4 out of 5 stars 1,396 Reviews |
| Frame Material | Wood |
| Furniture Finish | Wood |
| Global Trade Identification Number | 00753793859491 |
| Is Assembly Required? | Yes |
| Item Depth | 12 inches |
| Item Dimensions | 30.5 x 30.5 x 61 Centimeters |
| Item Dimensions D x W x H | 30.5D x 30.5W x 61H Centimeters |
| Item Weight | 7.14 Pounds |
| Leg Style | Straight |
| Manufacturer Part Number | 98100NAT-01-KD |
| Maximum Weight Recommendation | 275 Pounds |
| Model number | 98100NAT-01-KD |
| Number of Items | 1 |
| Number of Pieces | 1 |
| Product Care Instructions | Wipe with Dry Cloth |
| Product Dimensions | 30.5D x 30.5W x 61H Centimeters |
| Seat Material Type | Wood |
| Set Name | Single |
| Shape | Round |
| Size | 24" H x 12" W x 12" D |
| Style | Modern |
| UPC | 753793859491 |
| Unit Count | 1.0 Count |
L**R
beau produit
utile pour les comptoirs lunch
K**C
screws dont align properly
doesn't come with good material and predrills. Wood was great quality, worth the price. The alignment is medicore. The screws it came with didn't align properly and wasn't pre-drilled, required ALOT of effort to fit properly. 1 of the screws kept stripping and i had to come back with wood glue to ensure it stuck together. Sturdy, and my family needed it so didn't return, pretty sure it will last awhile, but expected much more for a $80 stool
M**N
Never have I ever....
... Purchased an item that couldn't be assembled with the tools provided. This stool is actually impossible to assemble. The screws are too large for the holes so they cannot go through. I just can't understand what went wrong here, it's a shame because the stool itself looks fine, either way it's going back. A bit of a waste of time because I needed it for a photo shoot.
S**2
Nice quality stool
Nice stool. Assembled well and it had all the parts that actually fit together. Thank you for the prompt delivery.. Looks as though it's going to last and be durable.
P**R
Assembly Is Simple, But Not Easy
Assembly Is Simple, But Not Easy...That is to say it is not difficult to understand HOW it is supposed to go together, but it is not simple to actually PUT it together. But here are some tips that will save you some hassle: There is the round seat under which there are two pre-installed wooden cleats. Then there are two leg assemblies, each consisting of two legs and both of those having two pre-installed stretchers. These screw into the cleats under the round seat. Lastly there are four more stretchers that are inserted between the two leg assemblies before you tighten the screws mounting the leg assemblies to the seat. The two longer (bottom) stretchers each receive a screw into their butt ends from the leg assemblies to hold everything together. Only 8 screws total. Others have written about the look and finish and I concur with that. It is a nice looking, well made, nicely finished stool. This review concerns itself more with the assembly process which is not particularly easy. You are supplied 8 Allen head wood screws, a single Allen wrench, and eight wooden plugs to cover over the counter bores for the screw heads after you get them tightened. Fist off you have to get the screws started in each and every location before you tighten them. That makes sense because once it is all tightened up you would not be able to fit the stretchers (rungs) into their locations. However before you tighten the screws everything is a bit wobbly and trying to fall back apart. An extra set of hands here would be a great help, or maybe just a long clamp to hold the two main leg assemblies as you set the stretchers in place. Next the stretchers are round and the pre-drilled pilot holes in their ends for the screws are a little undersized. You can't really stop the stretcher from spinning as you try to tighten the screw unless you were to grab it with a pair of pliers, which would damage the finish. Instead get yourself a second Allen wrench (if you bought more than one stool you already have that wrench in the second stool box) and set that into the screw on the opposite end of the stretcher you are working on. Now as you hold the screw at one end and tighten the screw at the opposite end both screws will gradually tighten right up. If the stretcher is spinning then the stationary screw is getting tighter, and if it isn't then the screw you are turning is getting tighter. Make sure both are fully tightened before you move on. I needed a little extra leverage as I did this so I used a "four way" screwdriver and took the bit out. Then I could slip the empty barrel of that tool over the Allen wrench making a nice handle. The two pre-assembled leg ends screw into cleats on the bottom of the seat. When I fully tightened these one end of one of those cleats split along its grain requiring a hasty repair that mars the overall look of the stool. However in my case that is not critical and I haven't got the luxury of time to either send it back or to do a more comprehensive repair. If I had another one of these stools (and some day I might because they are pretty good for the price) I would get out my cordless drill and re-drill all the pilot holes to avoid some of the hassle. And/or I would throw away the supplied Allen head wood screws and replace them with my own stainless steel screws. Lastly the supplied bungs (wooden plugs) to cover the counter bores for the screw heads are sharply tapered to a smaller diameter on the inside face. I don't see how these are ever going to stay in place without a dab of water proof wood glue or other appropriate adhesive. If their presence is important to you be sure to have some glue on hand.
Trustpilot
1 week ago
2 weeks ago