Description
🔐 Secure your garage, control your space, and never miss a beat.
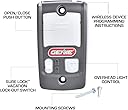
- TOOL FREE SETUP - Install quickly with just 2 screws and simple wiring—no pro needed.
- BACKLIT CONTROL PANEL - Locate and operate your garage door easily even in complete darkness.
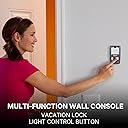
- VACATION MODE SECURITY - Lock out remotes & keypads effortlessly when away for peace of mind.
- INDEPENDENT LIGHT CONTROL - Turn garage lights on/off without opening the door for added convenience.
- UNIVERSAL SERIES II COMPATIBILITY - Works seamlessly with all Genie Series II openers since 1995—no guesswork.
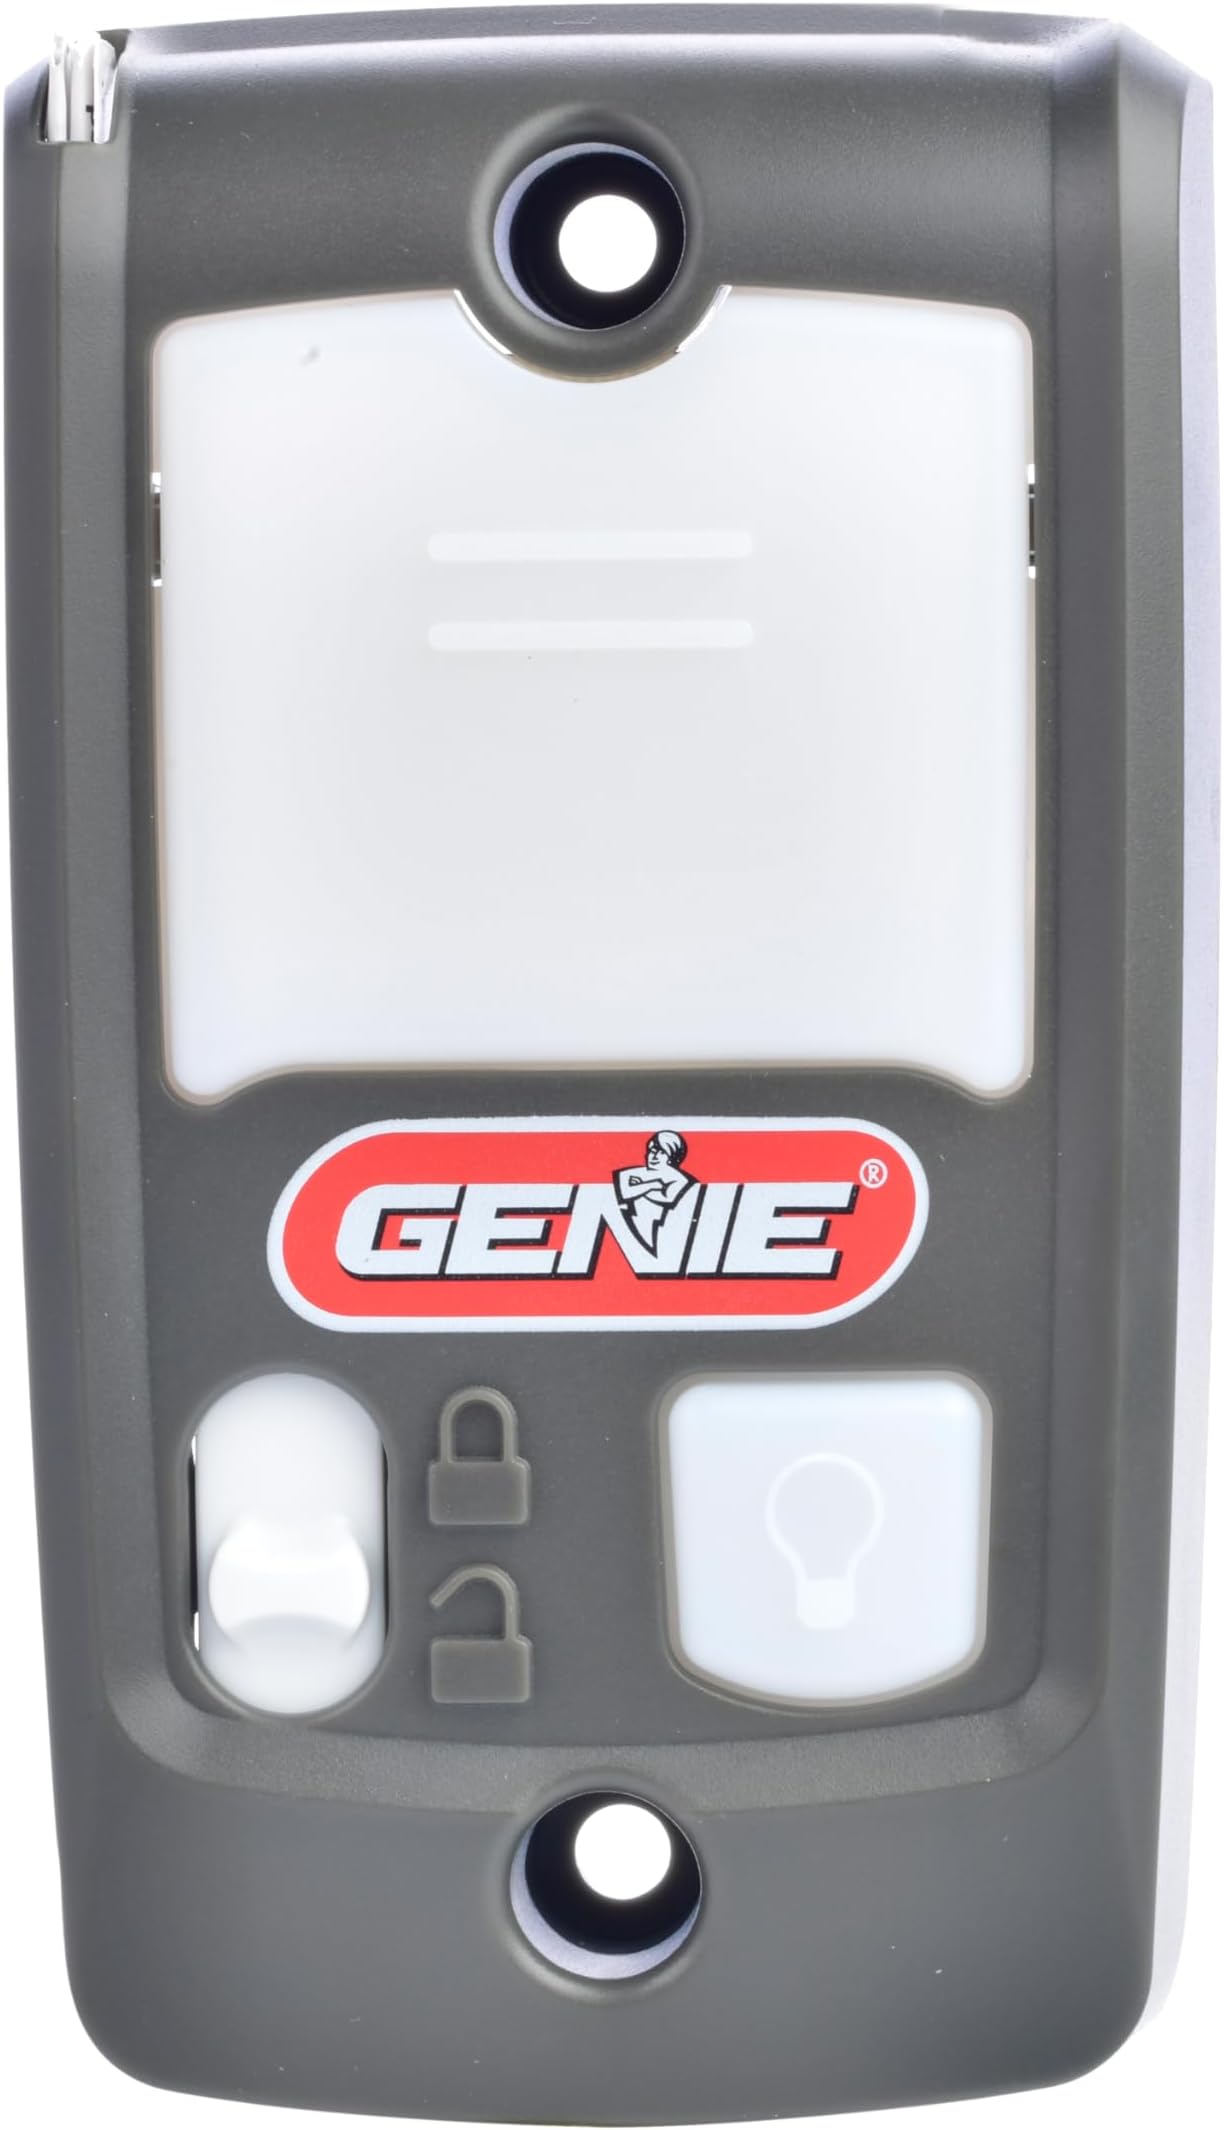
The Genie Series II Garage Door Opener Wall Console (Model GBWCSL2-BX) is a wired control panel designed for effortless operation and enhanced security. Featuring a Sure-Lock vacation lock to disable remotes, a backlit interface for nighttime use, and independent light control, it’s compatible with all Genie Series II openers made since 1995. Easy to install with just two screws, this console upgrades your garage experience with reliable, user-friendly functionality.