We remain fully operational. Our teams are working around the clock to ensure your deliveries continue safely.

DOWNLOAD THE APP


Customer Services
Copyright © 2025 Desertcart Holdings Limited
DOWNLOAD THE APP


⚡ Upgrade your dryer game—quiet, fast, and flawless every cycle!
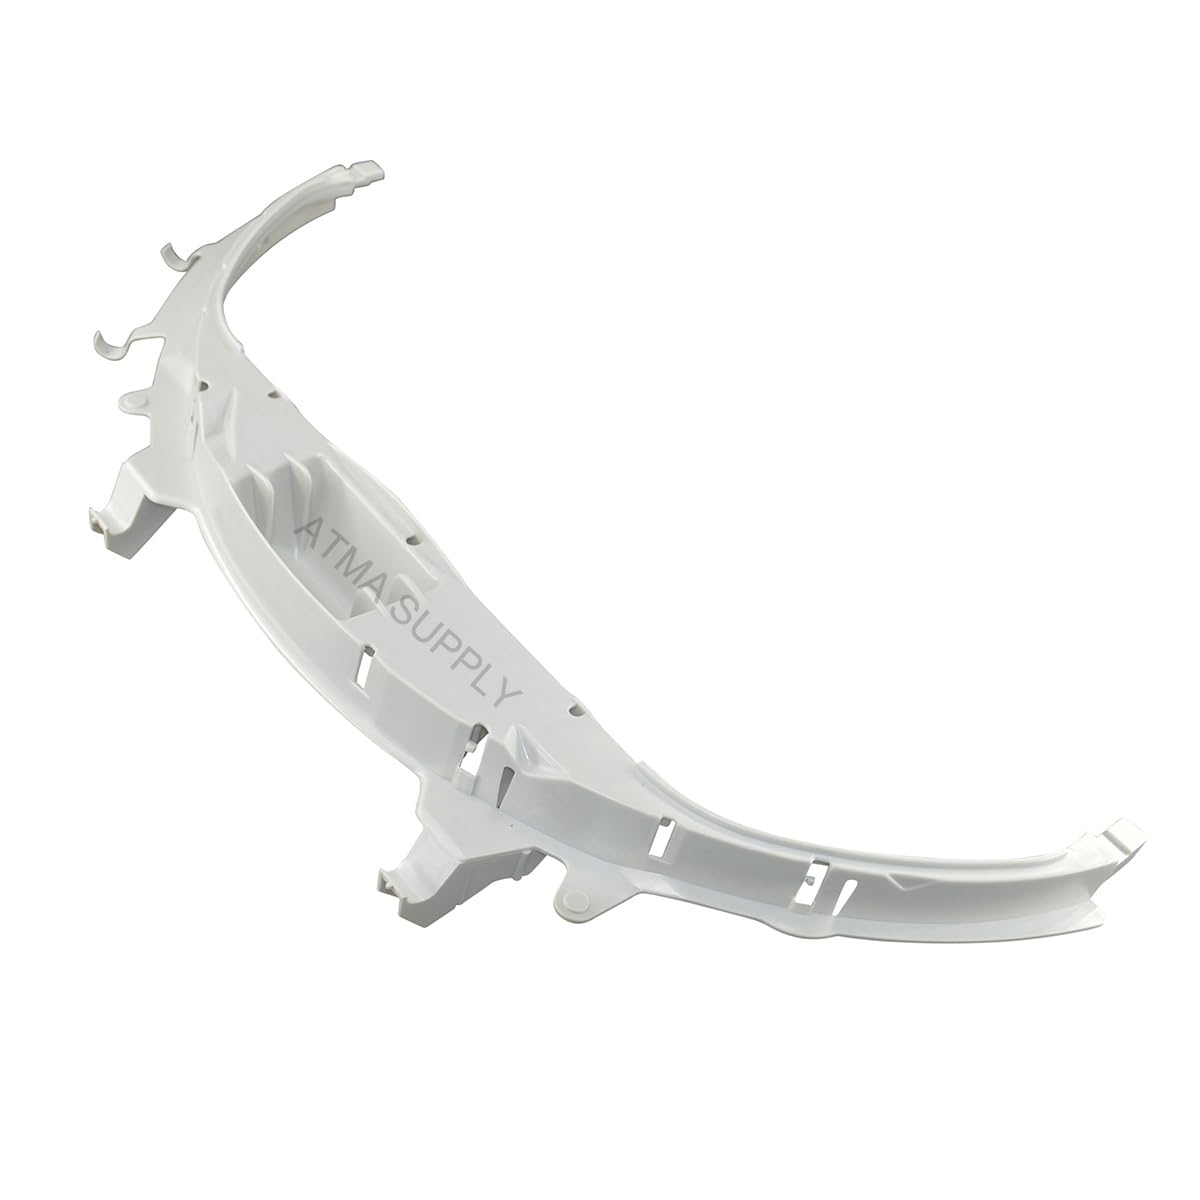
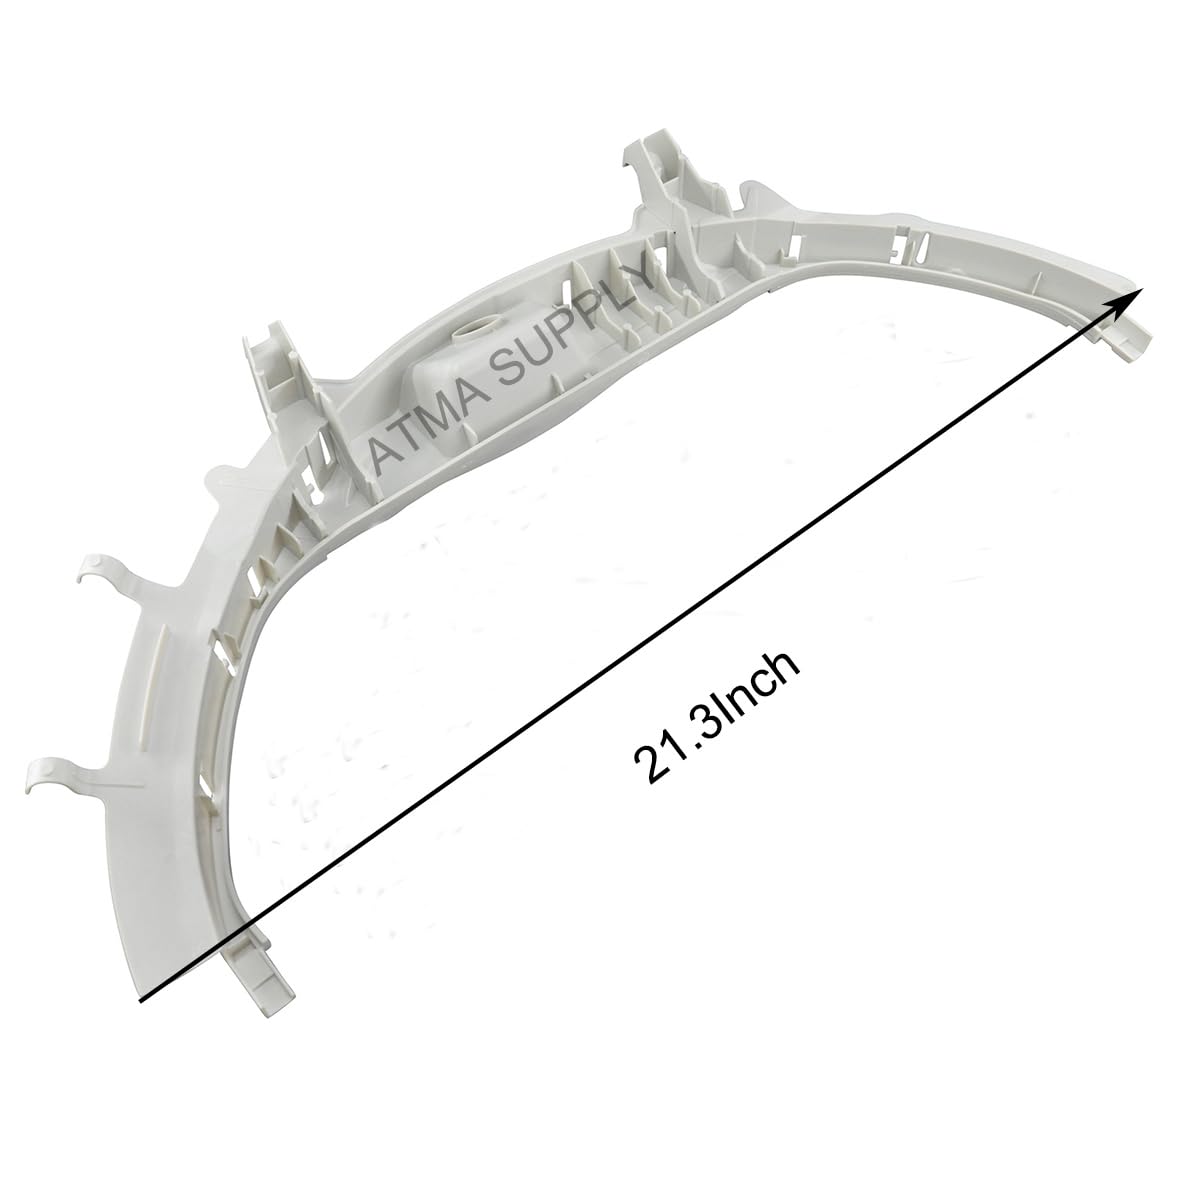
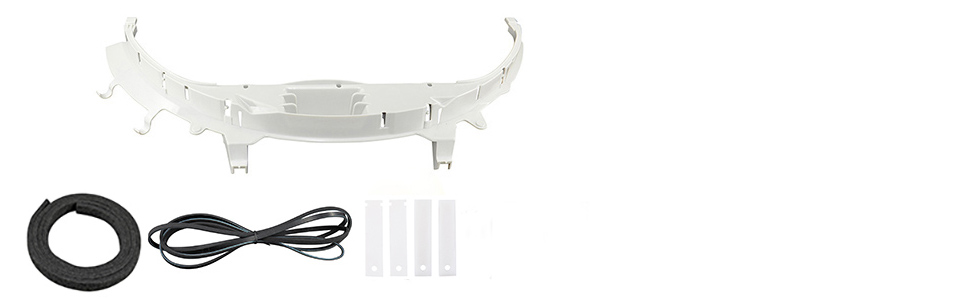
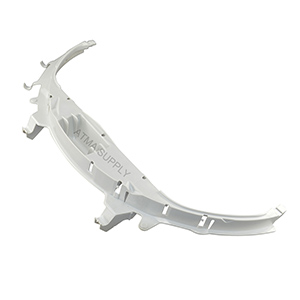
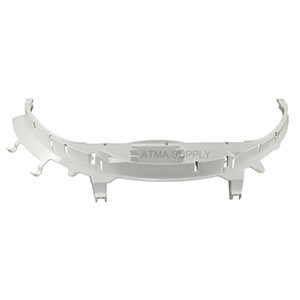
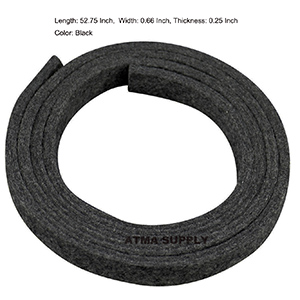
The ATMA SUPPLY WE49X20697 Dryer Bearing Kit is a comprehensive, premium-quality repair set designed to restore top-load GE dryers to optimal performance. Featuring a top bearing, drum felt, drive belt, and durable bearing and glide slides, this kit addresses common issues like noise, slow drying, and drum tumbling failures. Easy to install with online tutorials, it offers a cost-effective DIY fix that saves you from expensive repairs while ensuring your dryer runs quietly and efficiently.


| ASIN | B07ZR5WXYH |
| ASIN | B07ZR5WXYH |
| Batteries Included? | No |
| Batteries Required? | No |
| Color | Multi |
| Customer Reviews | 4.4 4.4 out of 5 stars (1,961) |
| Customer reviews | 4.4 4.4 out of 5 stars (1,961) |
| Date First Available | 24 December 2019 |
| Date First Available | 24 December 2019 |
| Item Weight | 476 g |
| Item model number | WE49X20697 |
| Item model number | WE49X20697 |
| Manufacturer | ATMA SUPPLY |
| Manufacturer | ATMA SUPPLY |
| Package Dimensions | 52.07 x 36.83 x 7.75 cm; 476 g |
| Package Dimensions | 52.07 x 36.83 x 7.75 cm; 476 g |
| Part number | WE49X20697 |
J**Z
Easy install & Fit great. Replacing dryer bearings fixed my dryer noise issue and replacing the upper housing & felt just seemed to make sense since it’s also right there.. Material quality seems cheaper than original part but for the price that’s pretty normal. Been 3 weeks and havent had any issues with it yet.
M**R
Appliance guy told me 450.00 for parts and labor. I bought this instead, did what he would have done myself, and my dryer works. I only needed a belt but once I had the front off, I realized I needed the nylon glides or whatever they’re called. Didn’t need the big round plastic piece. This may save someone some time. Dryer model GE dryer GTD65EBSJ3WS displayed “Pause”, wouldn’t turn on. Open the door remove the 2 upper screws that hold the top section on Lift the front of the top unscrew the 2 black screws that hold the side panel to the front or door panel Unplug the light wire on the upper left side Front panel will lean down once both screws are out, wiggle it off the 2 tabs at the bottom Front panel will be connected only by door switch wires at this point, no need to unplug them, they’re long enough to be able to move the front panel out of the way Put rubber side of belt on the inside, against the drum, drape the belt under the drum, pull down the tension pulley, thread belt through the path it will travel, around drum around motor pulley, under tension pulley, to drum Belt should be tight and drum should not spin by hand at this point Put front panel back on the bottom tabs Open the door, lift the drum by hand on top of new slides, they slide right in easy Lift top panel, screw in black screws that connect the both side panels to the front panel Open the door screw in the 2 screws that connect the front panel to top panel You’re done, start drying your clothes again!
C**L
My dryer needed the plastic pieces so I figured I’d swap out this whole part just in case. Fixed the dryers loud noice, It was easy and I did it alone after watching a YouTube tutorial.
B**F
The dryer bearing kit and belt fit my GE Profile dryer perfectly. The replacement parts were relatively easy to install. I had some challenges with replacing the belt which was likely due to my inexperience. After making the repair, my dryer stopped squeaking. Worth the price to extend the life of your dryer.
K**F
I have a front-loading GE dryer, model GTD18ESSJ0WW. It's about 10 years old now. Recently it started making a squeaking noise. I figured it was probably the belt and put off dealing with it. A couple of weeks later the sound got worse. It became more of a grinding sound so I knew I had better open the dryer up and take a look. That's when I discovered the bearing was worn out, cracked, and broken. Being an older dryer finding an OEM replacement was not easy or cheap. I decided to try this one and I'm glad I did. Install was easy - plenty of Youtube videos for getting this done. It took me about 15 minutes from start to finish. The part fit well, though it was clearly a lighter weight plastic than the OEM. I didn't bother with the belt at this point, but have it for the future when it will inevitably be needed. I got the dryer back together and tested it out. Back to (relative) silence. I've run a few cycles now and everything is in working order. If there is a longevity issue I will update this review.
Trustpilot
1 week ago
2 weeks ago