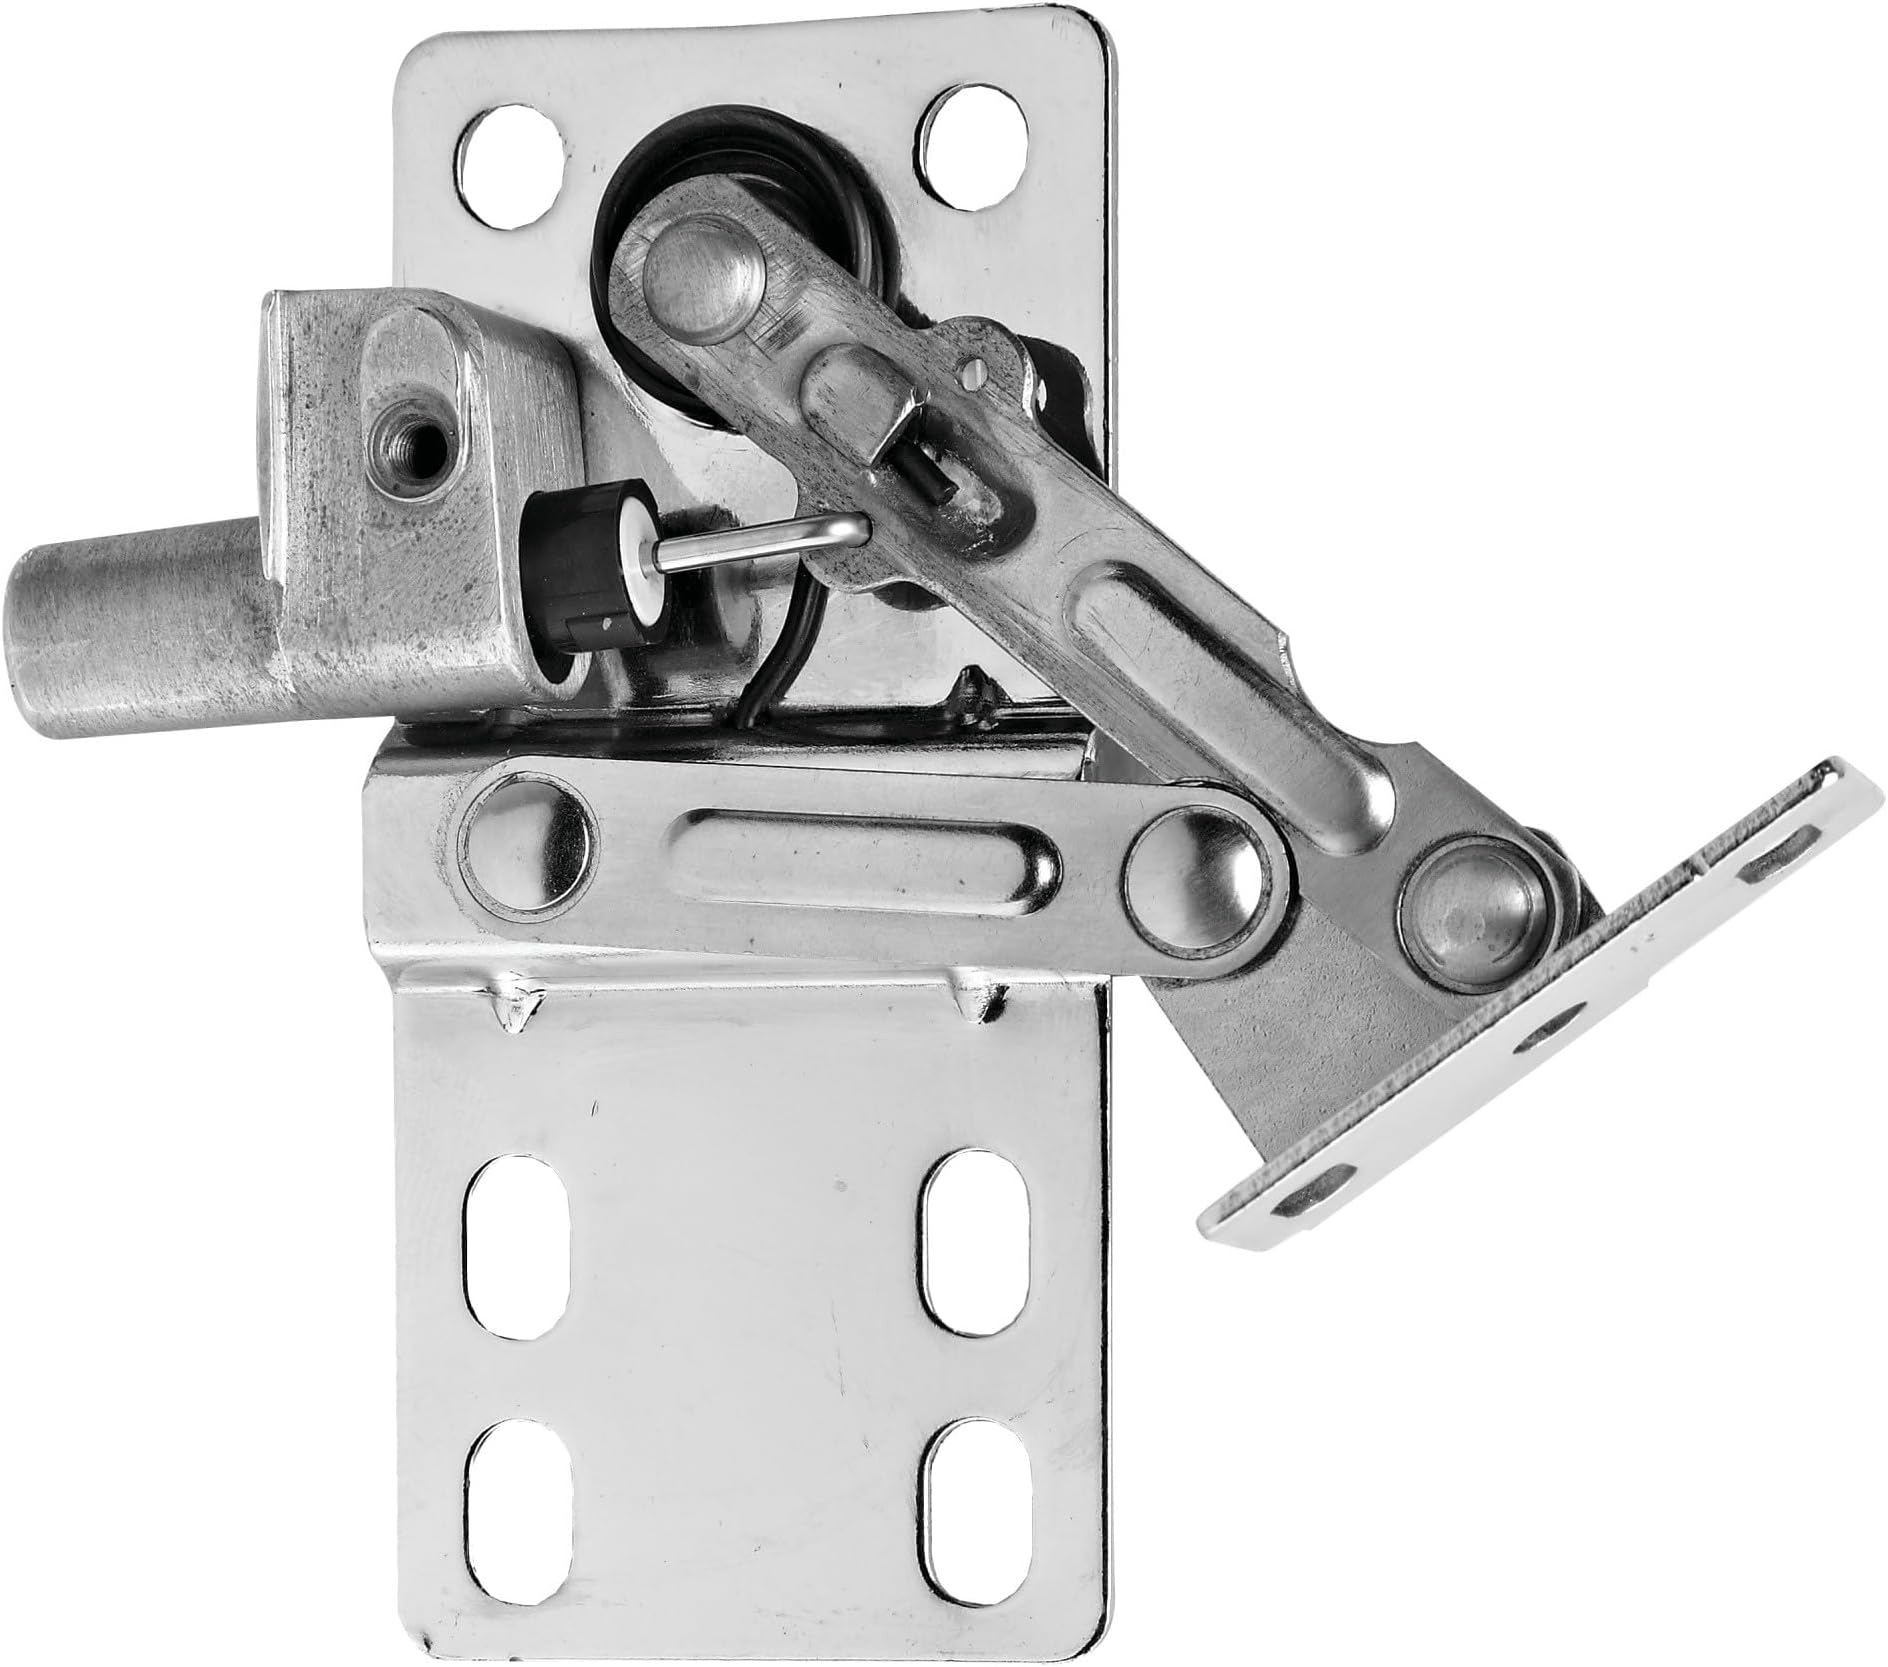
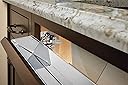
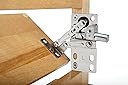
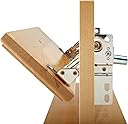
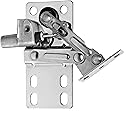
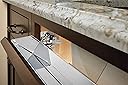
Felt compelled to write review as this product is abundantly better than the set I bought from Menards. With that said, let me first say the instructions included with these were nearly useless, and were quickly discarded. Before my review, here's my written installation tutorial: ------------------ INSTALLATION: Hardware eventually attaches to both the drawer front and the face frame (assuming you have a face frame cabinet); the order in which they are installed does not matter. These instructions will mostly be for attaching to the frame first. 1) with drawer front panel still installed (or aligned to desired location), use pencil to lightly mark the perimeter on the front of the face frame. [If installing hardware on the drawer front first, from the inside of the cabinet, trace the interior perimeter of the face frame onto the back of the drawer front panel.] Now remove drawer front panel. 2) take the two pieces of tilt hardware, and denote which one is L and which one is R. Take one and place it on the appropriate side of the face frame. Align it so that the bottom is resting on the face frame, and the front is flush with the front of the face frame. With a pencil, trace the locations of two mounting holes (you can use any two) onto the frame. NOTE: I recommend not using holes that are ~too~ close to the top or bottom edges of the face frame, as this will make drilling difficult/inaccurate. Repeat the same process for the other side. 3) Drill (with 3/32 drill bit) the two holes into the face frame. Attach hardware with screws into these holes (I believe instructions called for the provided flathead screws; though I discarded and used my own hardware). Repeat for other side. A 90° drill/driver attachment is useful for this step 4) once hardware is mounted to the face frame, place drawer front panel against the face frame in the desired location (using your previously traced perimeter). From the inside of the cabinet (I did it by feel as I'm not the most flexible) mark the mounting hole locations from the hardware onto the drawer front panel. Remove panel and ~carefully~ drill (3/32 bit) the mounting holes. BE SURE NOT TO DRILL ALL THE WAY THROUGH PANEL (drill bit stop collar is helpful here). 5) install drawer front panel to the hardware. This can be tricky, but can be done either from the inside of the cabinet with the hardware 'closed,' or from the outside of the cabinet with the hardware 'open' though the angle may present challenges. Tip: do not fully tighten screws until all four are in place. 6) test function. You may have to slightly loosen the screws and nudge the panel over to get it to close flush or evenly. ----------------------------- Review: Great product, as stated previously. However, installation can obviously present some challenges due to the tight angles and fairly tight installation tolerances. Lack of helpful instructions can further exacerbate these challenges for many other buyers. Functionally, these are incredibly smooth and close with the right amount of force. Compared to the previous set (different brand) that I had installed, these are night-and-day difference in terms of smoothness. Also for the fact that the previous set SLAMMED shut to the point where it would make a good impromptu nutcracker. I still rate this product as 5-stars due to the great functionality, though engineering improvements to ease installation would be a good place for the manufacturer to focus in the future.