

Buy anything from 5,000+ international stores. One checkout price. No surprise fees. Join 2M+ shoppers on Desertcart.
Desertcart purchases this item on your behalf and handles shipping, customs, and support to Senegal.
โ๏ธ Keep your SSD cool, your workflow hotter!
This M.2 Heatsink SSD Cooler kit includes two precision CNC aluminum alloy heatsinks with anodized finish, designed to reduce SSD temperatures by 10ยฐC to 30ยฐC. Equipped with dual-sided nano thermal pads for optimal heat dissipation and a complete installation kit featuring screws and a magnetic screwdriver, it fits M.2 2280 SSDs including popular Samsung EVO and PRO models, enhancing performance and longevity in desktops and PS5 setups.


| ASIN | B082VTVP51 |
| Best Sellers Rank | #18 in Heatsinks |
| Brand | SGTKJSJS |
| Brand Name | SGTKJSJS |
| Cooler Heatsink Compatibility | Samsung 850 EVO, 860 EVO, 960 EVO, 970 EVO, 950 PRO, 960 PRO, 970 PRO, etc. |
| Cooler Heatsink Material | Aluminum |
| Customer Reviews | 4.7 out of 5 stars 1,794 Reviews |
| Item Dimensions L x W x H | 3"L x 0.95"W x 0.4"H |
| Manufacturer | SGTKJSJS |
| Model | cnc-srp |
| Mounting Type | Tabletop |
| Part Number | cnc-srp |
| Product Dimensions | 3"L x 0.95"W x 0.4"H |
| UPC | 824917931406 |
| Unit Count | 2.0 Count |
J**F
helps cool the SSD during heavy loads
I added some SSDs to my computer and I always add these too. Seems to keep the SSD cool and performing well. I have had a couple SSDs that slow to a crawl when transferring data to them like building an image or dropping large files. Once I added these, the performance was a lot better. PROS: It comes with everything you need. - Heat sink, nice pads, screws... I can recommend this product. - Assembles easy and give a place for the heat to go from the chips - Works with my Desktop PC motherboard and all the mini PCs I have. - Says it works with PS5, but I didn't test this. CONS: - Not really any quality instructions, so you have to figure out the placement on your own. it took a little testing trial and error to get a good position, but its not hard. Also know the layout of your device as I think maybe every device takes a little shifting to get a good fit. - May not fit well in all devices. they add a bit of bulk to the SSD and may cause the drive to not fit. so test and use a bit of trial and error.
C**G
The Least Expensive Yet Best Part of my Latest PC Build
I just built a new PC workstation, and while I was putting it all together I used these heatsinks for two of my NVMe M.2 drives. And... I was VERY PLEASANTLY SUPRISED by how nice of a kit this is and how well thought-out it is and all that for so little money. Nice job folks! This kit includes a little screwdriver which also has a magnetized tip that makes it much easier to work with the tiny screws, and speaking of the screws it not only includes all the screws you'll need to put the thing together but it also includes two extra screws (one for each heatsink unit) that you can use to latch down the end of the M.2 card to your motherboard because yeah you probably don't have one of those M.2 screws handy do you? Well no worries! And this includes four thermal pads (one for top and one for bottom of each of the two drive kits) which are of different thickness, so read the manual to make sure you use the right thickness thermal pad on the correct side of your M.2 drive - it's easy to visually tell them apart as one size is visually thicker. It also includes a legible and simple manual which was great as other wise I wouldn't have known which thermal pad to apply to the front and which the back. Finally it includes wipes (wet and dry) to clean off your drive if you need it. Such a well thought-out little product. What a value! And it also looks great and WORKS great too - my drive temps have stayed nice and cool.
V**N
Low cost product, easy installation, performs better than expected
Low cost product, easy installation, performs better than expected, about the same as a factory-installed heatsink on an NVME SSD that is directly adjacent (on the same PCIe expansion card) to a pair of NVME drives with these heatsinks. Per hwinfo64, at idle: PCIe NVMe with factory heatsink temp: 32c PCIe NVMe with this heatsink: 30c Motherboard NVMe: 42c
G**M
Easy to Install and Works Great
Overall, this product works great. It was very easy to install and came with clear instructions. However, I do have two minor issues with it nothing serious. First, the included screwdriver is quite small, so if you have larger hands, it can be a bit uncomfortable to use. Thatโs more of a personal preference than a flaw with the product itself. Second, the fit for the M.2 drive is slightly tight. It doesnโt seem like it would damage the drive in any way, but installation can feel a little snug. Overall, despite these small issues, I think this product is excellent and would definitely recommend it.
E**M
After toasting one SSD and seeing signs of heat on the second, these were a must.
I was skeptical at first with these due to the provision of thermal pads and not thermal paste but once I received them and felt the quality of the metal and saw the profile, I was pretty sure that I had a winner. These have a low enough profile that expansion / GPU cards, safely sit over them without issue. The deep channels and openness of them, allow for adequate flow of air and removal of heat from the SSDs. The instructions were OK and my recommendation is to squeeze down the heatsink as tight as you can to ensure that the pads are touching all surfaces without air gaps. The adhesive was good for the initial lay down and didn't set up too quickly and allowed me a few attempts to put the thermal pads on straight. After booting up the system and copying over 4TB of information I found that the drives ran A LOT cooler with these in place by both touch and through Samsung's Magician app. Heat is the enemy of electronics and this is just what I needed.
J**R
Pretty good actually despite first impressions
EDIT: Initial impression was that these wouldn't work well due to uneven metal and thick paint on the mating surface. After sanding and testing, There is almost no difference. Edit 2: I now use these for all my SSDs in all my builds unless I'm using and ARGB heatsink. I haven't found a better deal yet. I sanded and lapped 1 of them then compared temps and speeds of the sn770 (on a pci-e 3 board unfortunately) as uncooled, stock cooler and sanded/polished cooler. Important note: there are 2 thicknesses of thermal pads included. The thicker one goes on top where different sized components are. Make sure you squeeze your heatsink together pretty firmly while screwing it together. You can see my results in the 2nd picture. Not much difference at all between stock and polished heatsinks so don't bother with that. I had an 18โฐC drop in temps between uncooled and cooled under load. If you aren't getting good temp reduction, you've done something wrong. Original review: Pros: Cheap, fit well, easy to install Cons: -These are painted rather than anodized -They paint the mating surface -Paint is THICK -Sharp burs left near screw cutout -Mating surface is not flat -After sanding quite a lot with 320 and 1500 grit paper and lapping to a semi mirror shine there is still paint due to the uneven surface. It started as a capital I shape and required a lot of sanding with 320 to get to what you see in the pic. Further sanding with 1500 and lapping didn't change the remaining paint. You can see the reflection of the remote in the picture I attached. Temp results in pics
J**.
The temp of the nvme is good, can properly mount thermal pad and fits fine in motherboard.
With the thermal pad properly seated it is keeping the temperature right around 40 degrees C. I'm using a gen 3 computer and the speed of the nvme is around 3000Mbps. This is with family movie video transfers and converting from mpg to h264. It has slots that allow the height to be adjusted to properly seat the thermal pad. After adjusting the height just tighten the screws. It mounted on my motherboard just fine.
R**E
I was able to fit these in a 27" 2019 iMac's NVMe slot after a small modification
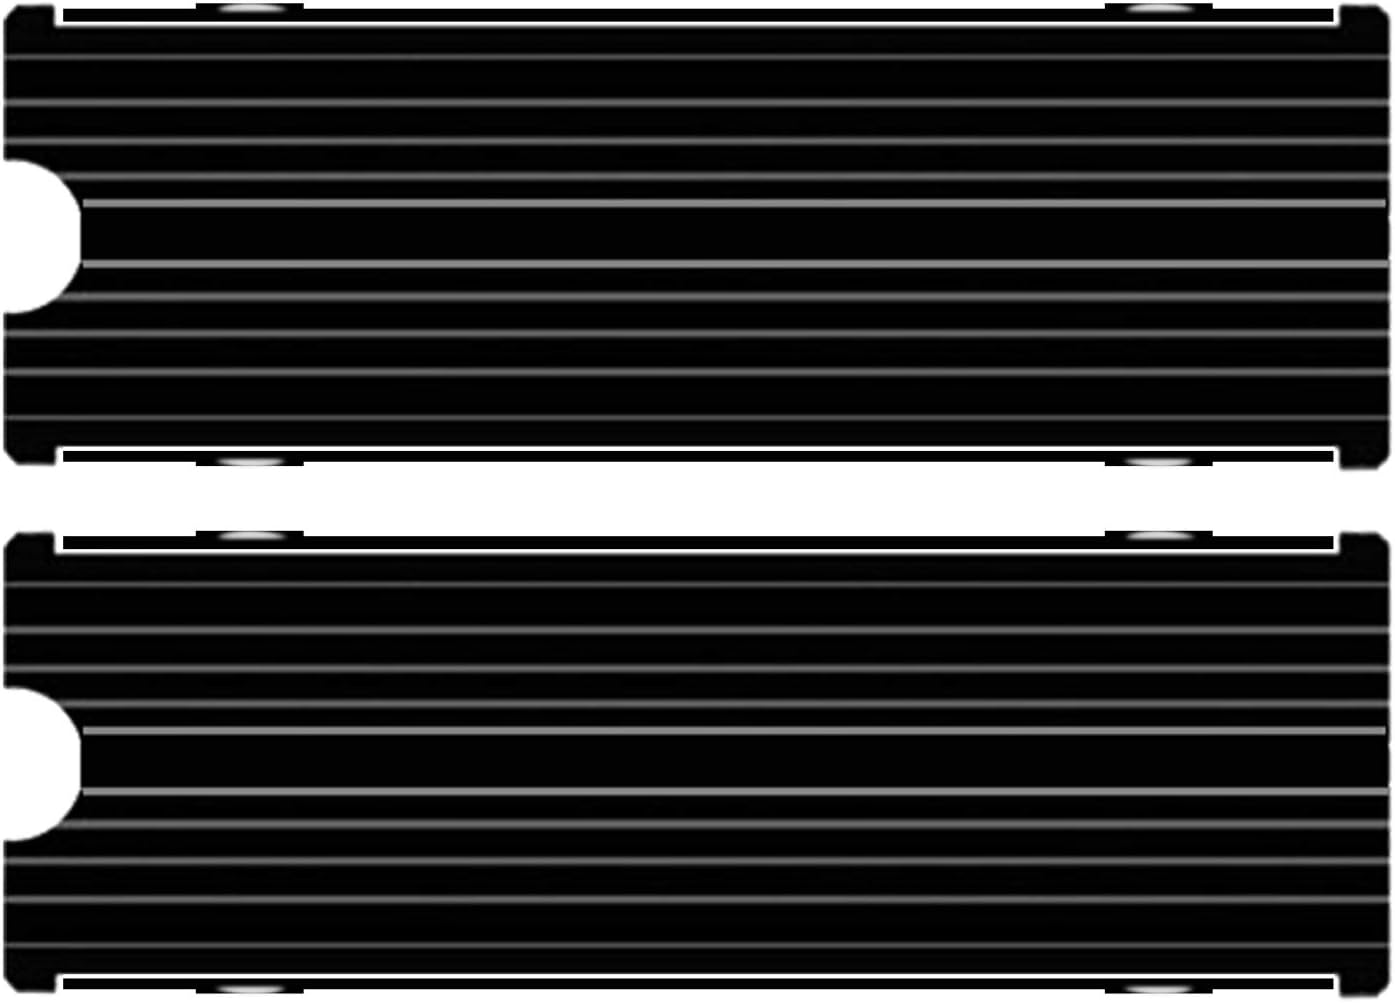
I wanted to replace the 500 GB NVMe that Apple had used in my 2019 27" iMacs with 2TB Gen4 cards, but was concerned that they might run too hot. Which means I needed to wrap the card with some sort of heat sink. I had read that you might, or you might not, be able to use this or that heatsink in this iMac due to the added height of the heatsink โ it sits dangerously close to the back of the enclosure down there by the USB ports. I rolled the dice on these heatsinks because I felt they were the best bargain I could find. I used some 0.5mm high-conductivity heat pads between the SSD and the heatsink, top and bottom. (Remember: the thicker the pad, the lower its heat conductivity!) After sandwiching the SSD in the heatsink, I mounted the assembly in the slot on the PCB, and did a test fit of the logic board in the enclosure. But sure enough, one edge of the heatsink was contacting the back of the enclosure, preventing the logic board from seating correctly. Drats! I could see that the interference is just on one edge. The other 3 edges are clear by a lot. After removing the SSD/heatsink assembly, I took it to my bench-mounted belt sander and lightly sanded the edge that was causing the interference. Have a look at the pictures to see how much I had to sand away, and to what edge. Since the heatsink is made of soft aluminum, it did not take a lot of sanding to remove the offending edge. I sanded away material until I was near the sink's screw, and stopped there. After that, when I mounted the logic board in the enclosure, I could easily slide a piece of paper between the heatsink edge and the enclosure. Buttoned the iMac back together, and the card works beautifully. I'm not a gamer, so I doubt I'll ever heat this card up, but it's good to know that if I do anything that might get the CPU cooking, I'm ready for it.
G**E
Good quality product.
Not tested yet, but it's built quality looks great. Should be better than those heat sinks that are held together with rubber bands.
Trustpilot
3 days ago
1 week ago