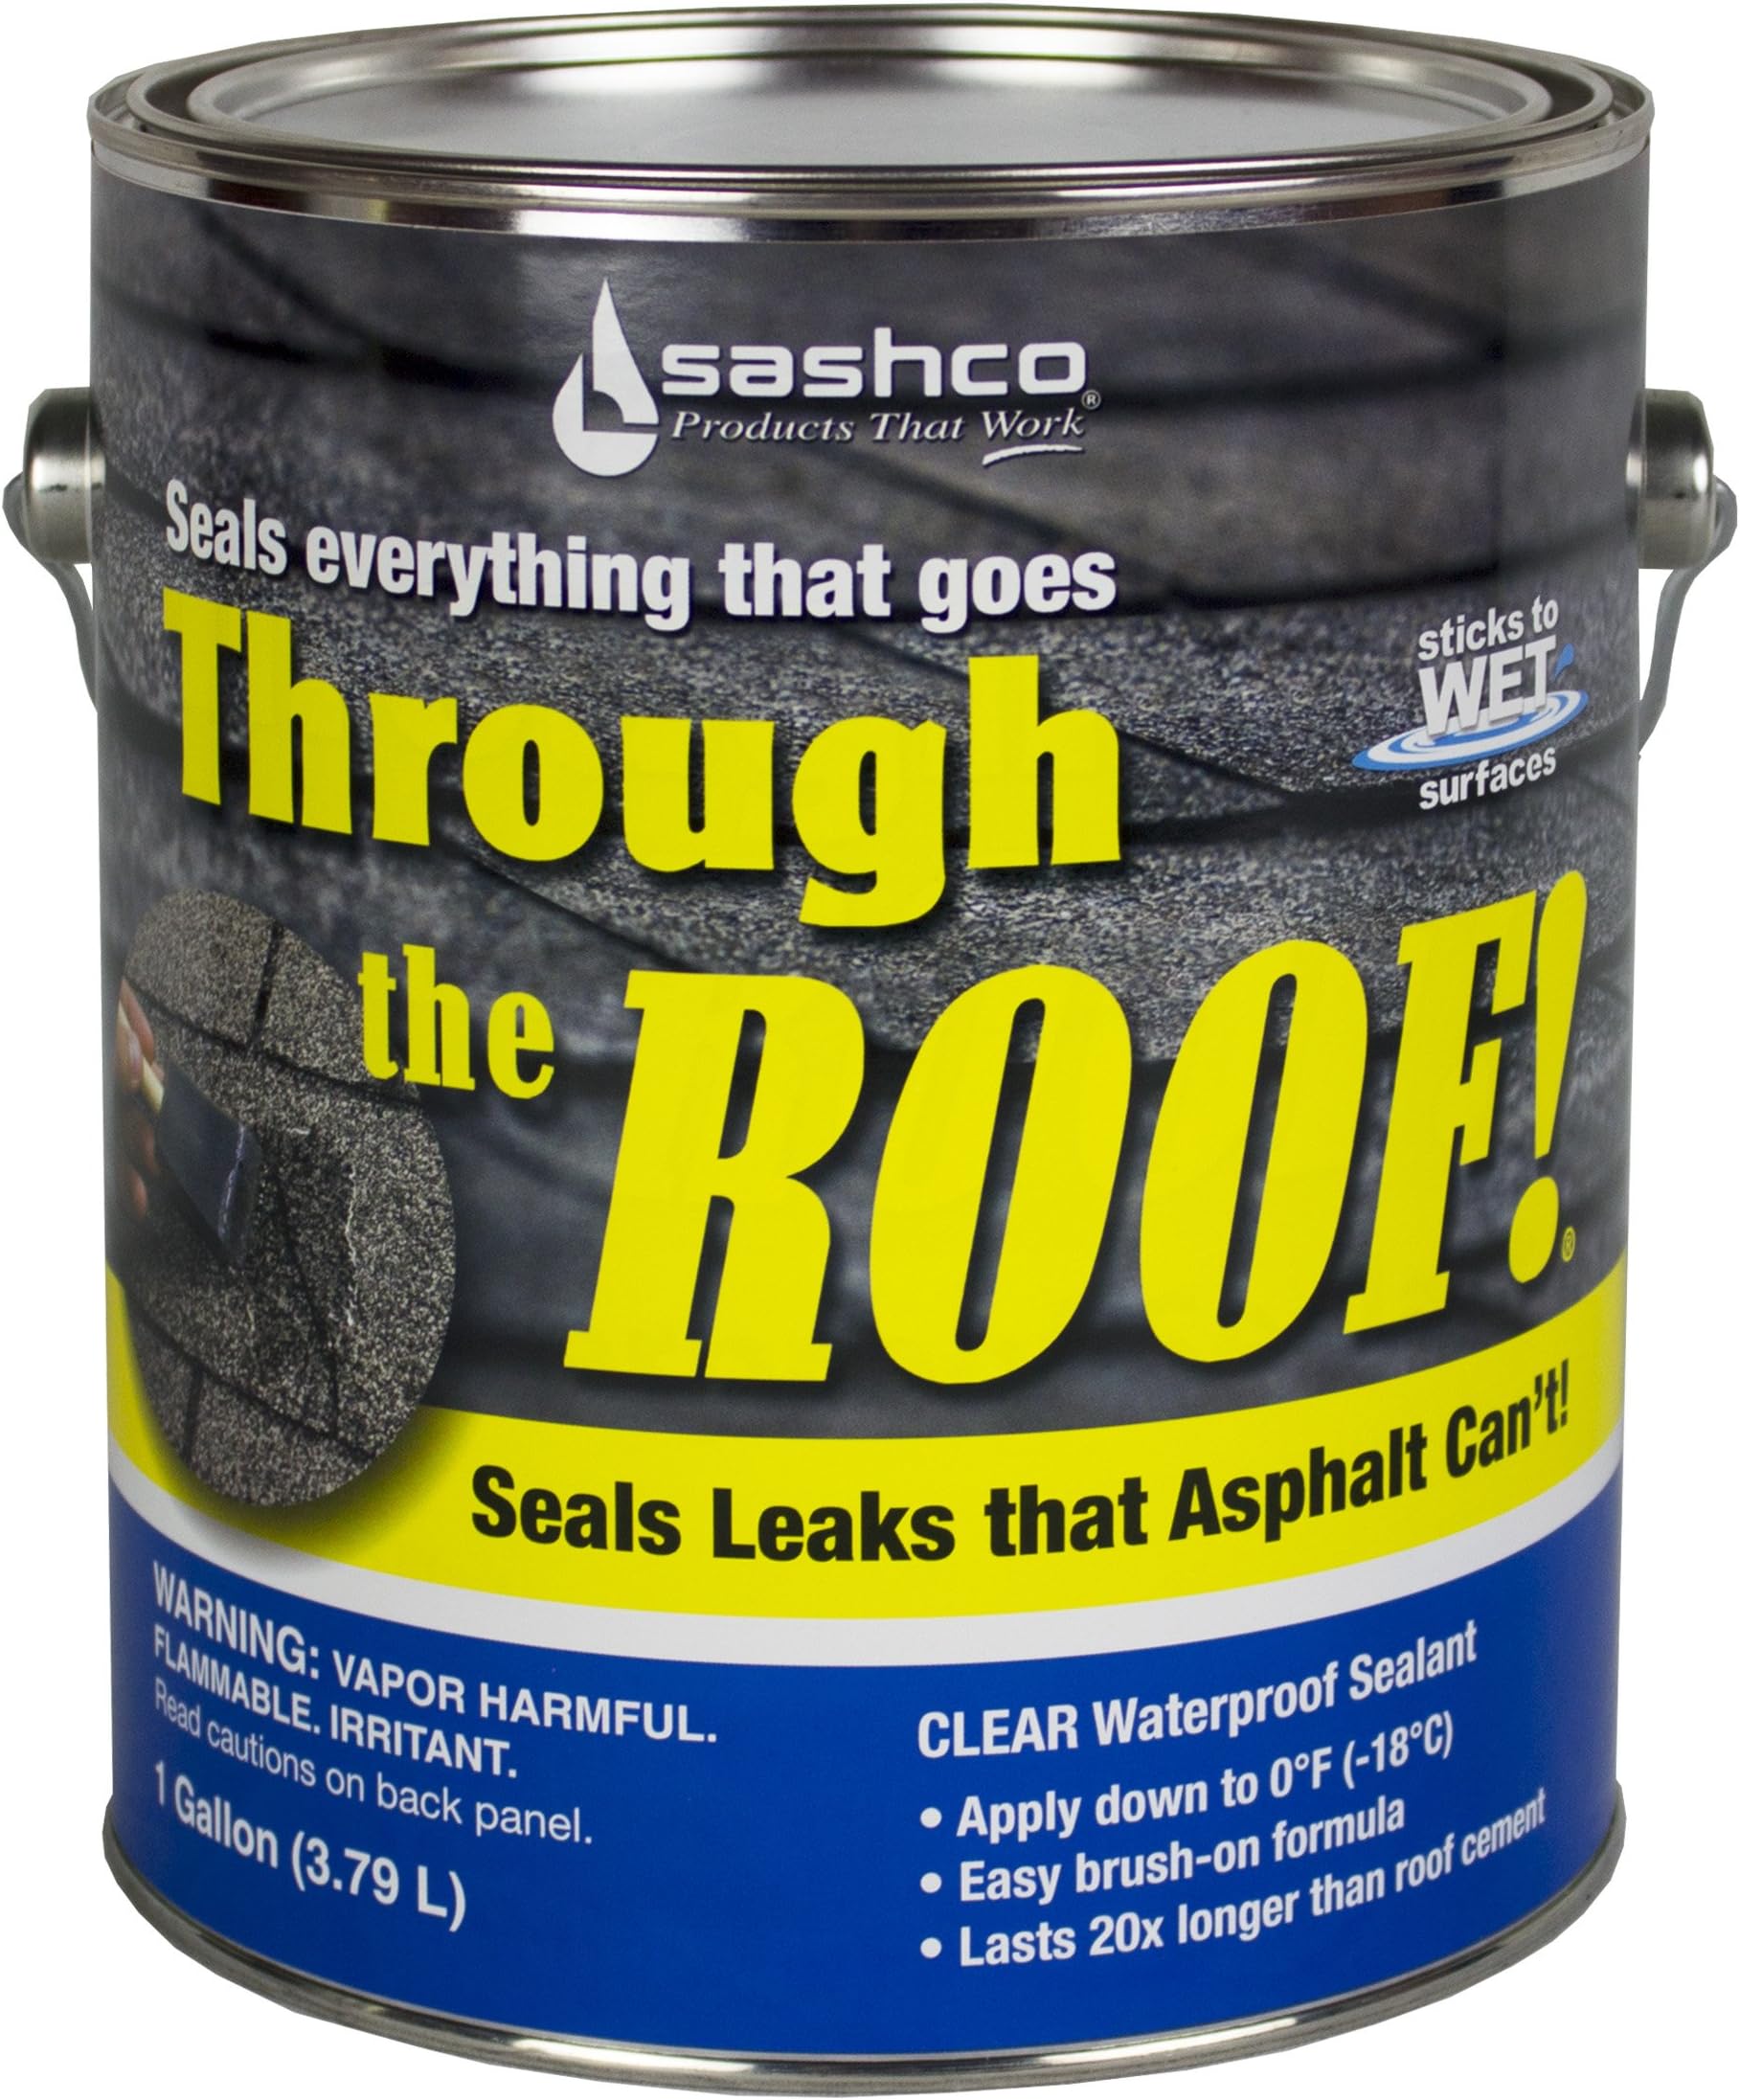
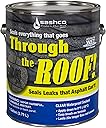
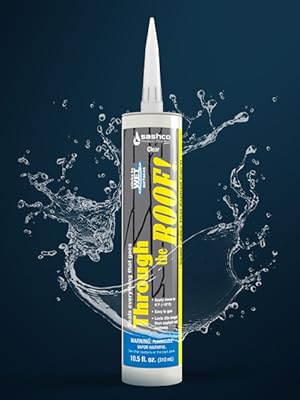


Buy anything from 5,000+ international stores. One checkout price. No surprise fees. Join 2M+ shoppers on Desertcart.
Desertcart purchases this item on your behalf and handles shipping, customs, and support to Senegal.
๐ก๏ธ Seal smart, stay dry โ the roof repair proโs secret weapon!
Sashco 14004 Clear Roof Sealant is a US-made, ultra-elastic polymer caulk designed for permanent roof leak repairs. It bonds powerfully to diverse roofing materials, remains flexible through temperature swings, and can be applied even on wet surfaces. With excellent UV resistance and waterproof properties, it lasts 2-3 times longer than standard asphalt sealants, making it the go-to choice for durable, paintable, and mildew-resistant roof protection.


| ASIN | B000Y4COP6 |
| Best Sellers Rank | #13,293 in Automotive ( See Top 100 in Automotive ) #79 in RV Sealants |
| Brand | Sashco |
| Brand Name | Sashco |
| Color | Clear |
| Compatible Material | Asphalt |
| Customer Reviews | 4.6 out of 5 stars 2,127 Reviews |
| Global Trade Identification Number | 00031525140049 |
| Included Components | Gallon Clear Roof Sealant |
| Item Dimensions | 6.7 x 6.7 x 7.5 inches |
| Item Form | Liquid |
| Item Type Name | Gallon Clear Roof Sealant |
| Item Weight | 0.1 Pounds |
| Item dimensions L x W x H | 6.7 x 6.7 x 7.5 inches |
| Manufacturer | SASHCO SEALANTS |
| Material | polymer |
| Material Type | polymer |
| Model | 14004 |
| Number of Items | 1 |
| Part Number | 14004 |
| Style | Gallon |
| Style Name | Gallon |
| Surface Recommendation | Roof |
| UPC | 031525140049 |
| Unit Count | 1.0 Count |
| Warranty Description | Warranty |
| Water Resistance Level | Waterproof |
J**R
Better than standard roofing cement for repairs. This stuff works!
So I purchased 4 quart containers of this sealant a few years ago with intentions to do some repairs that were actually not necessary following some roof reconstruction. That said, this stuff sat in my shed for around 4-5 years before I had a chance to use it (not climate controlled - full swing of weather in the NE). I was afraid that like caulk tubes this very expensive purchase would be a loss but I was pleasantly surprised to find that all 4 containers stayed viable! I had a small leak in my roof SOMEWHERE that I could not pin down. I decided to just hit every possible infiltration point with this sealant and see (roof vents, waste line vents, a few cracked shingles, etc.). Well, one of the spots I hit must have been the leak point because months later there's no further leak evidence even following some pretty horrific rain storms. I am so happy with the results that I wanted to share a few things I learned while using this sealer. 1) I see a lot of people recommend foam brushes for this stuff, but I would counsel getting short utility paint brushes instead. My asphalt shingle roof would have shredded the foam brushes and the traditional bristles of the utility brushes I purchased let me really get into the cracks with the sealant. Also - the bristles are a bit stiffer than many foam brushes - good for getting the last of the sealant out of the jar, especially as it starts to cure. I used a 2" wide brush (with 1" long bristles) which just fit into the mouth of the quart jar. I got a box of these things for peanuts a long while ago and still haven't run out of them. 2) A note about the curing... some other reviewers mentioned getting gallon containers instead of the quart size containers. Do this ONLY if you are going to use this stuff all at once and relatively quickly. I was very careful to recap my quart jar as I moved about the roof and I still barely got to the bottom of the container before it started to gel up to the point it became unusable. Unless you have a big project, get a bunch of quart size jars so that the most you will use/lose per job is one quart. Plan your job ahead of time so that you will spend the least amount of time after jar-open. 3) Plan to lose what you don't use. I carefully re-capped what little I had left in the last quart jar I was using - even did the "breathe into the jar for CO2 layer" trick and the stuff still completely cured within hours. Once air gets into the jar the timer starts ticking. 4) Be careful cleaning up. I got this on my extension ladder, jeans, shirt, shoes, etc. I was wearing work clothes and work gloves so no problem there, but you would NOT want to get this on anything you care about. One unexpected bonus - the work gloves I was wearing now have a water resistant side - the sealant coated the palms and fingers of the work gloves and they are still flexible and workable! 5) Be aware that this sealant is somewhat shiny when cured - so if your roof is visible from ground level, the repair patches will be noticeable if you're looking. It's not "ice in the sun" shiny, but on an asphalt roof it stands out. I don't care because anything was worth nailing that leak, but it's something to take into consideration. The net sum is that this sealant really works, sticks to anything and everything, and is still pliable and well adhered almost a year later after being applied to a swept but weathered roof in full exposure to the elements. I can only hope that it lasts until it's time to re-shingle the roof again.
J**M
Great product. Really seals small leaks.
I have purchased this product several times over the years and it is simply the best at sealing small to medium size roof leaks or points of water intrusion. The cost of professional repairs has literally, "gone through the roof" I several years ago I had a skylight leak. The roofer wanted to replace the skylight and 2 or 3 ft perimeter of the roof around the skylight for $5,000. I used half a tub of this product and still not a drop from the previous leak after almost 3 years. This time around, I noted some water intrusion coming from a space between three architectural posts that connect the garage to the house (60 year old single level adobe style home) the posts had some dry rot after 60 years and this caused a 1/4 inch separation between the posts and the exterior wall where in heavy rain, water would intrude between the wall. A carpenter wanted $10k to replace the posts and perform some dry wall repair. I simply sealed the gap between the post and the exterior wall and it has been water tight through several storms. Finally, the first time I used this product 4 or so years ago, I had a more serious leak that would require about 15% of the roof to be replaced. This product sealed out most of the leak until the roofers could replace the bad section. Some people seem to like to plow every cent they earn into their home. I have friends and family that have 0 in retirement savings, 0 contributed to fully matched 401K, anytime anything goes slightly wrong with their home they immediately choose the most expensive solution to replace the item. A family member recently had a small leak around some molding at a second floor spare bedroom. Her roof is only around 12 years old and in very good shape. She took out financing and spent $29k for a new roof on a 1400 square ft house. If something really needs to be replaced to prevent serious further damage or is a safety risk, by all means replace it. However, for a small leak this product will buy several years time or my simply fix the problem all together.
F**R
Excellent Product
Saved our roof. Since it is an older metal one. This is perfect. Worked immediately in the rain at that! This is the best we have ever used. I wish they sold it in 5 gallons. I'd just do the entire roof! LOL!!!
A**Y
Patched Up a Chimney and Flashing Good Enough to Prevent Leaks Until a New Roof is Installed
I first used this product about a year ago. I used it on a roofing or flashing or brick mortar leak on a 1920's house's chimney. There was some sort of leak in or around the chimney and/or on the roof around the chimney. It was obvious that previous owners had tried at least three times to fix the leak with a variety of products and methods, including lots of traditional black roofing cement spread all over and some very strange and badly designed home-made aluminum flashing. This leakage had done substantial damage to the ceilings and walls around the chimney inside the house. Neighbors reported that previous owners had been experiencing leaks for at least five years, and had tried a variety of DIY repairs. One of the biggest problems with roof leaks -- especially one like this one which was on a complex section of the roof and where a lot of different materials meet -- is that it is often hard to figure out where the leak is actually coming from. In this case, the chimney was made of bricks, the roof was asphalt shingles, and flashing galvanized steel and aluminum. Any badly caulked joint between these various materials, or cracks in brick mortar or existing caulking or roofing cements, could be the source of a leak. To further complicate this situation, the chimney was installed about two feet down one side from the ridge without a "cricket" or sloped flashing being installed where the highest side of the roof and chimney met. This created an area where water could actually pool against the brick chimney surface. There were so many potential areas where the leak could be coming from, that I had no idea of what the proper repair -- other than tear the whole area apart. In reality, I was planning on eliminating this chimney entirely and last winter installed a new high-efficiency furnace which vents through the wall. I also plan on replacing the gas hot water heater with a high efficiency unity, although the old one is only a few years old and works well, so this replacement might be a few years down the road. Once the hot water heater is replaced, we will not need the roof chimney any more, and it can be eliminated. At that point I can cap off the chimney since there is no other uses for it. The roof on the house will need to be replaced in 5 - 10 years, and I plan to have the chimney taken down to below the roof level, eliminating the need for a chimney penetration on the new roof, and simplifying the roof in the process. I could have had a contractor do major chimney and flashing repairs but this would cost more than the high-efficiency water heater and would be work that would have no practical use once everything is switched over to high-efficiency equipment, Instead, I bought a quart can of this product, hoping to seal things up good enough to prevent leaks for a few years when I am ready to put a new roof on. When I saw this product and read other reviews, I thought "maybe this will get me through the winter anyway". I took the can of sealant up on the roof and (using an old paint brush) applied a coating of this product to any and all cracks or problem areas I could see. The fact it was clear kept it from being as visible from street level, and it adhered well to all the surfaces and areas I needed to seal. Some were in the mortar joints in the chimney itself, some were in the bizarre flashing around the chimney, some were in the way the shingles were applied. Were ever I saw a place that had gaping holes or cracked roofing cement or bad fitting flashing, I applied some of this product. The product was very thick, and was easy to apply, but people using it should wear chemical resistant gloves and have some old rags or very heavy paper towels with them incase they spill some where they don't want it. It should not be permitted to get on the skin. Another thing that is obvious is that you should clean away any loose or crumbly materials or they get into the sealant and could affect the bond. A year has past and not a drop of water has come inside after I completed the sealing job. I used the entire quart sized can, and towards the end was prioritizing to apply the product to the worst looking (or most likely) sources of leaks. Somehow, even without every crack or problem area treated, I managed to seal the actual problem areas. I bought another can this summer and will go back up and apply it to the remaining potential problem areas around the chimney, then look for other areas where it might be useful. Both times I have ordered this item, the box was badly crushed, and the can deformed, but not leaking. I am surprised that Amazon does not attempt to package this can better since it obviously is supposedly potentially dangerous -- the reason it must be shipped via ground transportation method.
D**N
Expensive but it works
This stuff really works. And is not as messy or unsightly as the tar based roof sealants you probably are familiar with. Even better, the repair looks a lot cleaner since this sealant is clear. It is pricey but works better than anything else I have tried and seems to hold up better in the long run. Also, be aware the price jumps around quite, as per usual on Amazon, and Rufus cannot be trusted to give you an accurate price history. I paid more than the current price, which Rufus claimed is highest price ever charged. But it was $2 more a week ago.
G**N
Expensive, But Actually Works
Expensive compared to fibered and rubberized roof cement but stopped some leaks that the cheaper stuff couldnโt. I have a tar-and-gravel flat carport roof that runs right into the sloped roof of the house and the area where they join has been leaking worse and worse over the past years. Iโve slapped gallons of the fibered and rubberized roof cement on those areas several times and they have proved to be better than nothing โ but not much better. Especially considering how long it takes to trowel that stuff in place. This year I finally broke down and ordered a gallon can of the Through The Roof stuff to see whether it would prove the old maxim, โYou get what you pay for.โ The application was easier and a bit faster than the cheaper stuff and according to the label I didnโt have to worry about the weather. I applied it with a four inch foam brush pretty much over areas where the fibered stuff was applied. The smell was not nice, but being out in the open air made it manageable. Following advice from other reviewers I used the entire can. It was dry and sunny that day but it rained quite a bit the next. That would have been an issue with the cheap stuff but is supposed to not matter with Through The Roof. The application stopped about 90% of leaks that multiple applications of the cheaper stuff have not. How much are you saving if you buy a gallon of roof sealer for $20, take the time to put it on and it does next to nothing? Now, Iโm still going to keep some the cheap stuff around because it does a good job on many other areas of obvious disrepair, but for some reason it just wouldnโt do the job at that carport roof junction. I wish I could just coat the entire roof with Through The Roof, but Iโm not in a position right now to take out a second mortgage.
D**N
Read These 10 Tips to Get the Best Results-Fantastic Product!
This stuff is amazing: it's like silicone sealant that you apply with a brush. It's slightly thinner than silicone, so that you can easily brush it flat over a large area, but plenty thick enough to stay put when you brush it into cracks, grooves and gaps. I was particularly pleased how well it adhered to the irregular roof surface (asphalt shingles, flashing, and roof cement used for previous patches). Some of the shingles were damp, which didn't affect adhesion at all. The directions say you can apply this when it's raining, but I waited until there had been no rain for about 12 hours. Here's how to do a perfect job: 1. Buy a package of foam brushes like these: 20-Piece Foam Brush Set, 2-Inch . 2 inches is the perfect width: narrow enough not to collapse when you push the sealant hard into cracks, but wide enough to spread nice layers of sealant over big flat surfaces. I used two foam brushes per quart: when one starts to self destruct from brushing into cracks and against rough shingles, toss it and grab a new one. 2. I used a leaf blower to remove all the leaves quickly. 3. For cleaning the roof, you also need a hand brush like this one: Rubbermaid Comm Prod 6342-00-SILV 8" Comm Counter Duster , or one that comes with a brush and dustpan set (you don't need the dustpan.) This is the ultimate tool for cleaning the roof, because it gets rid of all the loose stuff. That's the only cleaning you need to do: get rid of the loose dirt, stone granules and leaves. Make sure to keep the brush away from the sealant! I tried using a broom at first, but it didn't clean into the little cracks, which the whole reason I was up there. This hand brush works better. A paint brush could work as well. 4. USE RUBBER GLOVES! This stuff is SUPER STICKY. It is much tougher to get off your hands than silicon caulk. Also wear old clothes...and resist the urge to wipe your hands on your pants! I brought a rag for wiping. 5. The directions say you can spread a layer 1/8-1/4" thick (3-6 mm). I think if you spread a 1/4" thick layer, you are probably being sloppy and making a mess. 1/16"-1/8" (2-4 mm) is a good guideline. 6. Start at the visible cracks, and jab the sealant into the crack with the brush, then wipe sideways to fill the crack with sealant. It will stay where you put it, but the best way to get a good seal is to embed the sealant deeply into cracks, then brush a nice smooth layer over the top. 7. In some cases, you will be applying over previous sealant like black roofing cement. In my case, there were visible cracks several inches long in the old roofing cement patch. After sealing all the visible cracks (see #6 above), I painted a smooth layer over ALL the visible roofing cement, plus two inches or more beyond. If some of the old roofing cement patch is cracked, the rest will crack within a few years, so seal it now! 8. I had trouble removing the last bit of sealant from the jar. The foam brushes are a bit too short and too weak to scrape from the bottom corners. A paint stirring stick might help here. 9. Bring a trash bag with you onto the roof. As you finish with brushes and jars of sealant and rags and gloves, throw them immediately into the trash bag. Wipe your gloved hands on the inside surface of the bag. Carefully haul the bag straight to the trash can when you are done. You REALLY want to keep this stuff off your clothes, shoes, etc. and because it is clear, it is a bit harder to notice than black roofing cement. 10. I purchased two quart jars to seal around four roof vents. If you are going to the trouble of sealing the roof, buy plenty. I may buy the gallon size next time, but I'll always keep a quart jar around for emergency repairs.
J**Z
Great quality
1 gallon really goes a long way. Take your time, sit down on your roof and look closely for any cracks or splits and go to town. I'm waiting on the next big rain.
C**D
This is the sealant that you want!!
We tried a few different sealants to patch roof on our trailer slide. This is the only one that did the job. Works exceptionally well.
J**.
Worked awesome to fix my Suntuf roof panels!
This stuff is great - we had a leaky Suntuf roof and used this to seal the joints. Easy to put on, dried clear so you can't see it and now we're leak free! Except for the spot I missed, but that's my fault and not the product. =)
F**E
This will waterproof a damaged roof even when hot or wet.
This was recommended to me by a contractor when I needed to waterproof a roof from which shingles had blown off. It lasts a long time and is clear so it is not obvious. It has got the roof through periods when it is too wet, cold or slippery to repair.
J**S
Seems to work well
Takes awhile to cure but seems to do a good job.
J**E
Great roof repair in a can!!
Did exactly what we needed it to do until we could replace our roof. A gooey mess but very useful for many applications ๐
Trustpilot
3 weeks ago
3 weeks ago